Document-Based Apps Using SwiftUI
SwiftUI makes it easier than ever to create document-based apps that work with the iOS document interaction system. In this tutorial, you’ll learn how to create a SwiftUI document-based meme-maker app. By David Piper.
Documents are central to computing, and SwiftUI document-based apps make it easier than ever to work with the iOS document interaction system, based on integrating your app with all the cool features of the Files app.
In this tutorial, you’ll work on MemeMaker, an app that lets you create your own memes and persist them as their own meme document type.
You’ll learn about the following topics:
- What are Uniform Type Identifiers (UTI)?
- Which components comprise SwiftUI document-based apps?
- How do you define your own document with a unique extension?
- How do you run SwiftUI document-based apps on iOS/iPadOS and macOS?
Without further ado, it’s time to dive in.
Getting Started
Download the starter project by clicking the Download Materials button at the top or bottom of the tutorial.
Build and run. This is what the app looks like:
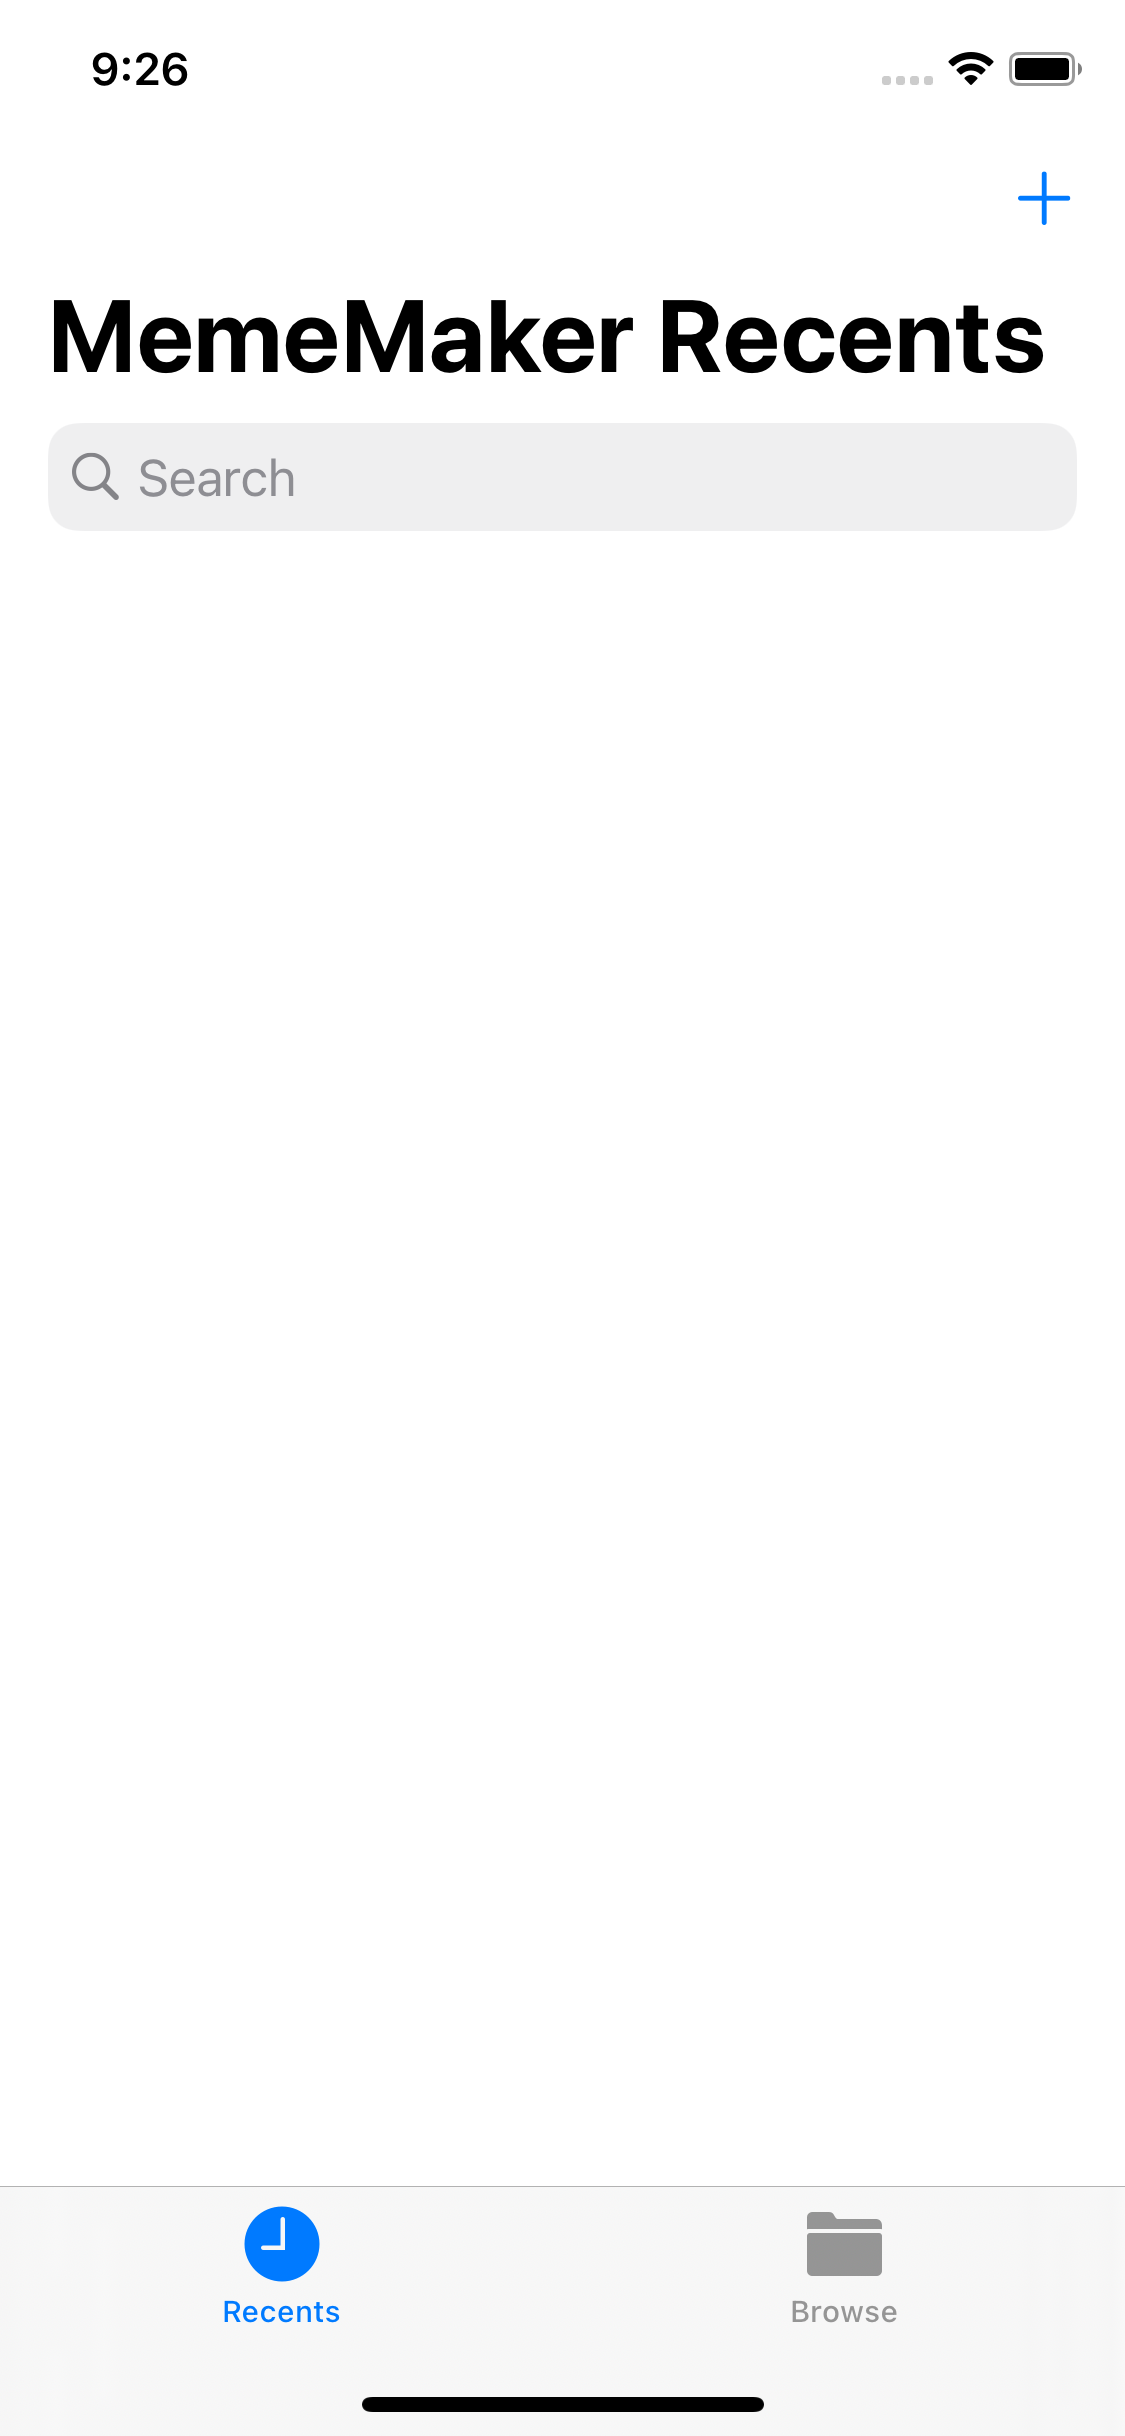
Tap the + button in the upper-right corner to create a new document. A text editor will open with “Hello, world!” shown. Change the text to SwiftUI rocks! and close the document by tapping the back button, which is in the upper-left corner.
Switch to the Browse tab to find the document you just created. The tab looks like this:
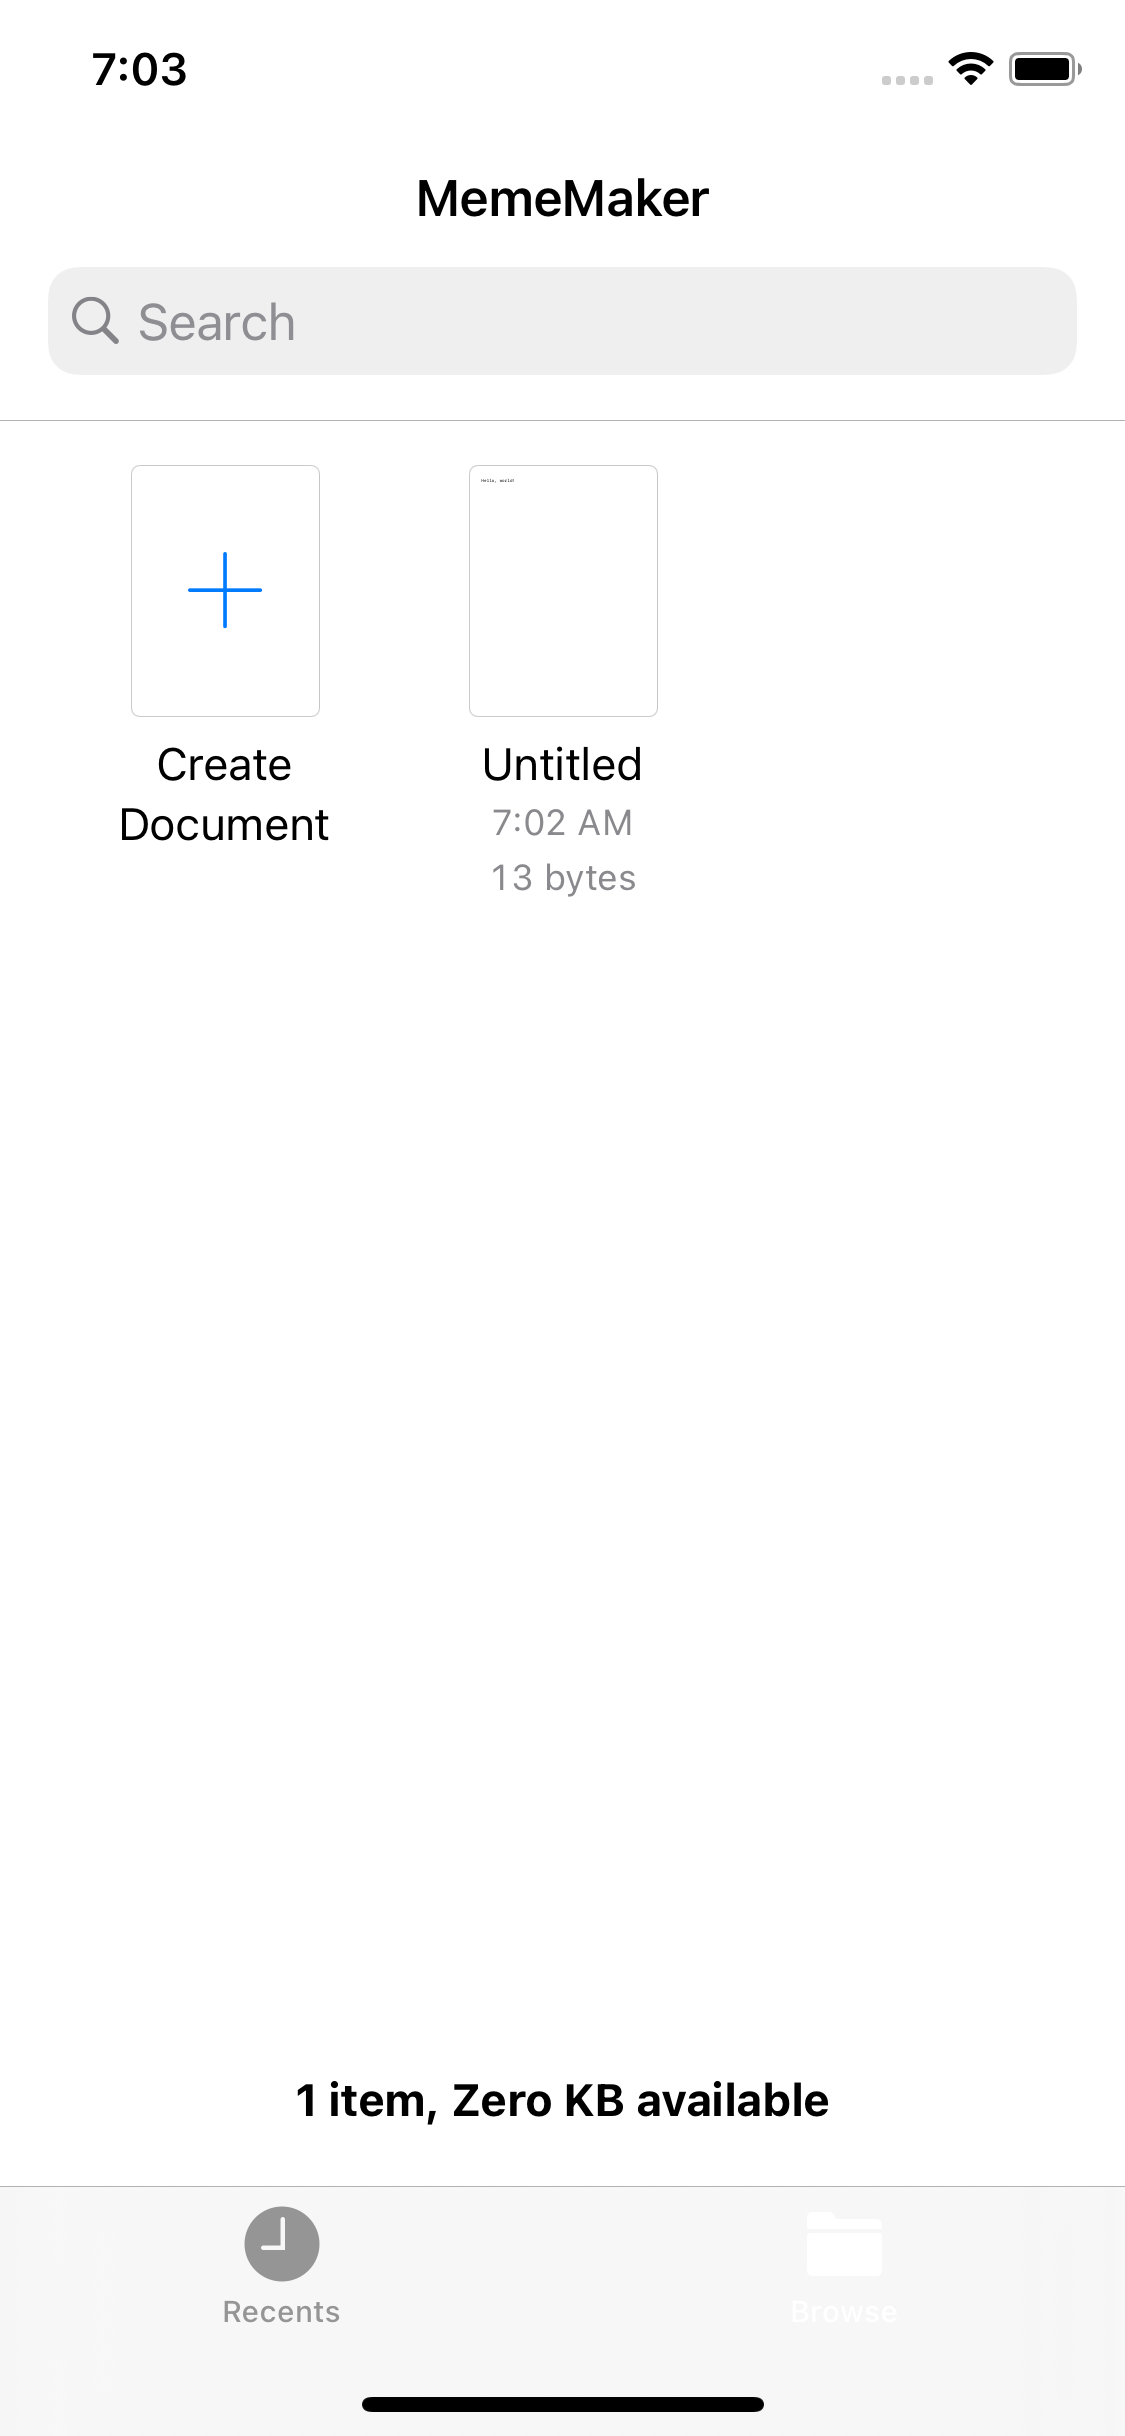
Open the new file by tapping it. The text editor opens and you can read the text you entered.
This is a good starting point for creating an editor for memes. You’ll modify this app so that instead of working with raw text, it works with a meme document type. This is where UTIs come in.
Defining Exported Type Identifiers
A Unique Type Identifier or UTI is, in Apple’s words, a “unique identifier for a particular file type, data type, directory or bundle type.” For instance, a JPEG image is a particular file type, and it’s uniquely identified by the UTI string public.jpeg. Likewise, a text file written in the popular Markdown markup language is uniquely identified by the UTI net.daringfireball.markdown.
What is the value of UTIs? Because UTIs are unique identifiers, they provide an unambiguous way for your app to tell the operating system what kind of documents it’s able to open and create. Since iOS doesn’t ship with built-in support for a “meme” document, you’ll add a new UTI to your app for meme files. This is straightforward in Xcode.
Before diving into code, you need to make some changes to the project setup.
Select the MemeMaker (iOS) target in your project settings, select the Info tab and expand the Exported Type Identifiers section.
This is the place to define the type and metadata of your document. Currently, this is still set up for a text document.
Make the following changes:
- Change Description to A meme created with MemeMaker. You can see the description e.g. in the information window of Finder.
- Change Identifier to com.raywenderlich.MemeMaker.meme. Other apps can use this identifier to import your documents.
- Change Conforms to “public.data, public.content”. These are UTIs, and they describe the type of data your UTI is using. In programming parlance, you can think of these as the protocols your UTI conforms to. There are many types you can use, such as public.data or public.image. You’ll find a list of all available UTIs in Apple’s documentation or on Wikipedia.
- Change Extension to meme. This is the .meme file extension that’s added to the documents you create with MemeMaker.

Great! Now you’re ready to create documents with your new extension, .meme. :]
Using a DocumentGroup
DocumentGroup is a scene presenting the system UI for handling documents. You can see how it looks in the screenshots above. SwiftUI makes it super easy to use the document browser. All that’s needed is to follow the code found in MemeMakerApp.swift:
DocumentGroup(newDocument: MemeMakerDocument()) { file in
  ContentView(document: file.$document)
}
DocumentGroup has two initializers when handling documents: init(newDocument:editor:) and init(viewing:viewer:). The first one allows you to create new documents and edit existing documents, while the second one is only able to view files. Because you want to create and edit memes, the starter project uses the first initializer.
The initializer receives the document it should show. In this case, you’re initializing a new empty MemeMakerDocument, which you’ll work on later. The initializer also receives a closure that builds the file editing view.
Working With a File Document
FileDocument is the base protocol for a document that an app can read and write to the device. This protocol contains two static properties: readableContentTypes and writableContentTypes. Both are UTType arrays defining the types the document can read and write, respectively. Only readableContentTypes is required, because writableContentTypes defaults to readableContentTypes as well.
FileDocument also requires an initializer taking a FileDocumentReadConfiguration. This configuration bundles a document’s type in the form of UTType, along with a FileWrapper containing its content.
Finally, any class or struct conforming to FileDocument needs to implement fileWrapper(configuration:). It’s called when a document is written, and it takes a FileDocumentWriteConfiguration as a parameter, which is similar to the read configuration, but used for writing.
This may sound like a lot of work, but don’t worry. In this section of the tutorial, you’ll look at how to use these two configurations.
Defining Exported UTTypes
Open MemeMakerDocument.swift. At the top of the file, you’ll find an extension on UTType that defines the type the starter project is using.
Replace this extension with the following code:
extension UTType {
  static let memeDocument = UTType(
    exportedAs: "com.raywenderlich.MemeMaker.meme")
}
In the code above, you’re defining memeDocument as a new UTType so that you can use it in the next step.
Still in MemeMakerDocument.swift, find readableContentTypes. As mentioned before, this defines a list of UTTypes the app can read and write. Replace the property with this new code:
static var readableContentTypes: [UTType] { [.memeDocument] }
This sets the new type you created earlier as a type that MemeMakerDocument document can read. Since writableContentTypes defaults to readableContentTypes, you don’t need to add it.