SwiftUI Localization Tutorial for iOS: Getting Started

Learn time-saving techniques to transform your team’s localization workflow! By Andy Pereira.

5 (4) · 1 Review

Download materials
Save for later
Share

There’s a long list of things to keep track of when you’re building apps. Thinking about making your app work in other languages may not be on your radar — especially if you don’t speak other languages. Luckily, Apple has made changes and improvements in SwiftUI that take a lot of the guesswork out of your localization workflow.

In this SwiftUI localization tutorial, you’ll take advantage of internationalization and localization techniques in SwiftUI and iOS 15 by learning how to:

  • Export and import strings from and to your project.
  • Preview localizations while developing.
  • Use new techniques to work with localized strings.
  • Localize asset catalog items.
  • Use Markdown to format localized strings.
  • Use automatic grammar agreement.

Getting Started

Download the starter project by clicking the Download Materials button at the top or bottom of the tutorial.

The app you’ll be working with, Country Quiz Time, is a short game that quizzes users on their world knowledge. It also keeps track of each question answered correctly. Open the starter project and look around. You’ll notice the app already has its strings, currently all in English, in two files:

  1. Localizable.strings. This is where your app will store most of its strings.
  2. Localizable.stringsdict. This file handles pluralizations. You’ll learn more about this later, but for now, it’s how you’ll handle nouns needing to be singular or plural.

Build and run, and give the quiz your best shot. :]

Country Quiz Time starter

Exporting and Importing Localizations

With every new version, Apple makes it easier to manage strings files for localization. Xcode 13 now automatically extracts any strings it finds in a variety of scenarios in your code. When you create a new project in Xcode 13, this setting is on by default. However, as you likely will want to use this with an existing project, you’ll need to turn this on.

In your project settings, go to Build Settings and search for Use compiler to Extract Swift Strings. Make sure to search All settings, not just the Basic ones. Change the value of this setting to Yes.

Screenshot showing 'Use Compiler to Extract Swift Strings' set to 'Yes' in the Build Settings of the CountryQuizTime Target of the CountryQuizTime project

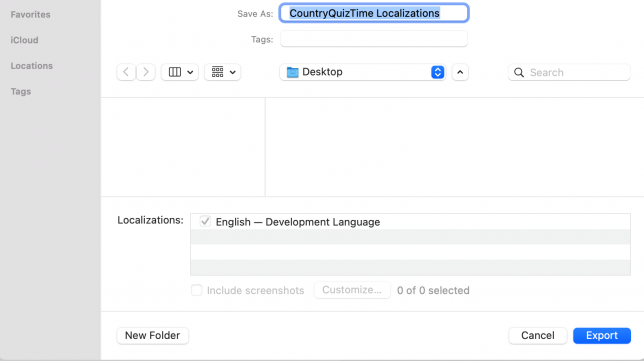
In Xcode, go to Product ▸ Export Localizations…. Follow the prompts to save the folder to your desktop.

A save dialog showing CountryQuizTime Localizations being saved on the desktop, with English - Development Language selected

After making any changes to the exported xcloc file, import the changes back into your project using Product ▸ Import Localizations…. This way, translators can make changes to the displayed text without needing the whole project.

Using the xloc File

In Finder, navigate to the directory you created in the previous step and open the en.xcloc file. On the left-hand side, expand the folder and select Localizable.

en.xcloc file showing exported localized strings

Here, you’re looking at everything Xcode was able to identify as a string key used in one of your project files. There are four columns of information you’ll need to understand:

  1. Key: These are values used inside string literals in your code.
  2. English: This second column represents your reference or base localization language. This project’s base language is English, so you’ll see the English value here regardless of which language file you are viewing.
  3. English: The third column will have all the localizations for the language file you are viewing — in this case, also English. You can edit the values in this column.
  4. Comment: The comment column will show any notes left by the developer to help the translator understand the intent of each string.

This file is a place where you can make changes to all your localized files – not just your strings file. In the filter, search for points-count and expand all the values for the items it finds. You’ll see the following:

points-count value shown in Localizable.stringsdict

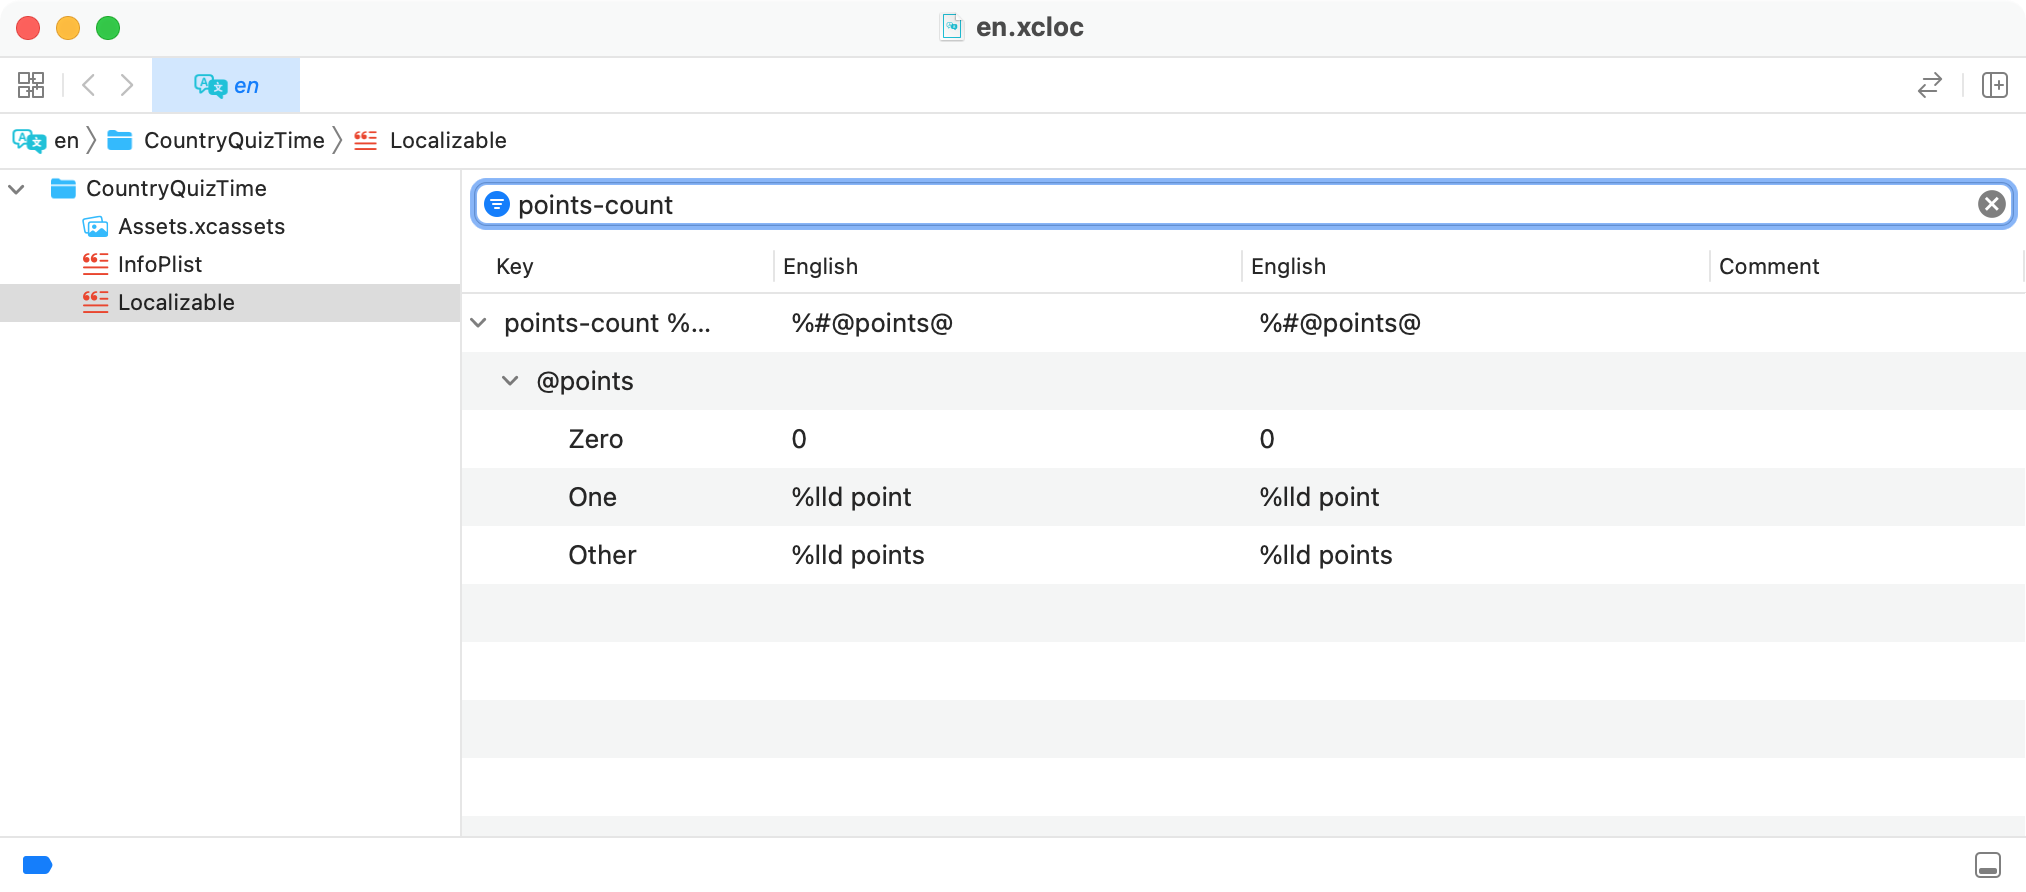
Here, you’re seeing the values found in the project’s stringsdict file. Because both the strings and stringsdict files have the same name, the values get combined in this view. If you create different filenames for different localizations, the editor window will break them out accordingly.

You can also translate your app’s name with this file. In the editor, select InfoPlist. You’ll see the following:

Viewing en.xcloc InfoPlist, showing the bundle name and bundle display name

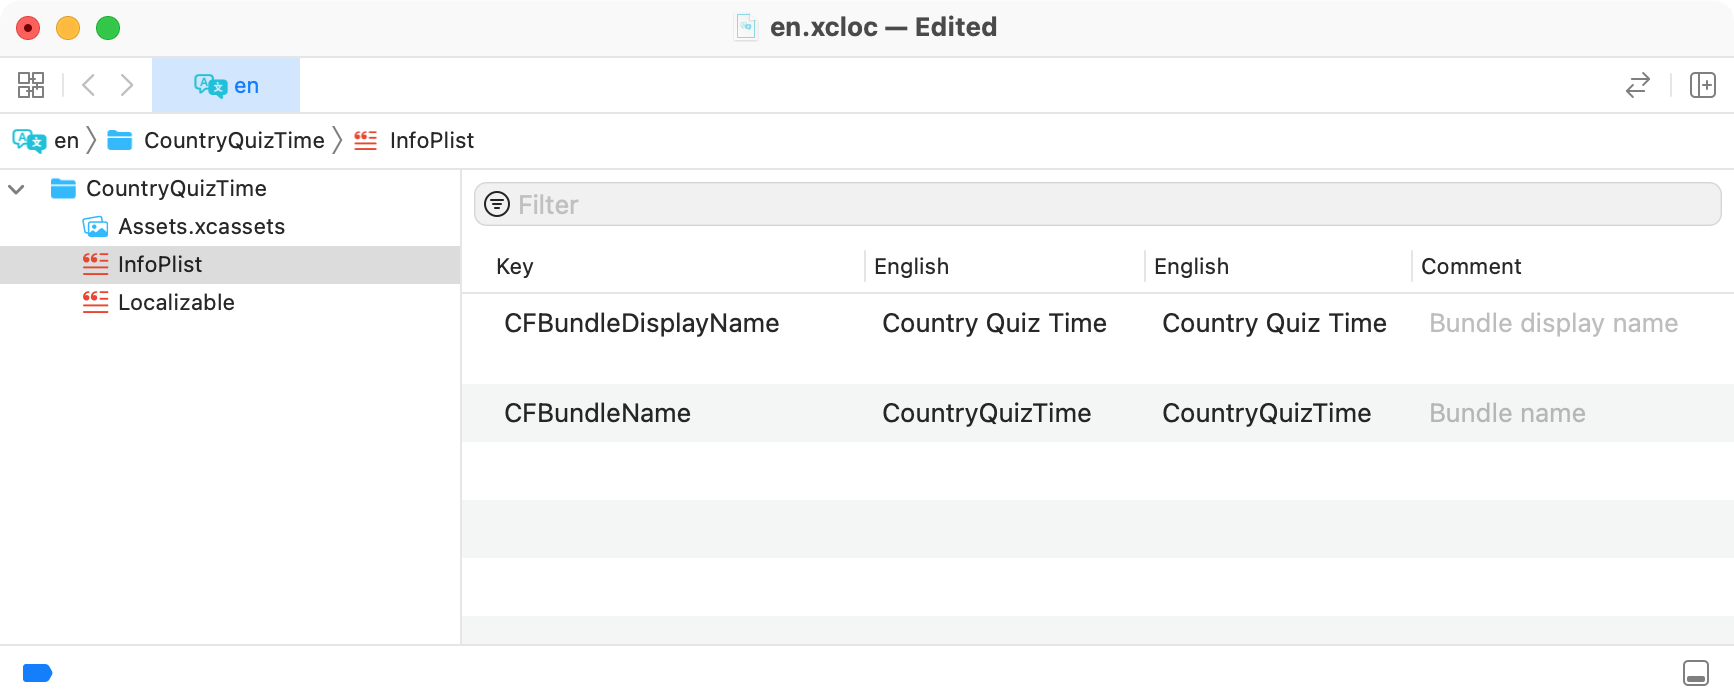
Adjust the language’s bundle name or display name as needed. It’ll be up to you and your team to understand what makes the most sense to translate. Perhaps your app’s name makes sense across a few languages and translations are only needed for a few others.

Adding Another Language

To finish the tutorial, you’ll add another language to your project. Go to your project’s Project settings, then select Info. From there, select + under Localizations.

Screenshot of the Info tab for the project, showing the plus button under Localizations

In the menu that appears, select Spanish (es).

Screenshot of the Info tab for the project, showing Spanish (es) being selected from the plus menu under Localizations

A confirmation dialog will appear. Leave the settings as they are and select Finish.

Add Spanish Confirmation Dialog

This adds Spanish files under Localizable.strings and Localizable.stringsdict.

Screenshot showing 'Localizable (Spanish)' files under the two Localizable files in the Project navigator

Now you’re ready to localize your app into Spanish!

Viewing Localization During Development

For the most part, if an app uses traditional localization techniques, you can only see the other languages if your phone is set to that language. However, that can be quite difficult to manage in a development environment — especially if you’re unfamiliar with the language.

Open Localizable.strings (Spanish) and add the following line:

"Welcome to Country Quiz Time" = "Bienvenido a Country Quiz Time";

This will help you see how you can view localizations during development. Later on, you’ll fine-tune this translation and add more translations to this file.

You can see translations within the simulator by adjusting your target’s scheme. Open Product ▸ Scheme ▸ Edit Scheme… ▸ Run ▸ Options. For the setting App Language, select Spanish from the drop-down.

Changing the App Language to Spanish in the Run settings in the Edit Scheme dialog

Select Close, then build and run.

Scheme Running in Spanish

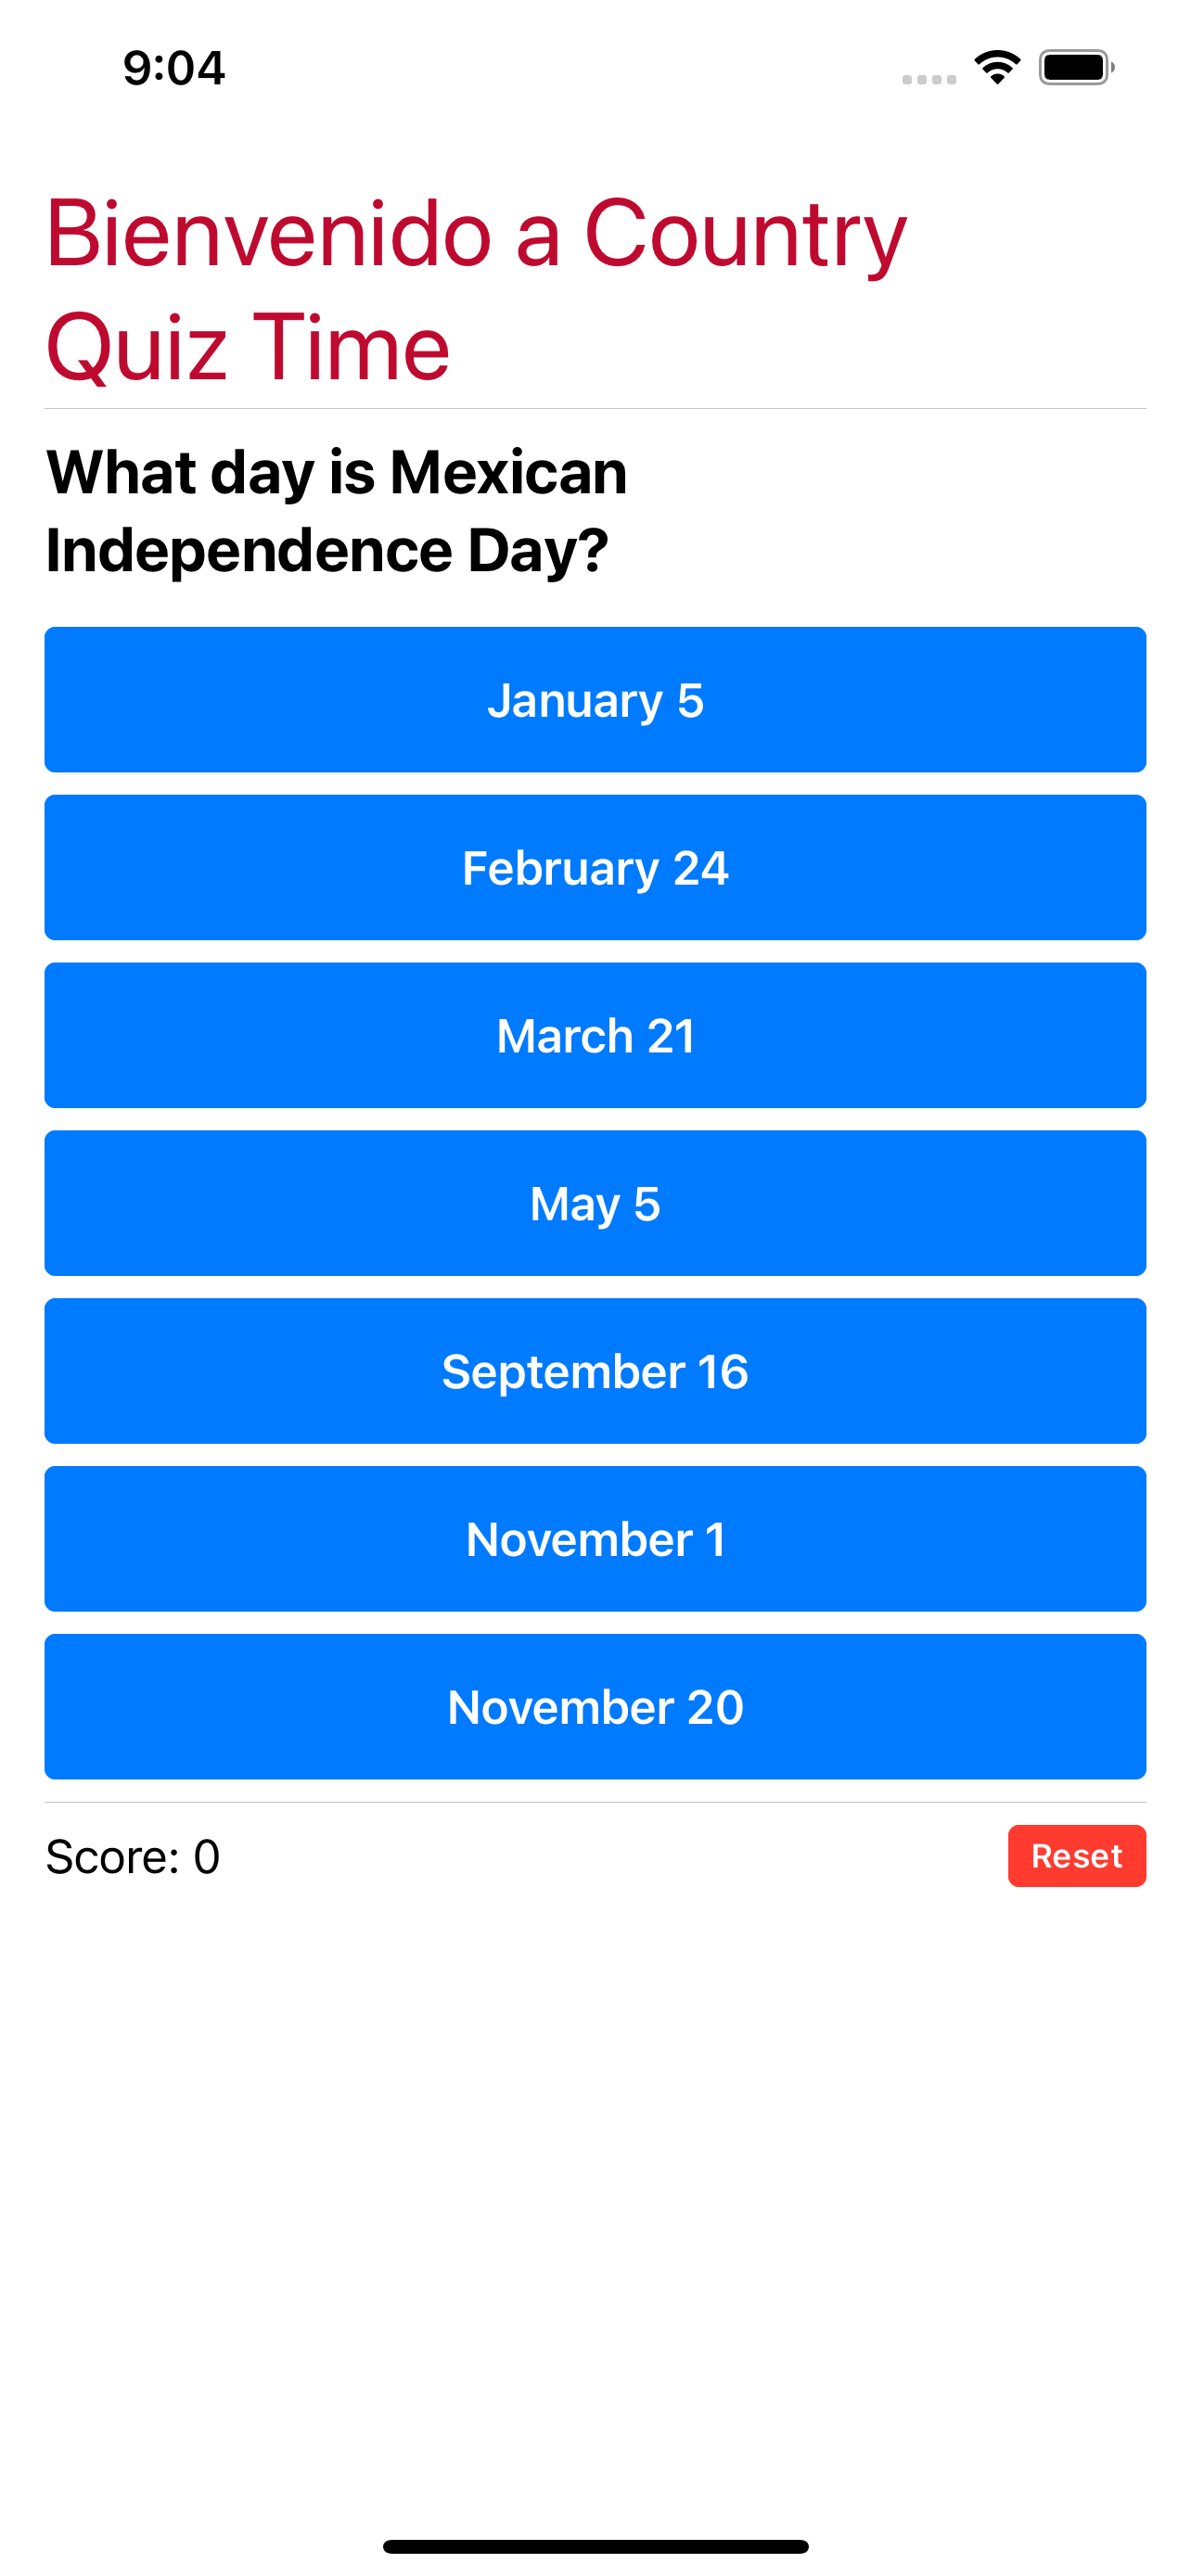
You’ll see your app’s title translated to Spanish.

Translated Previews

While it’s great to be able to change your simulator’s language during development, one of the benefits of SwiftUI is being able to see your code changes directly in the preview, in real time. Open ContentView.swift, and replace ContentView_Previews with the following:

struct ContentView_Previews: PreviewProvider {
  static var previews: some View {
    Group {
      // 1
      ContentView(quiz: Quiz())
        .environment(\.locale, .init(identifier: "en"))
      // 2
      ContentView(quiz: Quiz())
        .environment(\.locale, .init(identifier: "es"))
    }
  }
}

Here’s what you added:

  1. For the first preview of this view that shows, you’ve set the environment’s locale to always be English. Because the scheme’s language affects the preview’s display language, it would otherwise show in Spanish based on what you did in the previous step.
  2. Next, you set the second preview’s locale to Spanish.

Refresh the preview, and you’ll see the translated title of your app:

SwiftUI Preview Localization

Now, do the same thing for QuestionView by opening QuestionView.swift and replacing QuestionView_Previews with the following:

struct QuestionView_Previews: PreviewProvider {
  static var previews: some View {
    QuestionView(question: Question.mockQuestion)
      .environmentObject(Quiz())
      .environment(\.locale, .init(identifier: "en"))
    QuestionView(question: Question.mockQuestion)
      .environmentObject(Quiz())
      .environment(\.locale, .init(identifier: "es"))
  }
}

Now, no matter what view you’re developing, the previews will always allow you to see both languages. This is also a great way to help developers on multilingual teams see their work in a language they might be more comfortable with. For now, the two previews of QuestionView will look the same because you haven’t translated anything shown in that view.

Utilizing New Localization Techniques

In the next sections, you’ll learn about new time-saving enhancements to the localization process introduced in Xcode 13 and iOS 15.

Initializing Strings

In the previous example, iOS could translate your app’s title because a string passed to Text is actually treated as an instance of LocalizedStringKey. Behind the scenes, it handles all the work for you, making it much easier to work with translations. But what happens when you aren’t supplying a string directly to an instance of Text?

In the past, developers would get around this by using the global function, or macro, NSLocalizedString(_:tableName:bundle:value:comment:). For the most part, this was fairly easy to use. It does get complicated, though, when your strings require parameters supplied to your code. Open ContentView.swift, and find the property scoreMessage.

private var scoreMessage: String {
  // 1
  let localizedString 
  = NSLocalizedString("points-count %lld", comment: "The pluralized score")
  // 2
  return String(format: localizedString, quiz.score)
}

Here’s what’s happening in the code above:

  1. This creates a reference to the pluralized string points-count.
  2. This replaces the %lld format specifier with the actual score. The previous step is always required so that you can supply the localized string to the string formatter.

While this certainly isn’t the most complicated process you might encounter, there’s definitely room for improvement.

New to iOS 15 and Xcode 13 is String(localized:table:bundle:locale:comment:). This allows you to consolidate the two-step process in the previous code into one. Replace scoreMessage with the following:

private var scoreMessage: String {
  String(
    localized: "points-count \(quiz.score)",
    comment: "The pluralized score."
  )
}

Here, you pass the pluralized string’s key and the value it needs in one easy step. You also have the benefit of the compiler automatically exporting strings found in this initializer, so you don’t need to worry about hunting them down in bigger projects.

There are several other places in the app that need to use this new initializer. Open QuestionView.swift, and replace this line from optionButton(_:):

message = isCorrect ? "correctly" : "incorrectly"

with:

    message = isCorrect ?
    String(localized: "correctly", comment: "Correct message") :
    String(localized: "incorrectly", comment: "Incorrect message")

This localizes the strings that show when a user answers a question.

Finally, open QuestionModel.swift. You’ll find twelve places using NSLocalizedString(_:tableName:bundle:value:comment:). Taking what you learned in the last two steps, convert each one of these to use String(localized:table:bundle:locale:comment:).

Including Localized Markdown

One great addition in iOS 15 is the ability to include Markdown directly in views that accept strings, like Text. Open ContentView.swift, and find the line of code where the title is set:

Text("Welcome to Country Quiz Time")

Replace it with the following:

Text("Welcome to _Country Quiz Time_", comment: "App welcome title")

Here’s what you just added:

  • The string now has an underscore before and after the title of the app. This will cause the app’s title to appear italicized when the app runs.
  • You’ve added the parameter comment, making things clearer for the translators. It’s important to remember to give your translators all the help you can.

You’ll also want to go back to Localizable.strings (Spanish) and update the app title line to include the Markdown. Do this by replacing the line beginning “Welcome…” with the following:

"Welcome to _Country Quiz Time_" = "Bienvenido a _Country Quiz Time_";

Refresh the preview as needed. You’ll see the title of the app with only the name italicized.

SwiftUI Markdown

You may not always be able to directly set the string value within Text. However, if you want to provide a localized string with Markdown, you’ll need to use AttributedString. In ContentView.swift, add the following new property after the scoreMessage property:

private var appTitle: AttributedString {
  AttributedString(
    localized: "Welcome to _Country Quiz Time_",
    comment: "App welcome title"
  )
}

Here, you’ve added a localized string, with Markdown, almost exactly as you did a few steps ago in the tutorial.

Still in ContentView.swift, replace:

Text("Welcome to _Country Quiz Time_", comment: "App welcome title")

With the following:

Text(appTitle)

Resume automatic preview updating as needed. You’ll still see the title formatted the same as before.

Localizing Asset Catalogs

Colors and symbols can have a variety of meanings across different cultures and languages. You can localize colors and images to your project’s asset catalogs to help bring an even richer cultural experience for all users.

Open Assets, and select the color asset Region. With the color highlighted, under the Attributes inspector, find and select Spanish under Localization.

Adding Spanish color localization

Now select the color square for Spanish. Again in the Attributes inspector, change Input Method to 8-bit Hexadecimal, and set the Hex value to #006847.

Changing Spanish color localization to green

Set your scheme’s language to Spanish, then build and run. Your title will now be green.

App screenshot showing Spanish title in green

If you switch your scheme’s language back to English, the title will be red.

Using Automatic Grammar Agreement

One of the more unique and powerful things Apple introduced with iOS 15 is automatic grammar agreement. In English, the rules behind pluralizing a noun are relatively simple. If you have one of something, you typically use the singular form of the noun. When you have zero or more than one, you use the plural form. There are some exceptions, but for the most part, that’s it.

One thing most English speakers don’t have to think about is gendered nouns. Many languages apply a grammatical gender to nouns, which can affect the articles, verbs and adjectives used with the nouns.

As an example, in Spanish, the words paper and house have different genders:

  • Paper, masculine: el papel
  • House, feminine: la casa

In languages that assign gender to nouns, pluralizing words requires the correct agreement between the number and gender. The rules can get quite complex for those not familiar with this concept, especially when learning how to pluralize combinations of things that may contain different genders. In the past, developers relied on a stringsdict file to account for the basic pluralization of things.

The following block of code might be your first instinct to handle pluralizing strings:

if points == 0 {
  print("0 points")
} else if points == 1 {
  print("1 point")
} else {
  print("\(points) points")
}

However, this provides no flexibility for translations. With stringsdict files, you can declare variables and provide the different values for varying amounts. This works really well and allows for all sorts of scalability and localization. It has its own set of challenges, though.

Enter automatic grammar agreement. To kick things off, open ContentView.swift and find the property scoreView. Note the string it uses to show the score in a Text view.

  Text("Score: \(quiz.score)")

You’ll change the localization of this string to include an appropriately pluralized form of ‘point’ after it. Open Localizable.strings (English) and add the following line:

"Score: %lld" = "**Score:** ^[%lld Points](inflect: true)";

The localization entry you just added does the following:

  • Sets the value of your translation to include the markup to bold Score:.
  • Wraps the phrase to inflect within ^[]. This tells the system that there will be values that need inflection, or interpretation at runtime.
  • Includes an instruction to inflect the block of text preceding it.

Essentially, your localized string automatically changes the word “points” to the correct form of itself, depending on the integer value passed to the string. If you have one point, it will say “1 Point.” If you have zero or more than one, it will use “Points.”

Be sure your scheme is set to English, then build and run. Step through the quiz and pay attention to the score in the lower-left corner of the UI to see how the word “points” changes based on your score.

Simulator screenshots showing score changing

Note: The answers to each question are as follows:
  1. What day is Mexican Independence Day? September 16
  2. Which language is spoken in Andorra? Catalan
  3. What is the capital of the United States? Washington, D.C.

In the example above, the automatic grammar agreement correctly figured out that “Points” is a noun. But if it doesn’t, you can tell it which part of speech a word in your string belongs to. In Localizable (English).strings, you can change the entry for Score: %lld to the following:

"Score: %lld"
= "**Score:** ^[%lld ^[Points](grammar: { partOfSpeech: \"noun\" })]
  (inflect: true)";

The app will look very similar to its previous state, but you’ve made these changes:

  • Wrapped “Points” in brackets, telling the system you are going to provide more instructions about this word.
  • Within parentheses, provided a key-value pair with the key grammar.
  • Inside, you’ll see another key-value pair, with the key partOfSpeech and the value "noun". This requires escape characters, as this instruction lives within a string itself.

This will have the same result as before, as “Points” is already identified by the system as a noun. However, if you find words not behaving as you’d expect, you can customize your localizations as shown.

Terms of Address

In Spanish, even the way you welcome the user can depend on their gender. Spanish-language users can configure a term of address in their Language & Region settings, so you can account for this using automatic grammar agreement also. Change this line in Localizable.strings (Spanish):

"Welcome to _Country Quiz Time_" = "Bienvenido a _Country Quiz Time_";

to

"Welcome to _Country Quiz Time_" = "^[Bienvenido](inflect: true, 
  inflectionAlternative:'Te damos la bienvenida') a _Country Quiz Time_";

Here’s what this does:

  • Tells the system to inflect ‘Bienvenido’. The system will inflect it to ‘Bienvenido’ (masculine) or Bienvenida’ (feminine) according to the user’s preferred term of address setting.
  • Gives a gender-neutral alternative, ‘Te damos la bienvenida’, to display if the user has not specified a term of address.

Make sure your scheme’s language is set to Spanish, then build and run. If you haven’t configured a term of address, you will now see the gender-neutral welcome message.

App screenshot showing the gender-neutral Spanish welcome message

Finalizing Translations

You’re almost done! As the last step, you’re going to add all the possible translations in Spanish and import the values into Xcode. The downloaded project materials contains a file with some of the Spanish translations ready to go.

In Xcode, select Product ▸ Import Localizations…. Navigate to CountryQuizTime_Materials/translations/es.xcloc from the downloaded materials, and finish importing.

Note: From time to time, Xcode may warn you that translations are missing as you attempt to import. For this tutorial, if you see this, it’s OK to continue without worrying. However, when you’re working on a production app, it’s important to review missing entries.

With your scheme’s language set to Spanish, build and run.

Screenshot showing the gender-neutral Spanish title in green, and the first question and answers all in Spanish

And with that, you’ve finished learning how to use the newest features of SwiftUI and localization!

Where to Go From Here?

You can download the completed version of the project by clicking the Download Materials button at the top or bottom of this tutorial.

You’re all set to use all the new techniques for localizing your app in iOS 15.

If you’d like to learn more about localizing your app, not just with SwiftUI, take a look at Internationalizing Your iOS App: Getting Started. You can also take the multi-part course Multi-Language Support with Localization in iOS. To learn more about other ways to make your app welcoming to people from different cultures, watch The practice of inclusive design from WWDC 2021.

You can learn more about formatting your strings with Markdown at GitHub.

We hope you enjoyed this tutorial. If you have any questions or comments, please join the forum discussion below!