Creating Custom Gestures in Flutter
Learn how to add custom gestures in your Flutter app by working on a fun lock-picking app. By Alejandro Ulate Fallas.
Gestures and motion are a great way to catch a user’s attention in your app. Typically, you use them to provide a more natural interaction between the person using your app and, well… your app! Simple taps can only do so much, and adding different custom gestures can significantly improve the user experience.
In this tutorial, you’ll:
- Learn how
GestureDetectorworks and the common uses for it. - Learn the chain of responsibility design pattern.
- Add common gestures expected on mobile apps.
- Use
RawGestureDetectorto recognize custom gestures. - Create a custom rotation gesture.
- Combine both common and custom gestures.
Getting Started
Download the starter project by clicking Download Materials at the top or bottom of the tutorial.
You’ll work on Keymotion, a mischievous game that uses custom gestures to test the user’s lock-picking skills. The game’s goal is simple: Gather as many keys as possible before the time runs out. The players try to guess the combination of a lock by rotating it with two fingers. A combination is a specific position that the player needs to rotate the lock to. The game also has bonus keys you can collect by performing secret gestures in the app. You’ll add this feature later in this tutorial.
Open the starter project in VS Code 1.61 or later. You can also use Android Studio, but you’ll have to adapt the instructions below as needed.
Use a recent version of Flutter, 2.5 or above. VS Code should show a notification prompting you to click into it to get the dependencies.
If VS Code doesn’t get the dependencies, then download them by opening pubspec.yaml and clicking the get package icon on the top-right corner or by running the command flutter pub get from the terminal.
Here’s a quick rundown of how the project is set up:
- main.dart: Standard main file required for Flutter projects.
- domain.dart: Contains the game logic and corresponding class definitions.
- app: A folder with the app widget and also a helper file with colors defined by the brand guidelines.
-
presentation: Contains different folders that build Keymotion’s UI:
- pages has all the pages.
- widgets contains all the reusable widgets.
- dialogs has all the game’s dialog.
-
gestures contains
RotateGestureRecognizer, where you’ll place the custom rotation logic.
Build and run the starter project using the emulator of your preference or a mobile device. At this point, you’ll see the following:
As you can see, this is your main game menu. Tap Play to see what the game screen looks like:
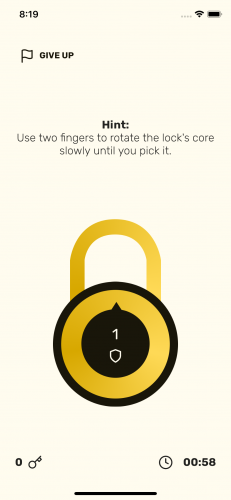
At the top of the screen, you’ll see the GIVE UP button. When tapped, it’ll open a dialog to confirm your decision to leave the game.
The game screen has a big lock with a small number indicating the number of combinations the user has to pick. Tap it, and you’ll see the core rotate. You’ll convert this to the custom rotation gesture later in this tutorial.
At the bottom, you’ll also see the game’s stat bar. On the left, it has the number of keys, indicating the number of locks picked. On the right, it has a countdown timer with the time left to discover the combinations. Once the timer is up, it’ll show the Game Over dialog, allowing the player to start a new game or go back to the game menu.
For now, tap GIVE UP and confirm your decision to return to the game menu.
Learning About Gestures
Gestures are a great way to enhance the interactivity between the app and users. Normally, users expect the app to support at least the basic gestures, depending on the type of the app. For example, if you use an app that has a list in it, you might expect to be able to:
- Tap the list item to see details.
- Long-press the list item to move it around.
- Swipe the item to dismiss or delete it.
Of course, some gestures have variations in their usage. An example is swiping an item, which is used for revealing different actions or deleting.
Navigation Gestures are another great example. Many new devices have gestures that allow the user to navigate between screens without hardware buttons.
Basic and Complimentary Gestures
Gestures are also classified as basic or complimentary. Basic gestures are the simplest user interactions, like tapping an item or swiping to scroll. Complimentary gestures are more complex and often combine basic gestures. They can also be a different interpretation of a basic gesture’s user interaction.
Here are some of basic and complementary gestures that users expect from an app:
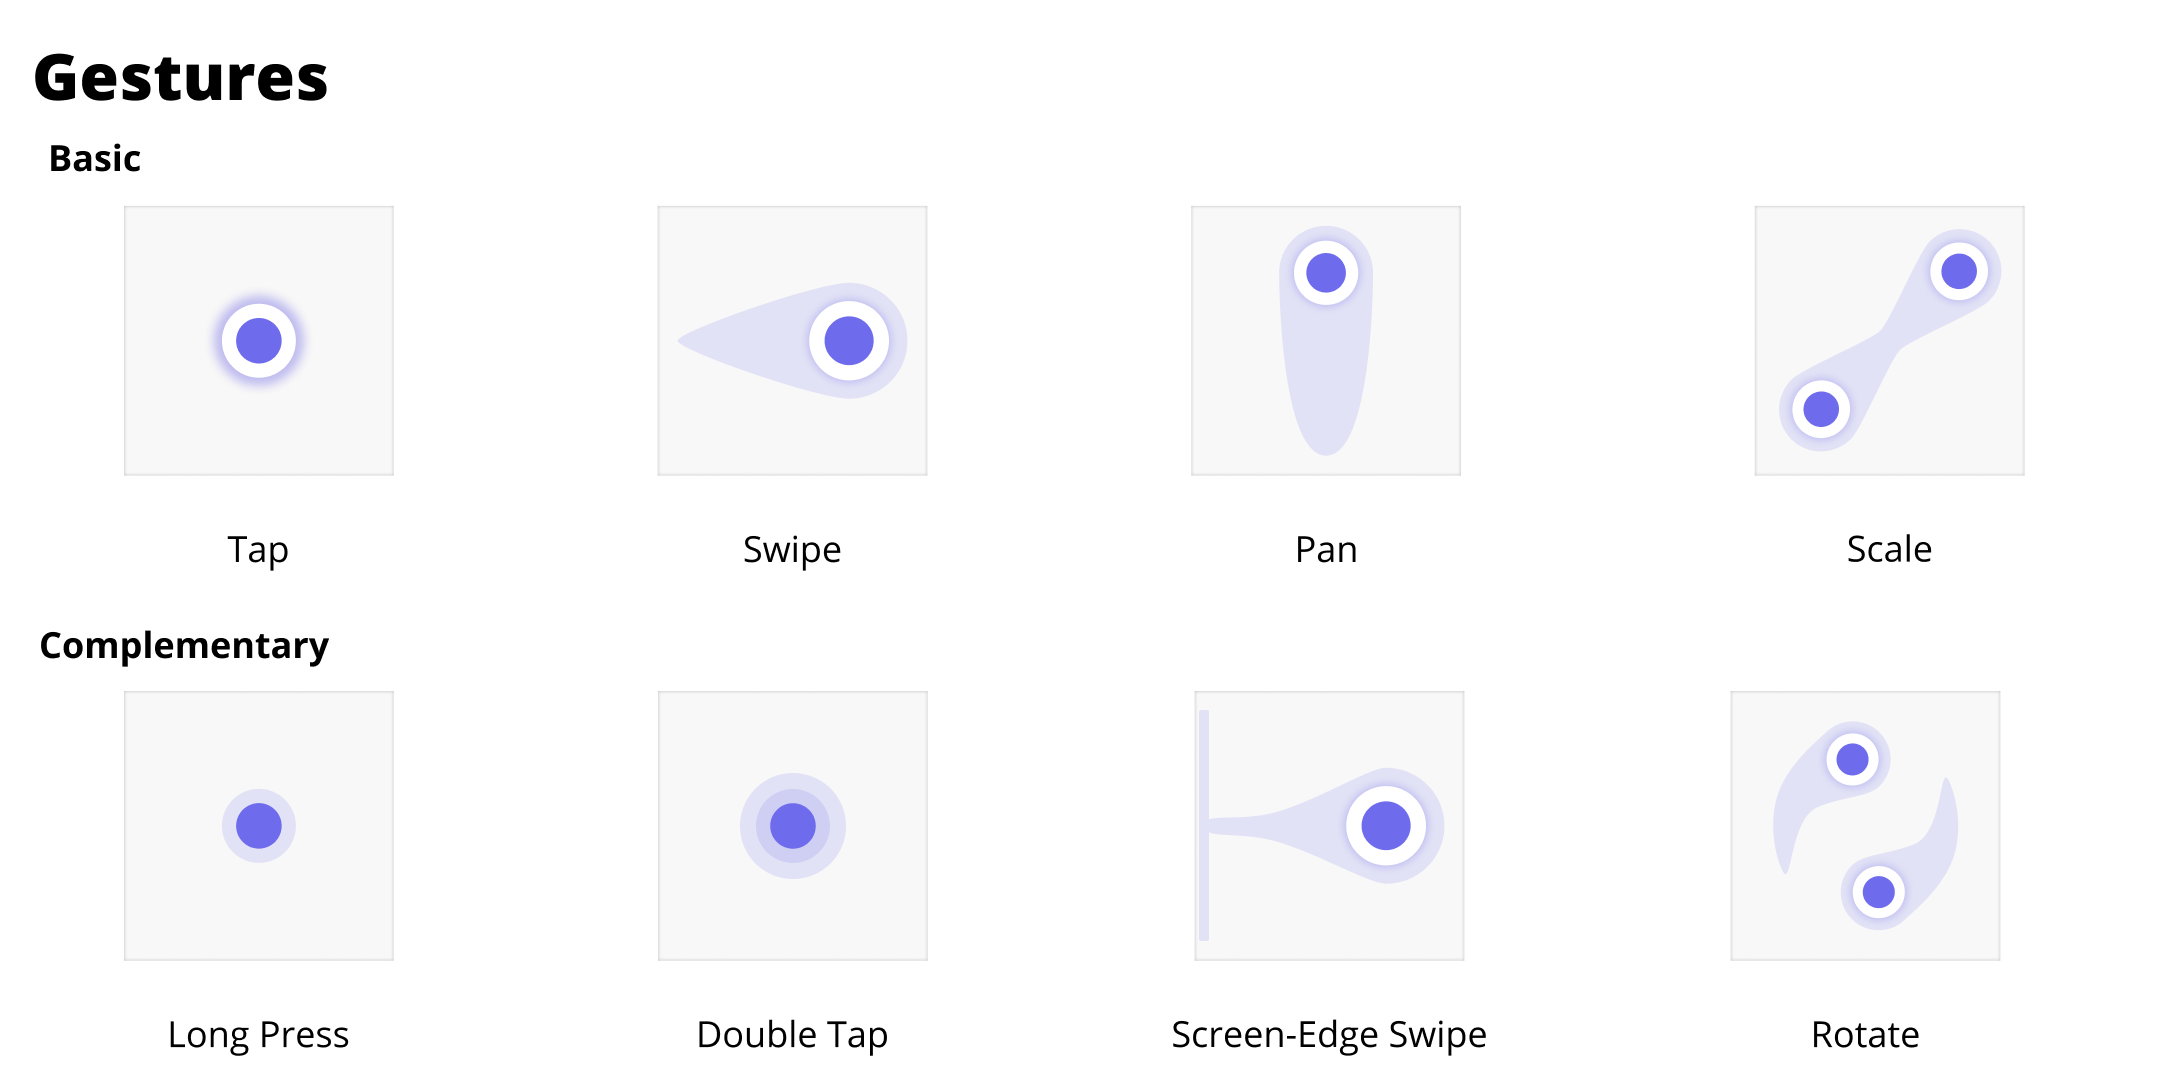
As you can see from the image above, a complimentary gesture could be long-pressing an item, which would be a variation on the basic tap gesture.
Another example of a complementary gesture is rotation, which is a variation on the basic scale gesture. Both are performed using two fingers; in fact, it’s common to add both gestures so users can rotate an element on the screen while zooming in or out.
Now that you’re familiar with some of the different types of gestures, it’s time to learn about Flutter’s gestures library.
Introducing GestureDetector
Out of the box, Flutter’s gestures library does a great job understanding basic and complementary gestures. It uses a combination of widgets and interpreter classes called recognizers to provide a robust API around gestures.
Widgets are responsible for receiving different types of user input. When the user interacts with the widget on the screen, it generates an input event that needs interpretation. Recognizers are in charge of interpreting those user inputs. Some examples of said inputs are tapping a button or scrolling up.
You might wonder how to create a widget that receives the correct user input, but the answer is: You don’t need to! Flutter already has a widget called GestureDetector that allows you to detect common gestures.
In fact, you’ve probably already interacted with a widget and recognizer combo. Widgets like InkWell or ElevatedButton use GestureDetector under the hood to recognize gestures like tap or long-press.
Keymotion also has a GestureDetector added to detect tap gestures to rotate the lock. Open lib/presentation/widgets/rotating_lock_core.dart and pay close attention to build in the widget’s state:
Widget build(BuildContext context) {
 // 1.
 return GestureDetector(
    // 2.
    onTap: () {
      setState(() {
        // 3.
        currentAngle += 2 * math.pi / 180;
        final angleDegrees = (currentAngle * 180 ~/ math.pi).abs();

        context.read<Game>().tryCombination(angleDegrees);
      });
    },
    child: Stack(...)
    ),
  );
}
Here’s a quick rundown of what’s going on in the code above:
After the current angle is updated, the Game object checks to see whether the combination solves the lock or not. If it’s a valid combination, then it resets the currentAngle to 0 so the user can start from scratch and try other combinations.
-
GestureDetectorhandles all interactions and gestures done within the bounds ofStack. - In this case, it recognizes the tap gesture by implementing
onTapin the widget. Then, the app usessetStateto update the current angle of rotation and ensure the widget is rebuilt. - Within
setState, you’re updating the current rotation angle for the lock by adding a turn. In this case, a turn is an arbitrary value calculated in radians. At the same time, you’re converting the radians to degrees. This is what the game understands as a combination.After the current angle is updated, the
Gameobject checks to see whether the combination solves the lock or not. If it’s a valid combination, then it resets thecurrentAngleto 0 so the user can start from scratch and try other combinations.Note: If you want to know whatcontext.read()does, check out the State Management With Provider tutorial, as it explainsproviderin detail.
context.read() does, check out the State Management With Provider tutorial, as it explains provider in detail.
Alright, you’ve read for quite a while — now it’s time for some coding!