
Building Games in Flutter with Flame: Getting Started
Learn how to build a beautiful game in Flutter with Flame. In this tutorial, you’ll build a virtual world with a movable and animated character. By Vincenzo Guzzi.
Flutter is changing the world by bringing fast, natively compiled software to the masses. This allows indie developers to release applications for every platform in the same time it would usually have taken a software company. It’s only natural that game developers want to take advantage of that, too.
Traditionally, a mobile game developer would need to choose between native performance but slow development time or building with a multi-platform tool like Unity but risk slow loading times and large app sizes.
If only there were a way to develop beautiful native games without all the bloat. That’s where Flame comes in.
Today, you’ll build a virtual world using Flutter and the Flame engine. You’ll learn how to:
- Use Flame version 1.5 to make a game for the web, Android and iOS.
- Use a game loop.
- Create a movable player character.
- Animate your character with sprite sheets.
- Add box collision by reading from a tile map.
Getting Started
You’ll develop a game called RayWorld, a 2-D orthographic game in the style of old-school Pokemon.

Using an older game engine written in something like C++, a tutorial like this would span over three or four series. But with the power of Flutter and the Flame engine combined, you’ll create all this in just one.
You’ll need the starter project to complete this tutorial. Download it by clicking the Download Materials button at the top or bottom of the tutorial.
Build and run your project in your preferred IDE. This tutorial will use Visual Studio Code.
You’ll see a blank screen with a joypad in the bottom right corner:

What you see here is rendered purely with Flutter; you’ll need Flame to build the rest of your components.
The Flame Game Engine
Flame — a lightweight game engine built on top of Flutter — gives game developers a set of tools such as a game loop, collision detection and sprite animations to create 2-D games.
This tutorial will use Flame 1.5.
The Flame engine is modular, allowing users to pick and choose which API’s they would like to use, such as:
- Flame – The core package, which offers the game loop, basic collision detection, Sprites and components.
- Forge2D – A physics engine with advanced collision detection, ported from Box2D to work with Flame.
- Tiled – A module for easily working with tile maps in Flame.
- Audio – A module that adds audio capabilities into your Flame game.
Flame harnesses the power of Flutter and provides a lightweight approach to developing 2-D games for all platforms.
Setting up Your Flame Game Loop
The first component you’ll set up in RayWorld is your Flame game loop. This will be the heart of your game. You’ll create and manage all your other components from here.
Open your lib folder and create a new file called ray_world_game.dart, then add a new class called RayWorldGame, which extends from the Flame widget FlameGame:
import 'package:flame/game.dart';

class RayWorldGame extends FlameGame {
 @override
 Future<void> onLoad() async {
   // empty
 }
}
Now to use your widget. Open main_game_page.dart. Add these two imports to the top of main_game_page.dart:
import 'package:flame/game.dart';
import 'ray_world_game.dart';
Next, create an instance of your new class at the top of MainGameState:
RayWorldGame game = RayWorldGame();
Now, add a GameWidget to MainGameState as the first widget in the Stack, replacing // TODO 1 with:
GameWidget(game: game),
Right now, your game will do nothing. It needs some components to render. Time to add a playable character!
Creating Your Player
Add a folder in lib called components. This folder will store all your Flame components, starting with your player.
Create a file in components called player.dart. In this class, set up your Player class:
import 'package:flame/components.dart';

class Player extends SpriteComponent with HasGameRef {
 Player()
     : super(
         size: Vector2.all(50.0),
       );

 @override
 Future<void> onLoad() async {
   super.onLoad();
   // TODO 1
 }
}
Your Player extends a Flame component called SpriteComponent. You’ll use this to render a static image in your game. You’re setting the size of the player to be 50.
By using the HasGameRef mixin, the Player now has access to the core functionality of the Flame engine. Now to use that functionality by loading the sprite.
Replace // TODO 1 in Player with logic to load your player image and set the player’s initial position.
sprite = await gameRef.loadSprite('player.png');
position = gameRef.size / 2;
Here, you use that game reference from the HasGameRef mixin to load a sprite into your game with the image of player.png. This image is located in your Flutter assets folder. You also set the players position to be in the middle of the game.
Go back to your ray_world_game.dart file and add your new Player component as an import at the top of the file:
import 'components/player.dart';
In the top of RayWorldGame, create your Player:
final Player _player = Player();
In the game onLoad method, replace // empty with code to add your player into the game:
add(_player);
add is a super important method when building games with the Flame engine. It allows you to register any component with the core game loop and ultimately render them on screen. You can use it to add players, enemies, and lots of other things as well.
Build and run, and you’ll see a little dude standing in the center of your game.
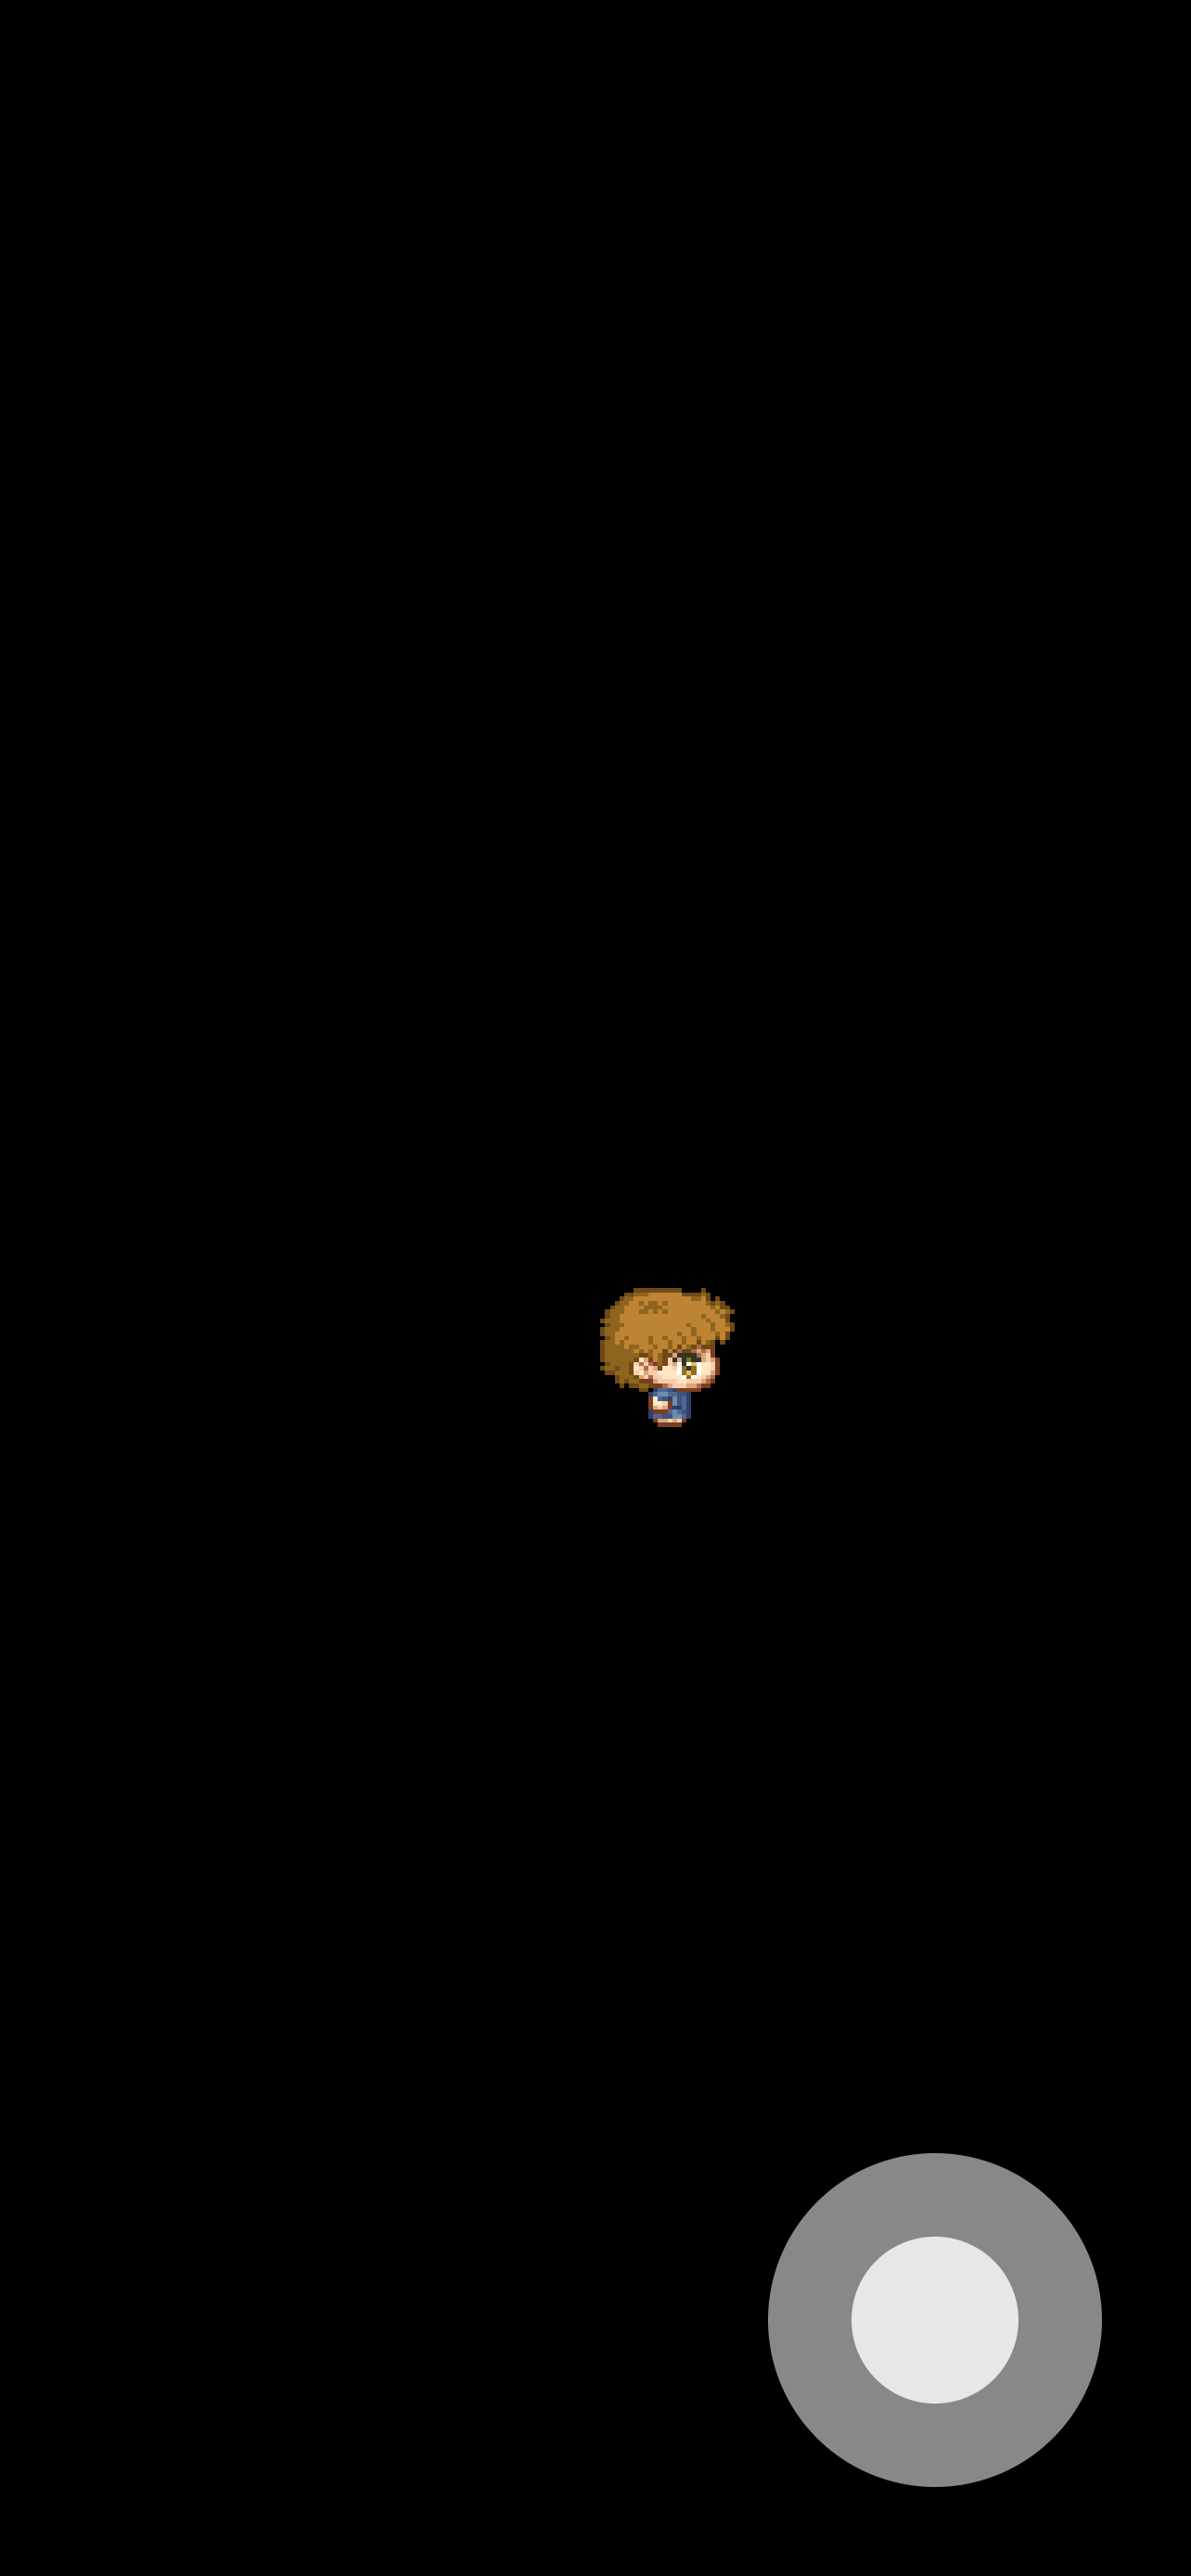
Pretty exciting!
Now, it’s time to get your player moving.
Adding Movement to Your Player
To move your player, you first need to know what direction the joypad is dragged.
The joypad direction is retrieved from the Joypad Flutter widget that lives outside the game loop. The direction then gets passed to the GameWidget in main_game_page.dart. In turn, this can pass it to Player, which can react to the direction change with movement.
Start with the Player.
Open your player.dart file and add the import for direction:
import '../helpers/direction.dart';
Then, declare a Direction variable in the top of Player and instantiate it to Direction.none:
Direction direction = Direction.none;
The joypad will change to either up, down, left, right, or none. With each new position, you want to update the direction variable.
Open ray_world_game.dart. Import the direction.dart:
import '../helpers/direction.dart';
Now add a function to update the direction of your player in RayWorldGame:
void onJoypadDirectionChanged(Direction direction) {
   _player.direction = direction;
}
Now, head back to main_game_page.dart and replace // TODO 2 with a call to your game direction function:
game.onJoypadDirectionChanged(direction);
And voilà, you’ve passed a user input from a Flutter widget into your game and player components.
Now that your player component knows what direction it should be moving in, it’s time to execute on that information and actually move your player!