Scheduling Tasks With Android WorkManager
In this WorkManager tutorial, you’ll learn how to schedule different kinds of tasks, test the tasks, as well as debug different tasks. By Harun Wangereka.
Observing Work Progress
With WorkManager, you can observe the progress of your work when the app is in the foreground.
To observe your work’s progress, add the following method below createOneTimeWorkRequest():
private fun observeWork(id: UUID) {
  // 1
  workManager.getWorkInfoByIdLiveData(id)
    .observe(this, { info ->
      // 2
      if (info != null && info.state.isFinished) {
        hideLottieAnimation()
        activityHomeBinding.downloadLayout.visibility = View.VISIBLE
        // 3
        val uriResult = info.outputData.getString("IMAGE_URI")
        if (uriResult != null) {
          showDownloadedImage(uriResult.toUri())
        }
      }
    })
}
The code above:
- Gets the work information using the work ID and returns it as observable
LiveData. - Adds a null check for the work information and the work completion.
- Gets the data from your work and displays the image. It uses the
IMAGE_URIkey from the worker to get the specific value. Without this key, it can’t get the data from your work.
Add a call to observeWork() at the bottom of createOneTimeWorkRequest():
observeWork(imageWorker.id)
You pass the work ID to observeWork(). You use this ID to observe information about this particular work.
Build and run the app.

Tap START IMAGE DOWNLOAD to start the download. Once the download completes, you’ll see the following screen:
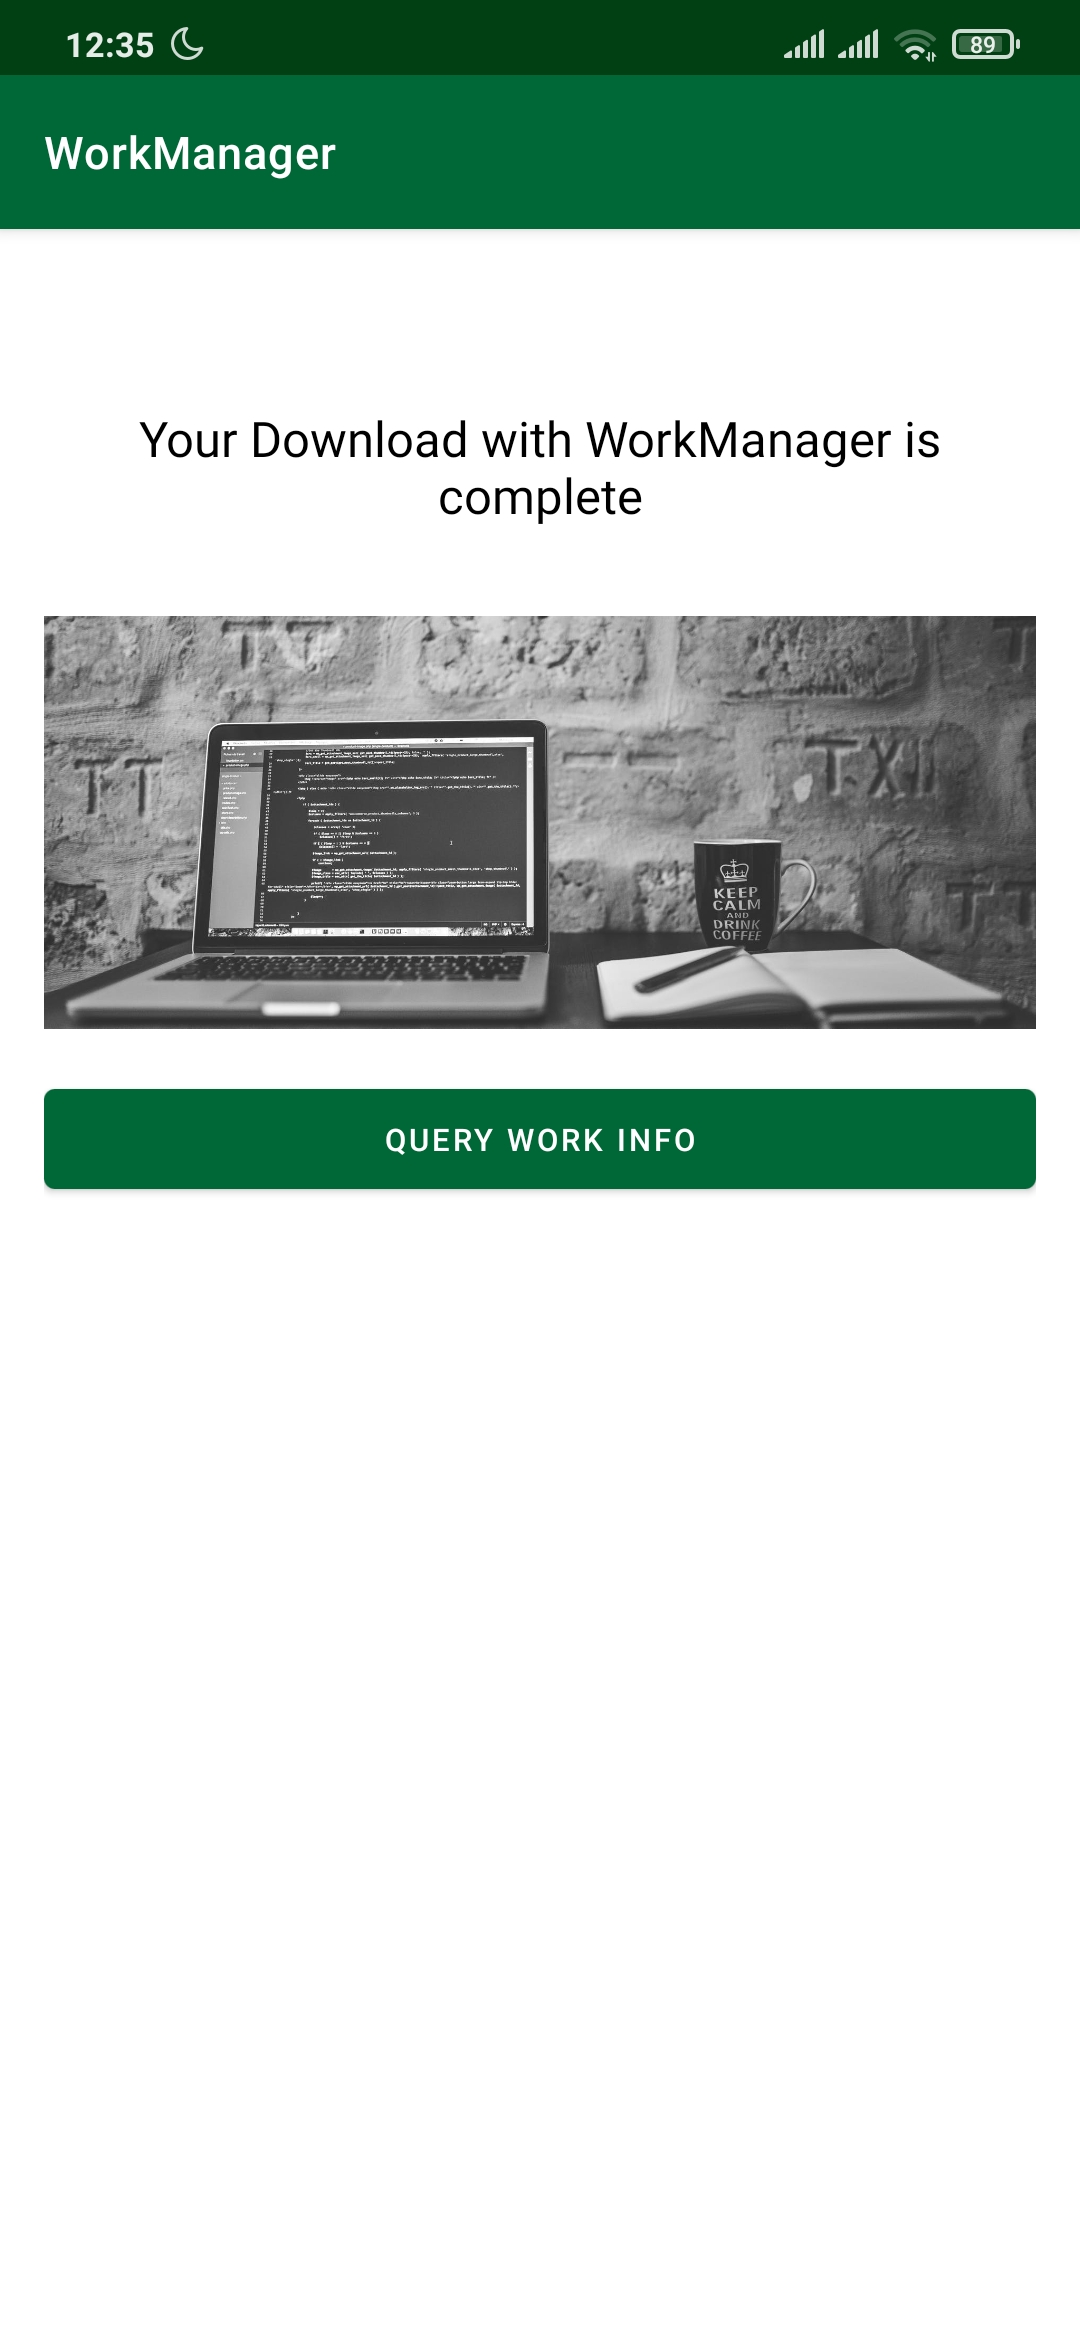
At times, you’ll need to create work that runs periodically, rather than once. In the next section, you’ll create such periodic work requests.
Creating a Periodic WorkRequest
Occasionally, your work needs to run several times, such as daily backups of a messaging app. In such cases, you use a PeriodicWorkRequest to create your WorkRequest.
Add the following code below onCreate:
private fun createPeriodicWorkRequest() {
  // 1
  val imageWorker = PeriodicWorkRequestBuilder<ImageDownloadWorker>(
    15, TimeUnit.MINUTES)
    .setConstraints(constraints)
    .addTag("imageWork")
    .build()
  // 2
  workManager.enqueueUniquePeriodicWork(
    "periodicImageDownload",
    ExistingPeriodicWorkPolicy.KEEP,
    imageWorker
  )
  observeWork(imageWorker.id)
}
In the code above, you:
- Use
PeriodicWorkRequestBuilderto define your work. Notice that it takes time as a parameter. A restriction requires the interval between successive executions of your work to be at least 15 minutes. - Submit the work to WorkManager by calling
enqueueUniquePeriodicWork. You need to pass theuniqueWorkName,existingPeriodicWorkPolicyand theimageWorkeritself.
Inside onCreate, replace createOneTimeWorkRequest() with createPeriodicWorkRequest(). The code should now be as follows:
 activityHomeBinding.btnImageDownload.setOnClickListener {
   showLottieAnimation()
   activityHomeBinding.downloadLayout.visibility = View.GONE
   createPeriodicWorkRequest()
 }
Build and run the app. Tap START IMAGE DOWNLOAD to start the download. You’ll notice that the animation doesn’t disappear. This is because periodic work never ends and only has CANCELLED state. After each run, the work will be re-run regardless of the previous state.
Creating a Delayed WorkRequest
A delayed WorkRequest is a OneTime WorkRequest whose execution is delayed by a given duration.
First, add the following code below onCreate:
private fun createDelayedWorkRequest() {
  val imageWorker = OneTimeWorkRequestBuilder<ImageDownloadWorker>()
    .setConstraints(constraints)
    .setInitialDelay(30, TimeUnit.SECONDS)
    .addTag("imageWork")
    .build()
  workManager.enqueueUniqueWork(
    "delayedImageDownload",
    ExistingWorkPolicy.KEEP,
    imageWorker
  )
  observeWork(imageWorker.id)
}
Notice the addition of setInitialDelay(30, TimeUnit.SECONDS), which takes the amount of time you want to delay your work.
Inside onCreate, replace createPeriodicWorkRequest() with createDelayedWorkRequest(). Your final result will be:
 activityHomeBinding.btnImageDownload.setOnClickListener {
   showLottieAnimation()
   activityHomeBinding.downloadLayout.visibility = View.GONE
   createDelayedWorkRequest()
 }
Build and run the app. Tap START IMAGE DOWNLOAD to start the download, which delays for 30 seconds. After this delay is complete, your work begins to run. When it finishes, you’ll see the following screen:
You’ve seen how to create your work and define and run your WorkRequest. It’s time for you to learn how to query work information.
Querying Work Information
WorkManager allows you to write complex queries. You use the unique work name, tag and state, using WorkQuery objects.
To query information about the work you’ve run, add the following code below observeWork():
private fun queryWorkInfo() {
  // 1
  val workQuery = WorkQuery.Builder
    .fromTags(listOf("imageWork"))
    .addStates(listOf(WorkInfo.State.SUCCEEDED))
    .addUniqueWorkNames(
       listOf("oneTimeImageDownload", "delayedImageDownload",
         "periodicImageDownload")
    )
    .build()
  // 2
  workManager.getWorkInfosLiveData(workQuery).observe(this) { workInfos->
    activityHomeBinding.tvWorkInfo.visibility = View.VISIBLE
    activityHomeBinding.tvWorkInfo.text =
      resources.getQuantityString(R.plurals.text_work_desc, workInfos.size,
        workInfos.size)
  }
}
Here’s what the code above does:
- This is a
WorkQuerybuilder, and you’re setting the tag, state and unique names for the works you want to get their information. - You call
getWorkInfosLiveData()and passworkQuery. This method returns observable data.
To wire everything up, add the following code inside onCreate:
activityHomeBinding.btnQueryWork.setOnClickListener {
  queryWorkInfo()
}
In the code above, you set a click listener to the QUERY WORK INFO button, which calls queryWorkInfo().
Build and run the app. Tap START IMAGE DOWNLOAD and wait for the download to complete.
Tap QUERY WORK INFO:

The WorkQuery returns the completed work and the result is shown on the screen.
In the next section, you’ll learn how to initialize WorkManager in different ways.
WorkManager Initialization Types
WorkManager has two types of initialization:
-
Automatic Initialization: WorkManager initializes automatically with default configuration and no customizations. The initialization happens in your application
onCreate. It can add an extra overhead when WorkManager isn’t in use. - On-Demand Initialization: This lets you define WorkManager when you need it. It removes the overhead from app startup and in turn improves your app performance. This initialization is extremely helpful when you need more informative WorkManager logs.
Using On-Demand Initialization
To use On-Demand Initialization, you first need to disable automatic initialization. To achieve this, head over to AndroidManifest.xml. Replace TODO ADD PROVIDER with:
<provider
  android:name="androidx.work.impl.WorkManagerInitializer"
  android:authorities="${applicationId}.workmanager-init"
  tools:node="remove" />
Be sure to add the tools import when prompted to do so. This removes the default WorkManager initializer.
Second, you’ll need to change your application class to add a new configuration provider. Head to WorkManagerApp.kt and replace the class with the following code:
// 1
class WorkManagerApp : Application(), Configuration.Provider {
  // 2
  override fun getWorkManagerConfiguration(): Configuration {
    return Configuration.Builder()
      .setMinimumLoggingLevel(android.util.Log.DEBUG)
      .build()
  }

  override fun onCreate() {
    super.onCreate()
    // 3
    WorkManager.initialize(this, workManagerConfiguration)
  }
}
In the code above:
- The application class extends
Configuration.Provider. This allows you to provide your own custom WorkManager configuration. - You provide your own implementation of
getWorkManagerConfiguration(), in which you provide your custom WorkManager initialization. You also specify the minimum logging level. - Last, you initialize WorkManager with a custom configuration you’ve created.
You might see some warnings due to missing imports. At the top of the file, add:
import androidx.work.Configuration
import androidx.work.WorkManager
Build and run the app. The functionality does not change. Now, you’re using on-demand initialization for your WorkManager.