Scheduling Tasks With Android WorkManager
In this WorkManager tutorial, you’ll learn how to schedule different kinds of tasks, test the tasks, as well as debug different tasks. By Harun Wangereka.
Testing Your Workers
Testing is one of the most important aspects of software development. WorkManager provides comprehensive APIs to enable you to write tests. This is very important because you can test your workers and confirm that everything runs as expected.
Inside the androidTest directory, create a new file named ImageDownloadWorkerTest.kt and add the following code:
class ImageDownloadWorkerTest {

  // 1
  @get:Rule
  var instantTaskExecutorRule = InstantTaskExecutorRule()

  @get:Rule
  var workerManagerTestRule = WorkManagerTestRule()

  // 2
  @Test
  fun testDownloadWork() {
    // Create Work Request
    val work = TestListenableWorkerBuilder<ImageDownloadWorker>(workerManagerTestRule.targetContext).build()
    runBlocking {
      val result = work.doWork()
      // Assert
      assertNotNull(result)
    }
  }
}
To sum up what the above code does:
- You get
InstantTaskExecutorRule, which swaps the background executor used by the Architecture Components with a different one that executes each task synchronously. You also getWorkManagerTestRule, which initializes WorkManager and also provides a context. - This is the actual test, which is to test your
ImageDownloadWorker. You’re usingTestListenableWorkerBuilder, which runs yourWorker. In this case, yourWorkeris aCoroutineWorker.
Add the following imports to resolve all errors:
import androidx.arch.core.executor.testing.InstantTaskExecutorRule
import androidx.work.testing.TestListenableWorkerBuilder
import com.raywenderlich.android.workmanager.workers.ImageDownloadWorker
import kotlinx.coroutines.runBlocking
import org.junit.Assert.assertNotNull
import org.junit.Rule
import org.junit.Test
Click the Run icon to the left of testDownloadWork(). You’ll see the following:
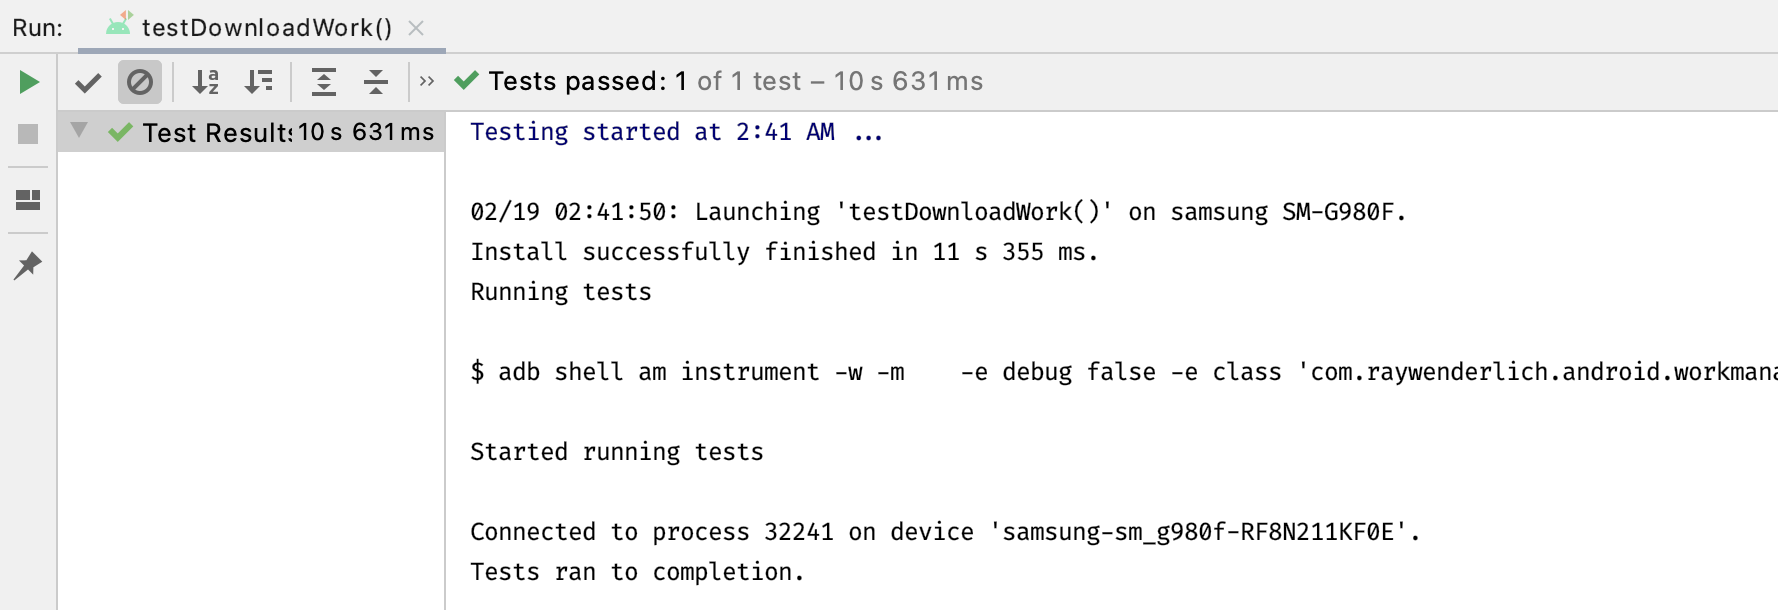
Congratulations! :] You wrote your first Worker test. Next, you’ll be writing tests for your WorkRequest.
Testing Delayed Work
Open SampleWorker.kt inside workers and add the following code:
import android.content.Context
import androidx.work.Worker
import androidx.work.WorkerParameters

class SampleWorker (
  private val context: Context,
  private val workerParameters: WorkerParameters
) : Worker(context, workerParameters) {
  override fun doWork(): Result {
    return when (inputData.getString("Worker")) {
      "sampleWorker" -> Result.success()
      else -> Result.retry()
    }
  }
}
The class above extends from Worker and overrides doWork(). It checks the input data and returns success when it finds the sampleWorker input. This SampleWorker is for testing purposes. It shows you how to test normal Workers.
Head to SampleWorkerTest.kt, which is under the androidTest directory. This class is bare and has only the rules at the top. You’ll be adding tests in this class.
Below workerManagerTestRule, add the following code:
@Test
fun testWorkerInitialDelay() {
  val inputData = workDataOf("Worker" to "sampleWorker")
  // 1
  val request = OneTimeWorkRequestBuilder<SampleWorker>()
    .setInitialDelay(10, TimeUnit.SECONDS)
    .setInputData(inputData)
    .build()

  // 2
  val testDriver = WorkManagerTestInitHelper
    .getTestDriver(workerManagerTestRule.targetContext)
  val workManager = workerManagerTestRule.workManager
  // 3
  workManager.enqueue(request).result.get()
  // 4
  testDriver?.setInitialDelayMet(request.id)
  // 5
  val workInfo = workManager.getWorkInfoById(request.id).get()
  // 6
  assertThat(workInfo.state, `is`(WorkInfo.State.SUCCEEDED))
}
With the code above, you:
- Create your
WorkRequestusingOneTimeWorkRequestBuilder. You set an initial delay of 10 seconds. You’re also setting input data to your request. - Create a
TestDriver, which will help in simulating the delay. You’re creating an instance ofWorkManager, too. - Enqueue your request.
- Simulate the actual delay for your work.
- Get work info and output data.
- Do an assertion to check the succeeded state in your work.
To resolve import errors, add the following imports at the top of the file:
import androidx.work.OneTimeWorkRequestBuilder
import androidx.work.WorkInfo
import androidx.work.testing.WorkManagerTestInitHelper
import androidx.work.workDataOf
import com.raywenderlich.android.workmanager.workers.SampleWorker
import org.hamcrest.CoreMatchers.`is`
import org.junit.Assert.assertThat
import java.util.concurrent.TimeUnit
import org.junit.Test
Click the Run icon to the left of testWorkerInitialDelay(). You’ll see the following:

You’ve learned how to test delayed workers. Next, you’ll test periodic work requests.
Testing Periodic Work
Still on the SampleWorkerTest.kt, below testWorkerInitialDelay, add:
@Test
fun testPeriodicSampleWorker() {
  val inputData = workDataOf("Worker" to "sampleWorker")
  // 1
  val request = PeriodicWorkRequestBuilder<SampleWorker>(15, TimeUnit.MINUTES)
    .setInputData(inputData)
    .build()
  // 2
  val testDriver = WorkManagerTestInitHelper
    .getTestDriver(workerManagerTestRule.targetContext)
  val workManager = workerManagerTestRule.workManager
  // 3
  workManager.enqueue(request).result.get()
  // 4
  testDriver?.setPeriodDelayMet(request.id)
  // 5
  val workInfo = workManager.getWorkInfoById(request.id).get()

  // 6
  assertThat(workInfo.state, `is`(WorkInfo.State.ENQUEUED))
}
In this code, you:
- Create your
WorkRequestusingPeriodicWorkRequestBuilder, with a time interval of 10 minutes. You’re also setting input data to your request. - Make a
testDriver, which will help in simulating the time interval between each work. You’re creating an instance ofworkManager, too. - Enqueue your request.
- Notify the WorkManager testing framework that the interval’s duration is complete.
- Get work info and output data.
- Do an assertion to check for the enqueued state for your work.
Click the Run icon to the left of testPeriodicSampleWorker(). You’ll see the following:

You’ve now learned how to test periodic work requests. Next, you’ll test constraints.
Testing Constraints
SampleWorker needs only two constraints: active network connection and enough battery. TestDriver has setAllConstraintsMet for simulating constraints.
In your SampleWorkerTest, below testPeriodicSampleWorker, add:
@Test
fun testAllConstraintsAreMet() {
  val inputData = workDataOf("Worker" to "sampleWorker")
  // 1
  val constraints = Constraints.Builder()
    .setRequiredNetworkType(NetworkType.CONNECTED)
    .setRequiresBatteryNotLow(true)
    .build()
  // 2
  val request = OneTimeWorkRequestBuilder<SampleWorker>()
    .setConstraints(constraints)
    .setInputData(inputData)
    .build()
  val workManager = WorkManager
    .getInstance(workerManagerTestRule.targetContext)
  // 3
  workManager.enqueue(request).result.get()
  // 4
  WorkManagerTestInitHelper.getTestDriver(workerManagerTestRule.targetContext)
    ?.setAllConstraintsMet(request.id)
  // 5
  val workInfo = workManager.getWorkInfoById(request.id).get()
  // 6
  assertThat(workInfo.state, `is`(WorkInfo.State.SUCCEEDED))
}
Here’s a breakdown of the code above. It:
- Creates your network and battery constraints.
- Makes your
WorkRequest, usingOneTimeWorkRequestBuilder. It sets your constraints to the request. It also sets input data to your request. - Enqueues your request
- Simulates the network and battery constraints, using
WorkManagerTestInitHelper - Gets work info and output data
- Does an assertion to check for the succeeded state for your work
Click the Run icon to the left of testAllConstraintsAreMet(). You’ll see the following:

All tests have passed! :] That is truly a reason to be proud of yourself! In the next section, you’re going to look at how to create works that run in the foreground.
Creating Foreground Work
For long-running tasks, you need to show a persistent notification. This prevents the Android system from killing your process when your app is no longer running.
For such cases, WorkManager uses a foreground service to show a persistent notification to the user. With CoroutineWorker, you’ll use setForeground() to specify that your WorkRequest is important or long-running.
Navigate to ImageDownloadWorker.kt and add this below doWork():
private fun createForegroundInfo(): ForegroundInfo {
  // 1
  val intent = WorkManager.getInstance(applicationContext)
    .createCancelPendingIntent(id)
  // 2
  val notification = NotificationCompat.Builder(
     applicationContext, "workDownload")
    .setContentTitle("Downloading Your Image")
    .setTicker("Downloading Your Image")
    .setSmallIcon(R.drawable.notification_action_background)
    .setOngoing(true)
    .addAction(android.R.drawable.ic_delete, "Cancel Download", intent)
  // 3
  if (Build.VERSION.SDK_INT >= Build.VERSION_CODES.O) {
    createChannel(notification, "workDownload")
  }
  return ForegroundInfo(1, notification.build())
}
Here is what’s happening:
- This is a
PendingIntentyou’ll use to cancel the work. - This is the actual notification with an icon, title and cancel action. The cancel action is necessary for canceling work.
- You’re creating a notification channel for Android versions above Oreo. Then, you return
ForegroundInfo, which you use to update your ongoing notification.
Resolve all import errors when prompted. You’ll notice createChannel(notification, "workDownload") remains highlighted in red. To resolve this, add this method below createForegroundInfo():
@RequiresApi(Build.VERSION_CODES.O)
private fun createChannel(
  notificationBuilder: NotificationCompat.Builder,
  id: String
) {
  val notificationManager =
    context.getSystemService(Context.NOTIFICATION_SERVICE) as
        NotificationManager
  notificationBuilder.setDefaults(Notification.DEFAULT_VIBRATE)
  val channel = NotificationChannel(
    id,
    "WorkManagerApp",
    NotificationManager.IMPORTANCE_HIGH
  )
  channel.description = "WorkManagerApp Notifications"
  notificationManager.createNotificationChannel(channel)
}
In the code above, you create a notification channel. The channel is necessary for devices with version Oreo and above. Add all imports as prompted by the IDE.
Now, to get the notification working, add this in doWork() above your call to delay():
setForeground(createForegroundInfo())
Here, you call setForeground() from CoroutineWorker to mark your work as long-running or important.
Build and run the app. Then tap on START IMAGE DOWNLOAD.

Once your download image task starts, you’ll see a persistent notification. This informs the Android operating system that your task is long-running or important. The operating system won’t kill your task once your app is in the background. Once WorkManager completes the task, the notification will disappear.