SwiftUI Progressive Disclosures Tutorial
Learn how to dress up your iOS apps with SwiftUI views containing progressive disclosures using state variables, animations and transitions. By Michael Katz.
While iPhone and iPad screen sizes have increased over time, you still have a limited display field for your app. Save space and screen real estate by keeping part of your UI hidden and only showing it when the user wants or needs to see it. Progressive disclosure is the process of showing more views in response to user action. This tutorial illustrates several ways to build SwiftUI progressive disclosures, including:
- Using state properties to track visibility.
- Progressively disclosing content in cells.
- Using animation to improve SwiftUI progressive disclosures.
- Using custom transitions to improve SwiftUI progressive disclosures.
- Using toast views and sheets for SwiftUI progressive disclosures.
Getting Started
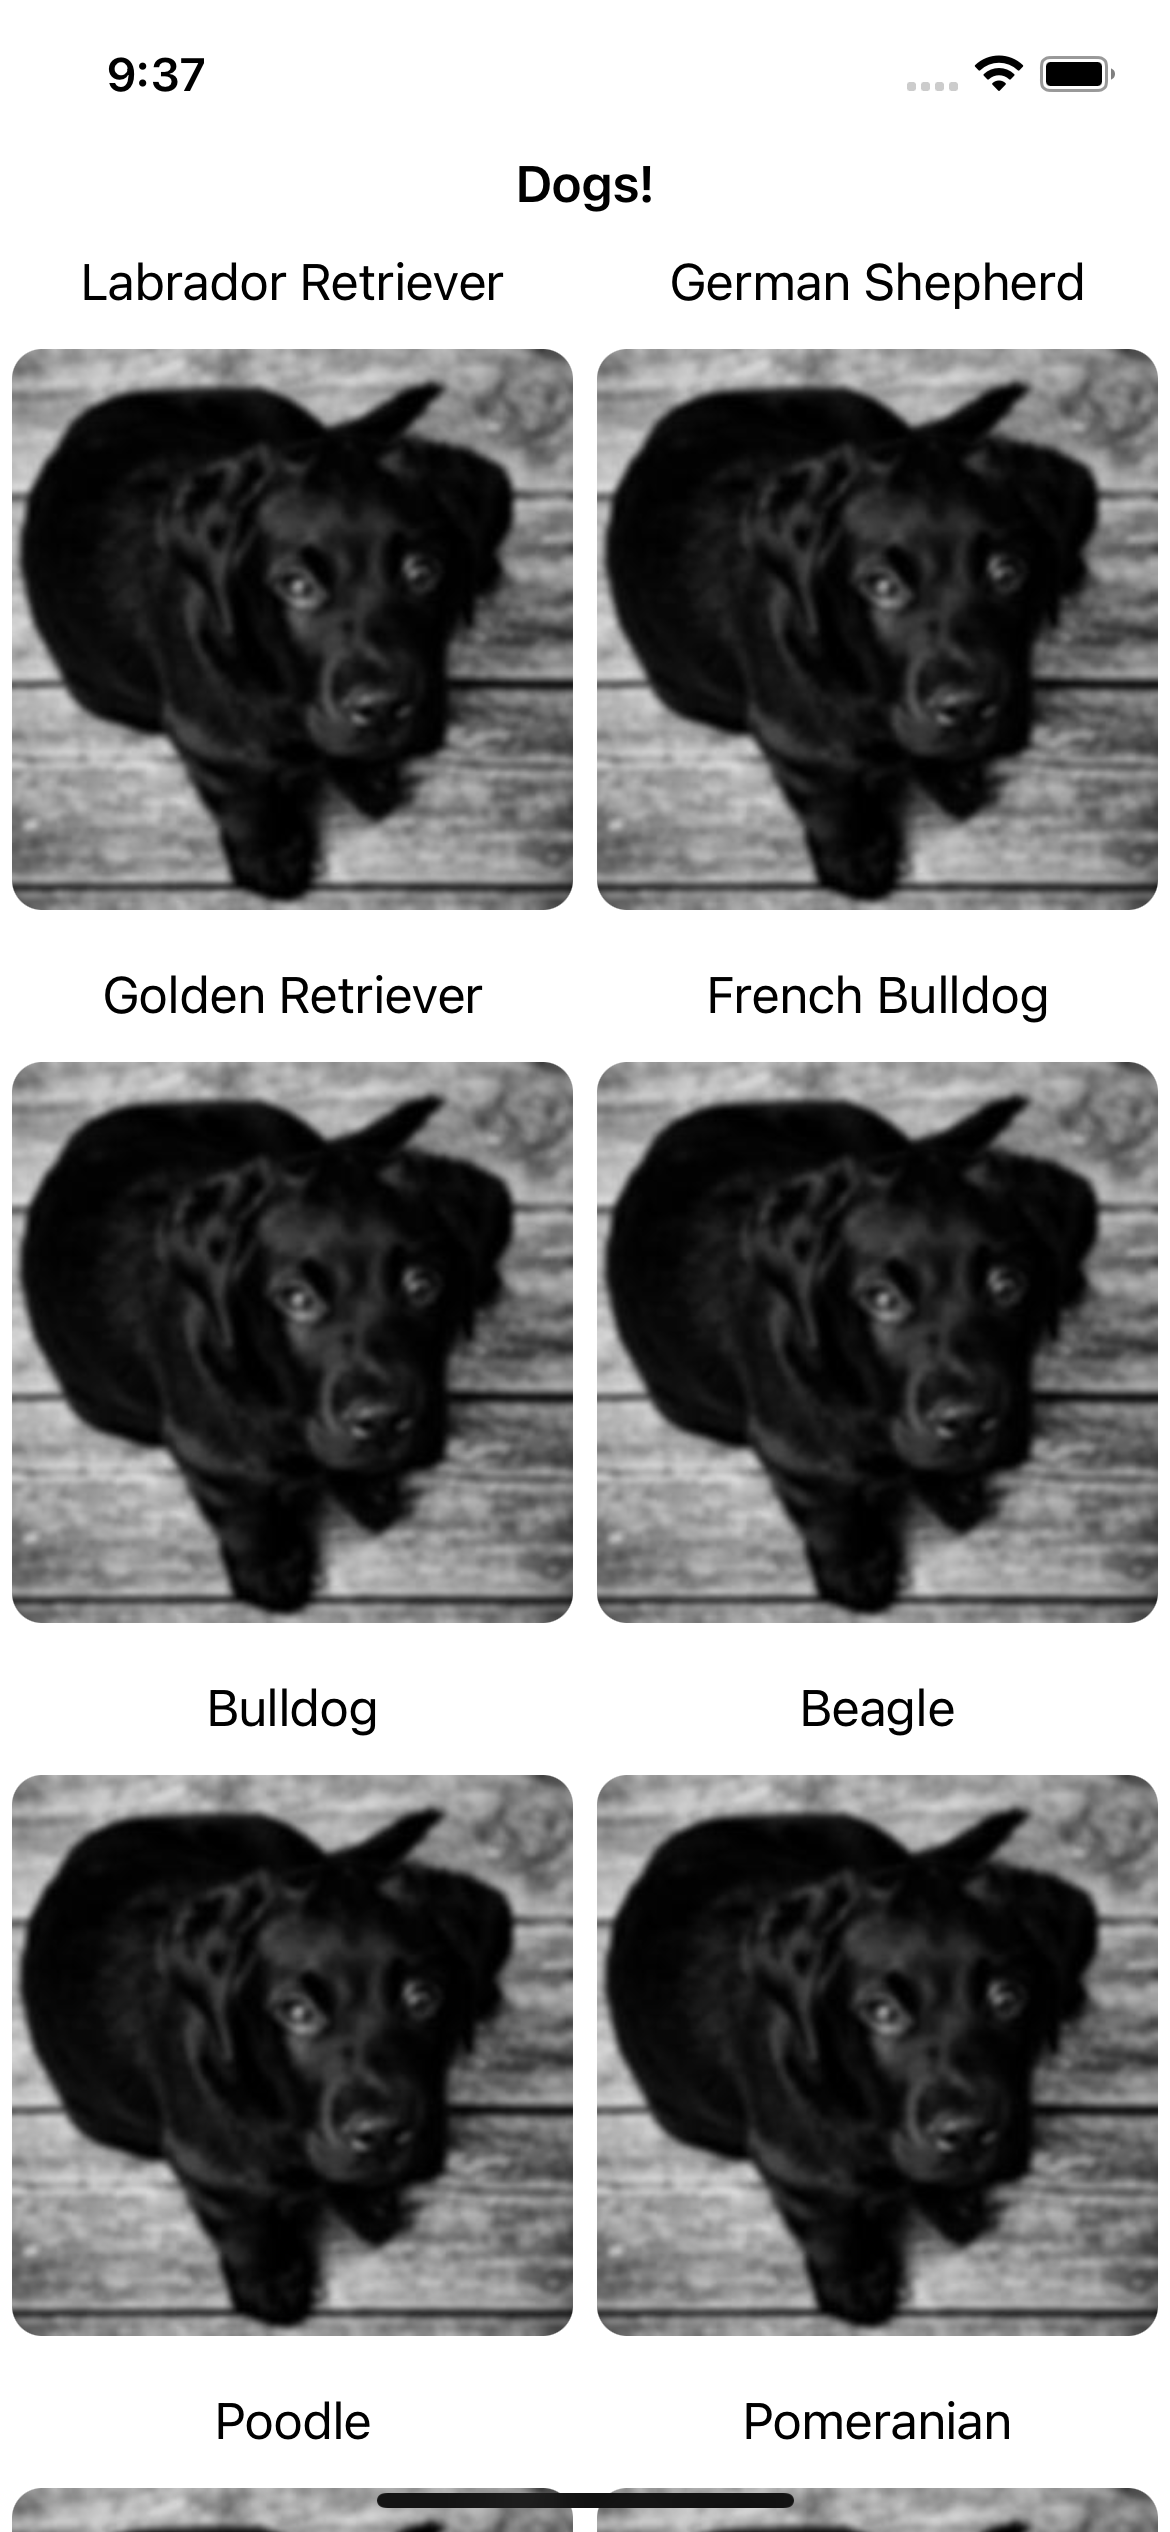
In this tutorial, you’ll modify the DogLife app. DogLife displays a catalog containing pictures and basic information about dog breeds. Download the starter project by clicking Download Materials at the top or bottom of this tutorial. Open DogLife.xcodeproj from the starter folder. Build and run. You’ll see a list of dogs that all have the same picture.
As currently configured, APIs from Unsplash and Wikipedia supply the app with data. While the Wikipedia API is free and unauthenticated, you’ll need to create a free developer account to use Unsplash.
To get a free developer account, go to https://unsplash.com/developers and sign up. Click the New Application link and accept the terms and conditions presented on the next page — if they’re agreeable to you. :] Name your application and provide a brief description on the next page. After entering that information and proceeding to the next page, scroll down to find the Access Key in the Keys section of the app info page. Copy this key.
Return to Xcode, and in Unsplash.swift, find req.setValue("Client-ID YOUR ACCESS KEY", forHTTPHeaderField: "Authorization"). Replace only the text YOUR ACCESS KEY with the Access Key copied from Unsplash — no extra quotes or escaping required.
Build and run, and you’ll see images of the different dog breeds.

YOUR ACCESS KEY with your Unsplash Access Key, Xcode will generate a number of warnings in the debug console area when running the app. Once you’ve supplied the Access Key, these warnings should disappear — other than some SSL log metrics notifications.
Inserting a View in SwiftUI
The basic idea of SwiftUI progressive disclosures is that it conditionally reveals a view. Use SwiftUI’s @State property wrapper to make this process easy to implement. The @State wrapper enables you to change values inside a struct, which normally can’t occur. To illustrate this feature, you’ll add an Easter egg to the app. When you tap the title at the top of the screen, the app will give you the option to select a secret list of cats instead of dogs.

Adding a State Property to Track Selections
Open MainTable.swift. The MainTable view is the main view of the app and currently only shows a grid of dogs. Add the following instance property to MainTable directly under @EnvironmentObject:
@State private var selectedAnimal = 0
This creates a new state property in the view. A state value is changeable and observable. When that value changes, the view updates anything in its hierarchy that uses it. In this case, it represents the selection of dogs or cats.
Next, add this helper method to MainTable after the code for var body: some View:
private func loadAnimals(_ selection: Int) {
  Task {
    if selection == 0 {
      try? await dataModel.loadDogs()
    } else {
      try? await dataModel.loadCats()
    }
  }
}
This uses an async task to call the DataModel object to load either dogs or cats. Task allows the loading to happen asynchronously on a separate thread.
Inserting a Picker Control View
Finally, modify body in MainTable by adding a picker control between the first Text and LazyVGrid in VStack:
// 1
Picker("Change Animal", selection: $selectedAnimal) {
  // 2
  Text("Dogs").tag(0)
  Text("Cats").tag(1)
}
// 3
.pickerStyle(SegmentedPickerStyle())
// 4
.onChange(of: selectedAnimal) { newSelection in
  loadAnimals(newSelection)
}
Picker allows the user to select between cats and dogs. Here’s how the code works:
-
Pickerdisplays different values defined in the block.selectiontells the view what state property to update when the user taps one of the picker options. - The two
Textentries specify the labels presented to the user in the picker, and thetagcorresponds to the state value. -
SegmentedPickerStylesets the style to what it says — it’s a segmented picker, rather than a wheel or table. - When
selectedAnimalchanges in response to a selection by the user,onChangecalls the helper method you just added.
Build and run, and you’ll see the picker. Changing the selection changes the display from dogs to cats.
This is cool, but it’s not exactly hidden — yet. You’ll fix it by adding another state to the view.
async/await calls is beyond the scope of this tutorial. For more detail about the use of async/await in SwiftUI, see async/await in SwiftUI.
Adding Another State property to Track Visibility
Add the following instance property below var selectedAnimal:
@State private var pickerVisible = false
Now, wrap the picker and the modifiers you added in an if block, as shown below:
if pickerVisible {
  Picker("Change Animal", selection: $selectedAnimal) {
    Text("Dogs").tag(0)
    Text("Cats").tag(1)
  }
  .pickerStyle(SegmentedPickerStyle())
  .onChange(of: selectedAnimal) { newSelection in
    loadAnimals(newSelection)
  }
}
This only displays the picker if pickerVisible is true. To change the visibility, replace Text("Dogs!") and its fonts modifier, located above the if statement, with the following code:
Button {
  pickerVisible.toggle()
} label: {
  Text(selectedAnimal == 0 ? "Dogs!" : "Cats?")
    .font(.headline)
    .foregroundColor(.primary)
}
This replaces the text label with a button. The button’s action then toggles the visibility of the picker. The foreground color helps keep the button a secret. :] Build and run. Now you have a view that comes and goes based on a user’s actions.

While it works, you can add some more polish to make the picker disappear after the user makes a selection. In the picker’s onChange block, add the following below the call to loadAnimals:
pickerVisible = false
Now, the view automatically disappears when the user makes a selection.