Getting Started with Core Data and CloudKit
In this tutorial, you’ll learn how to use NSPersistentCloudKitContainer to integrate Core Data and CloudKit. By Saeed Taheri.
When it comes to persisting data in your app, Core Data is a great choice. It’s one of the oldest and most established Apple frameworks available, having been around since OS X Tiger and iOS 3.
Core Data syncing across devices has a shakier history, however. Apple deprecated the original iCloud sync API in iOS 10 and didn’t replace it until iOS 13, when it introduced NSPersistentCloudKitContainer. NSPersistentCloudKitContainer provides a bridge between your Core Data store and CloudKit, Apple’s framework for iCloud data storage.
In this tutorial, you’ll integrate CloudKit and Core Data in an app called PlaceTag, which lets you save a title, description and image for places you visit.
Specifically, you’ll learn how to:
- Switch from old Core Data in iCloud to the modern Core Data and CloudKit.
- Set up CloudKit in your project.
- Simplify Core Data stack initialization.
- Query records in the CloudKit Dashboard.
Additionally, iCloud and CloudKit need a paid Apple developer account to function. You won’t be able to follow along if you aren’t enrolled in the Apple Developer Program or Apple Developer Enterprise Program.
Additionally, iCloud and CloudKit need a paid Apple developer account to function. You won’t be able to follow along if you aren’t enrolled in the Apple Developer Program or Apple Developer Enterprise Program.
Getting Started
To kick things off, download the starter project for this tutorial using the Download Materials button at the top or bottom of this page. Then, open the starter project in Xcode.
Select a development team, since this step involves setting up data against your developer ID, so select your (paid) team to continue. Update the bundle ID to be something unique within your organization. Finally, select an iCloud container name. This value should be unique and start with iCloud. Apple suggests that it be of the form iCloud.{reverse DNS}.{app name or name for group}. For instance: iCloud.com.yourcompany.yourapp.
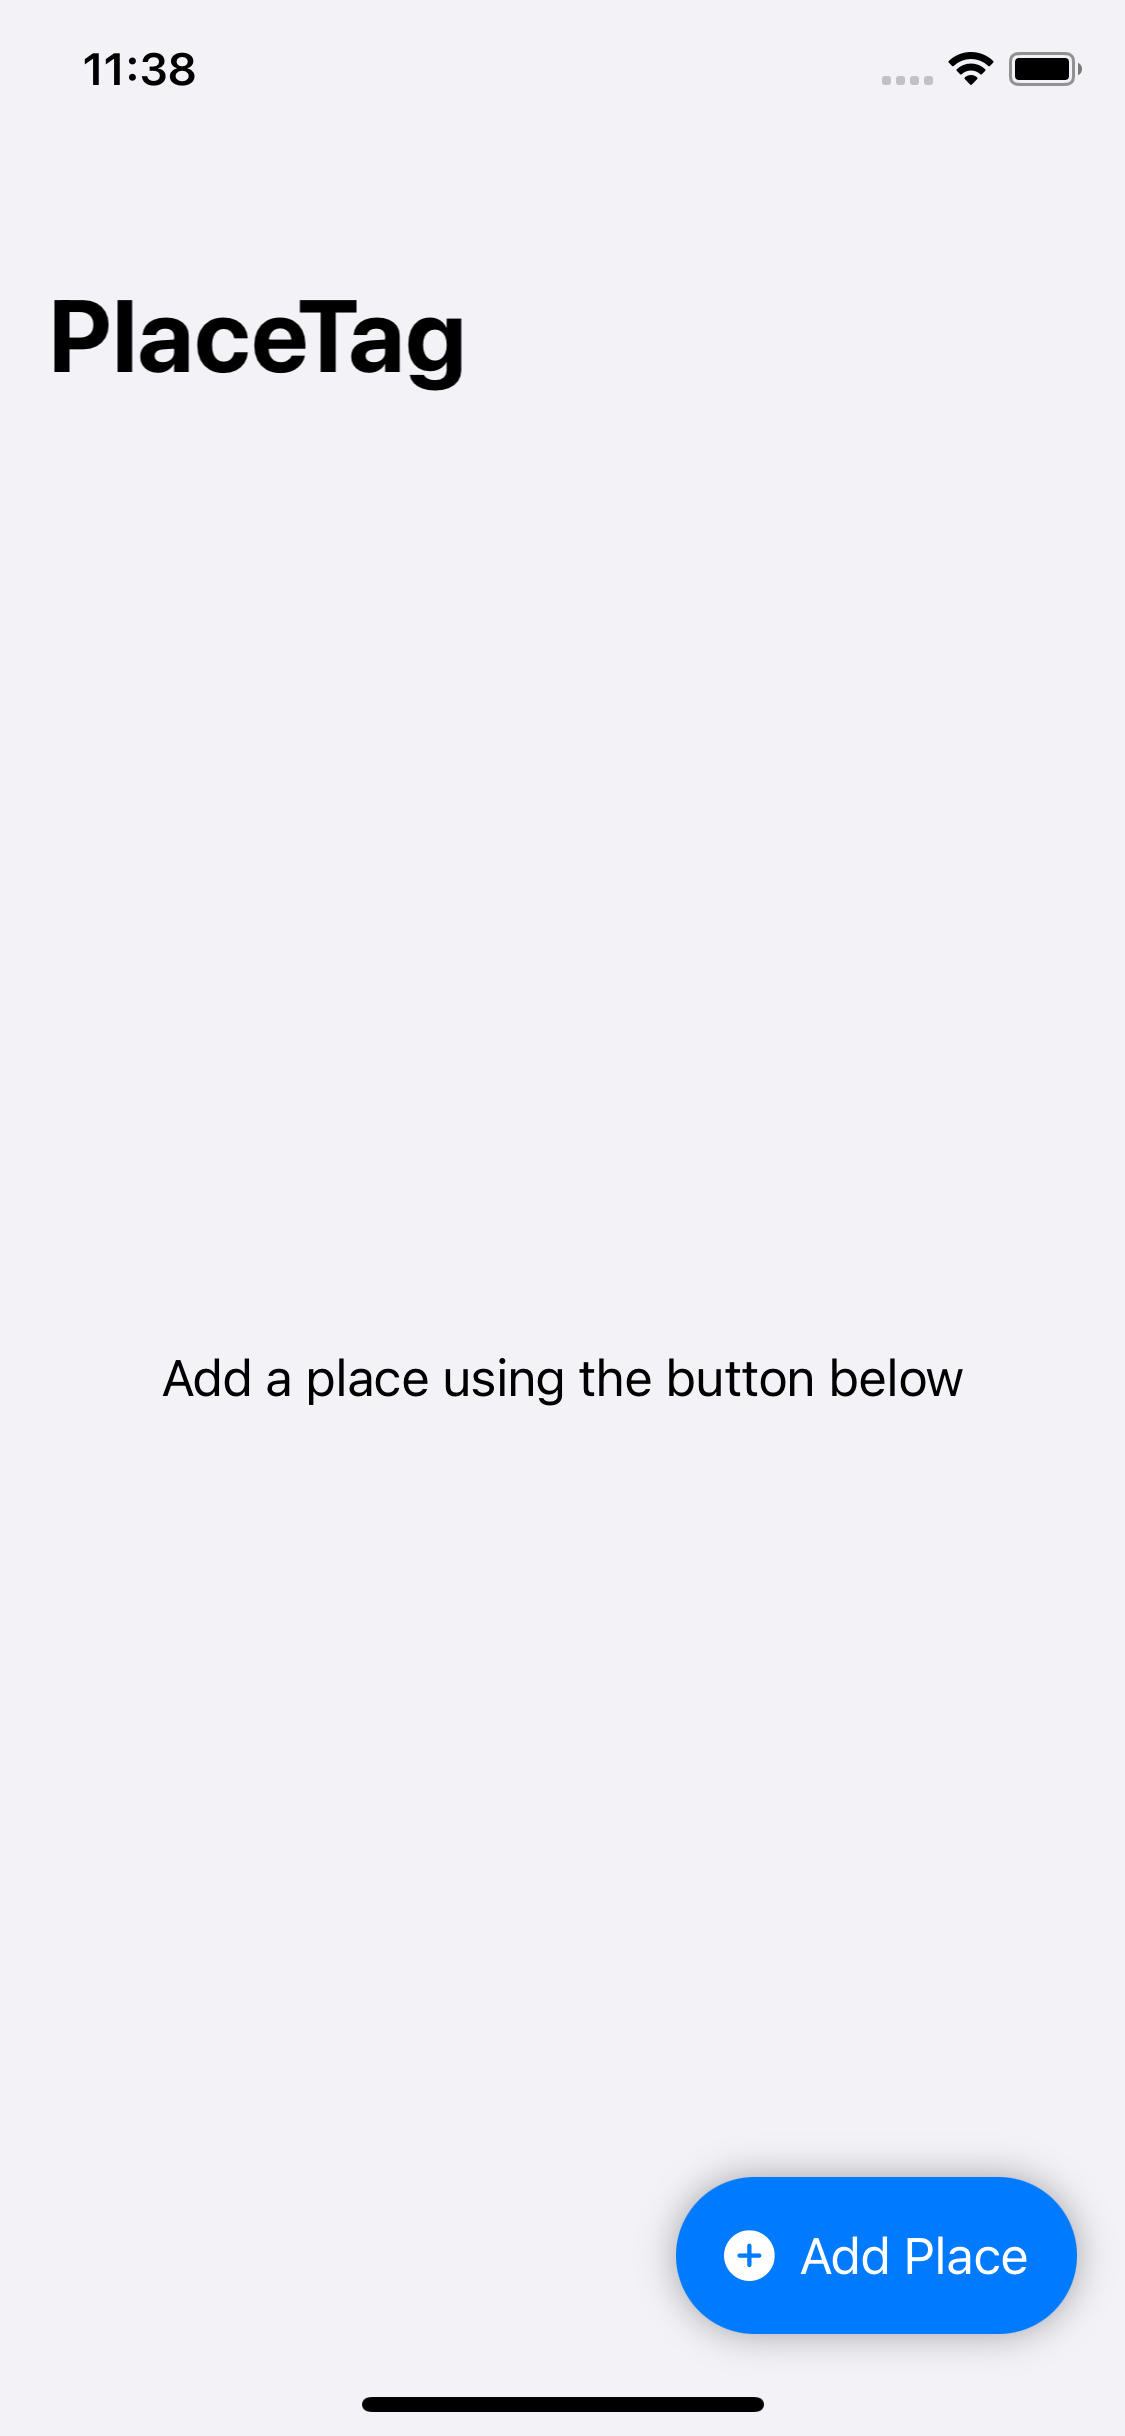
Build and run. You’ll see an empty list, ready for your dear diary moments!
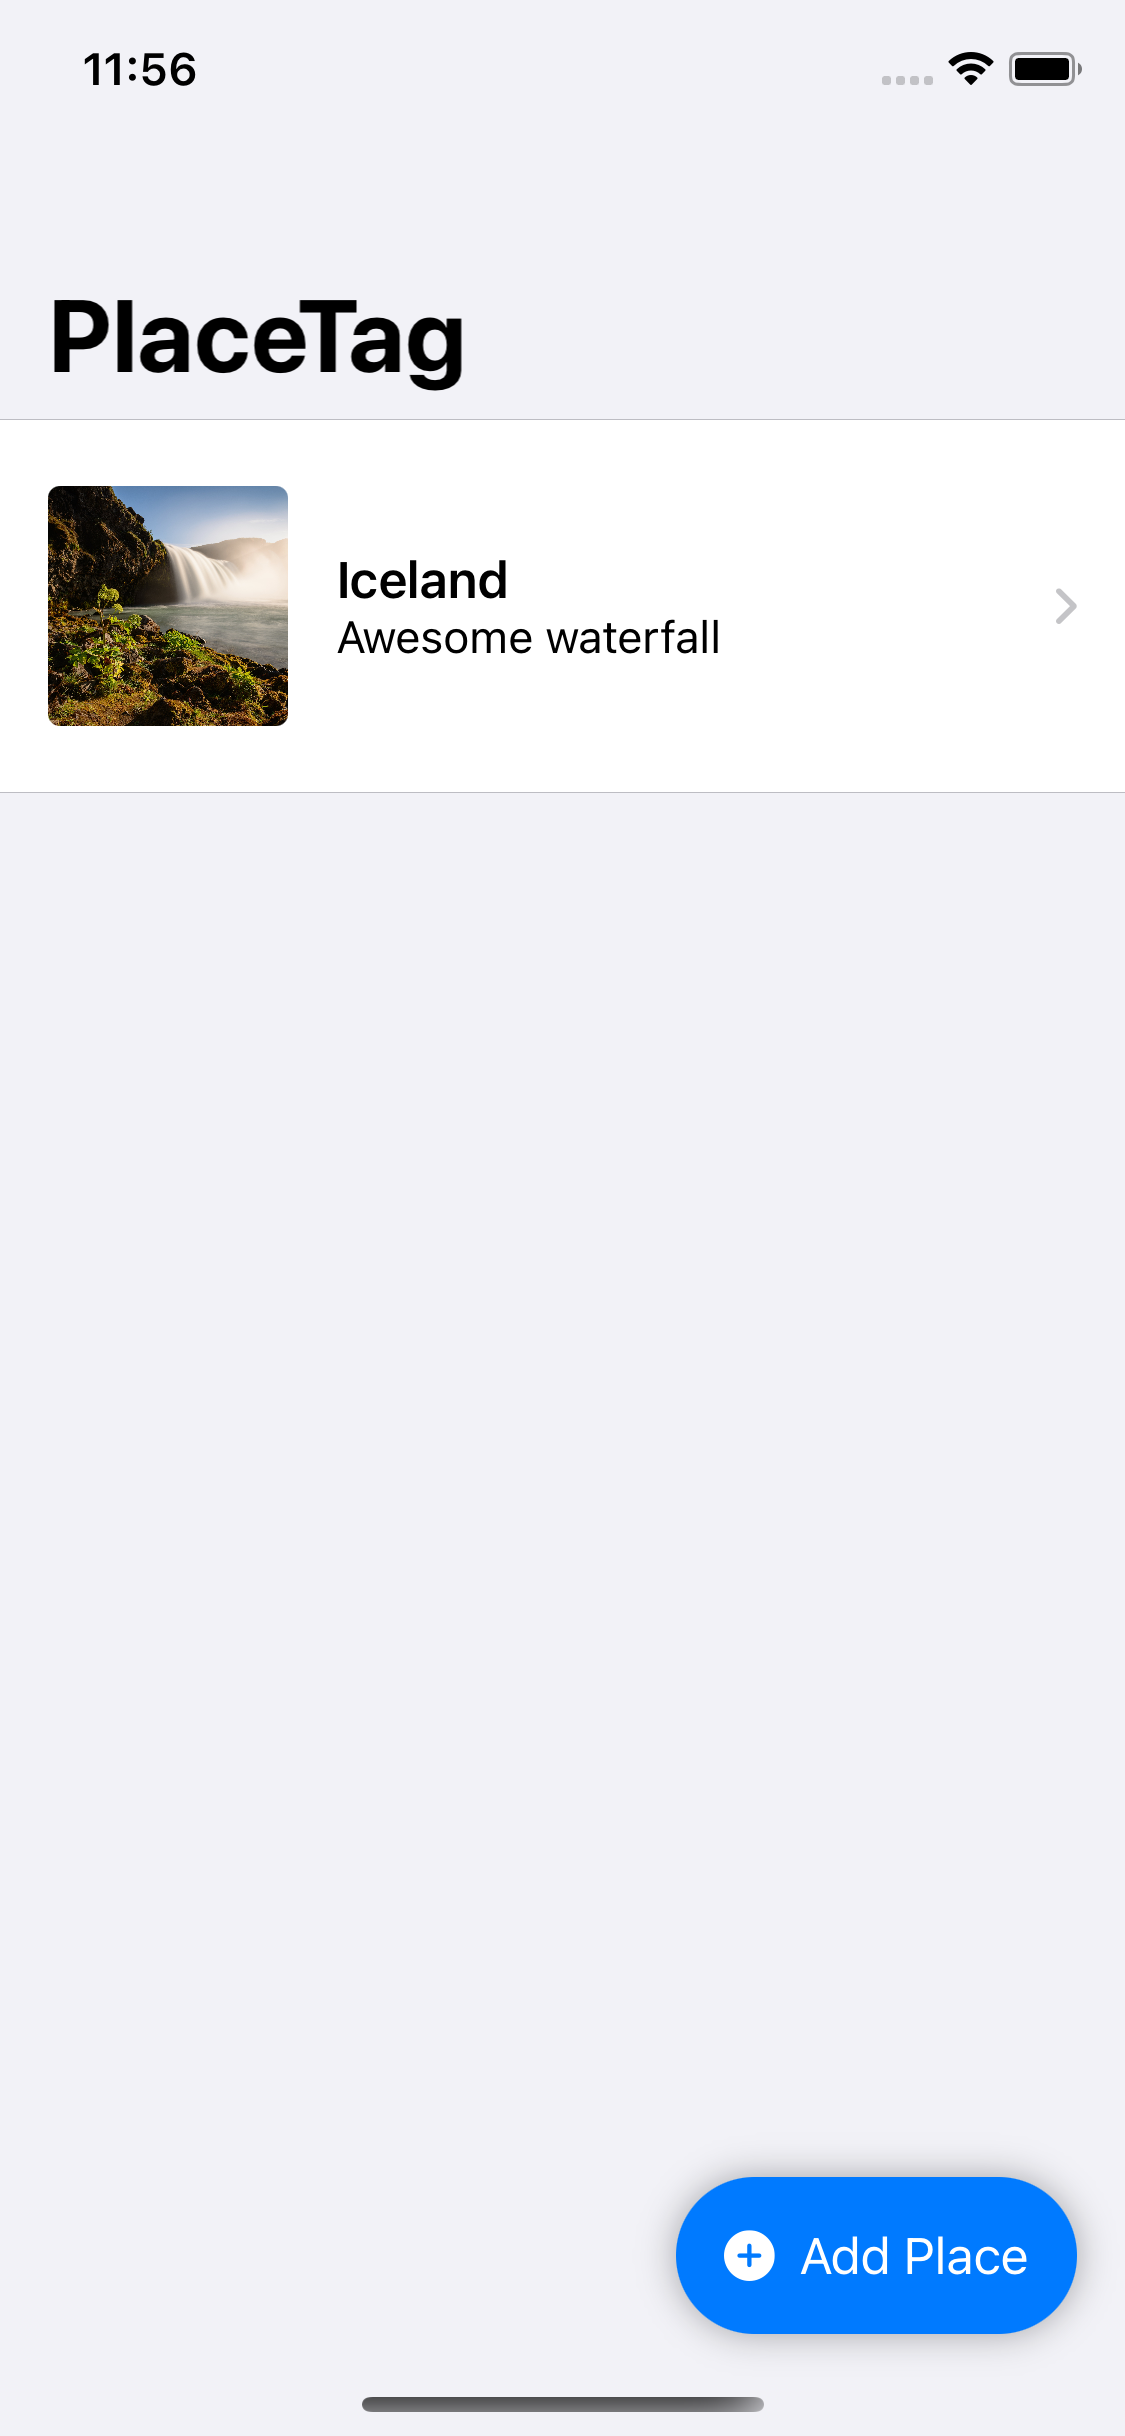
Tap Add Place button and create an entry. If you want, you can attach an image from your photo library.

Tap Save Place when you’re done and the place will appear in the list.
You may have noticed that Xcode gives you a warning when building the project, saying that NSPersistentStoreUbiquitousContentNameKey was deprecated in iOS 10.0. That’s because this app already syncs Core Data via iCloud, but uses the old, deprecated method. You’ll look at that code next, before you update to the new syncing system.
Core Data Stack Initialization
In this tutorial, you’ll convert the app from the old Core Data iCloud sync to the new CloudKit system. A lot of this work will happen in one file. Open CoreDataStack.swift and check out init():
private init() {
  //1
  guard let modelURL = Bundle.main
    .url(forResource: "PlaceTag", withExtension: "momd") else {
    fatalError("Error loading model from bundle")
  }

  //2
  guard let mom = NSManagedObjectModel(contentsOf: modelURL) else {
    fatalError("Error initializing mom from: \(modelURL)")
  }

  //3
  let psc = NSPersistentStoreCoordinator(managedObjectModel: mom)

  //4
  context = NSManagedObjectContext(
    concurrencyType: .mainQueueConcurrencyType)

  //5
  context.mergePolicy = NSMergeByPropertyObjectTrumpMergePolicy

  //6
  context.persistentStoreCoordinator = psc

  do {
    //7
    try psc.addPersistentStore(
      ofType: NSSQLiteStoreType,
      configurationName: nil,
      at: CoreDataStack.storeURL,
      options: CoreDataStack.storeOptions)
  } catch {
    fatalError("Error adding store: \(error)")
  }
}
If you’re working on an app that’s been around for a long time, you might have similar code to this for setting up your Core Data stack. Here’s a step by step explanation of what this code does.
- Get the URL of the compiled version of PlaceTag’s data model file. The uncompiled version of this file is available in the project as PlaceTag.xcdatamodeld.
- Initialize an instance of
NSManagedObjectModelusing the URL you got in step 1. - Create an instance of
NSPersistentStoreCoordinatorfrom the managed object model. - Initialize the
contextofCoreDataStackusing theNSManagedObjectContextinitializer and passes its concurrency type asmainQueueConcurrencyType. This will bind the managed object context to the main queue. - Set the merge policy of
contexttoNSMergeByPropertyObjectTrumpMergePolicy. Core data automatically synchronizes the merge conflicts between objects and overwrites old object, which is Persistent Store’s version of the object, with the new, in-memory, one. - Set the Persistent Store Coordinator of
contextwith the one you created in step 3. - Finally, add a persistent store to the Persistent Store Coordinator, which makes initialization of the Core Data stack complete. If you don’t hit any of the error blocks, Core Data is now ready to use.
The storeOptions class property contains the deprecated NSPersistentStoreUbiquitousContentNameKey mentioned earlier. This tells the system to save the SQLite file inside the iCloud Document directory for the app in a ubiquity container.
Phew! That was a lot of steps. You’re hoping the new system is easier, right? Before you update the app, it’s time to learn about how the new way differs from the old.
How Core Data in iCloud Used to Work
iCloud has three systems for storing user data:
- Key-value Storage: This lets you save discrete values such as simple app states or preferences.
- Document Storage: Use this to persist user-visible file-based information such as drawings and complex app states.
- CloudKit: For managing structured data and sharing data among users.
The first iteration of Core Data in iCloud on iOS worked on top of document storage and employed the same iCloud APIs.
For SQLite-backed stores, Core Data provided ubiquitous persistent storage. It used the SQLite transactional persistence mechanism, located in your app’s ubiquity container.
Each instance of your app, on every device attached to an iCloud account, maintained its own local Core Data store file. In other words, when data changed locally, Core Data wrote change log files to your app’s default ubiquity container.
Similarly, when a change log arrived from another device attached to the same iCloud account, Core Data updated your app’s local copy of the SQLite database.
As interesting as it looked, this implementation never worked reliably. Developers had to find workarounds for issues to make a working syncing solution. These issues made Apple realize that this wasn’t going to work.
When Apple introduced iOS 10, it deprecated Core Data in iCloud and NSPersistentStoreUbiquitousContentNameKey and suggested that developers use CloudKit, instead. That left developers with a choice of using deprecated API or rolling their own CloudKit-backed sync.