Getting Started with Core Data and CloudKit
In this tutorial, you’ll learn how to use NSPersistentCloudKitContainer to integrate Core Data and CloudKit. By Saeed Taheri.
Moving to CloudKit
Apps that use Core Data can move to CloudKit as long as the persistent store is an NSSQLiteStoreType store, and the data model is compatible with CloudKit limitations. For example, CloudKit does not support unique constraints, undefined attributes or required relationships.
There’s a subclass of NSPersistentContainer called NSPersistentCloudKitContainer. This persistent container is capable of managing both CloudKit-backed and non-cloud stores.
By replacing NSPersistentContainer with NSPersistentCloudKitContainer, PlaceTag’s Core Data stack will be CloudKit-enabled. The transition is as soft and smooth as the cloud itself! That’s what you’ll do next.
Change the persistentContainer property to reflect these changes. Replace any NSPersistentContainer references with NSPersistentCloudKitContainer:
private lazy var persistentContainer: NSPersistentCloudKitContainer = {
and:
let container = NSPersistentCloudKitContainer(name: "PlaceTag")
Also add this line, just before you return the container:
container.viewContext.automaticallyMergesChangesFromParent = true
You don’t change much here — just the class and automaticallyMergesChangesFromParent. By setting this flag, the UI will reflect automatic syncing that happens through the silent push notification almost instantaneously.
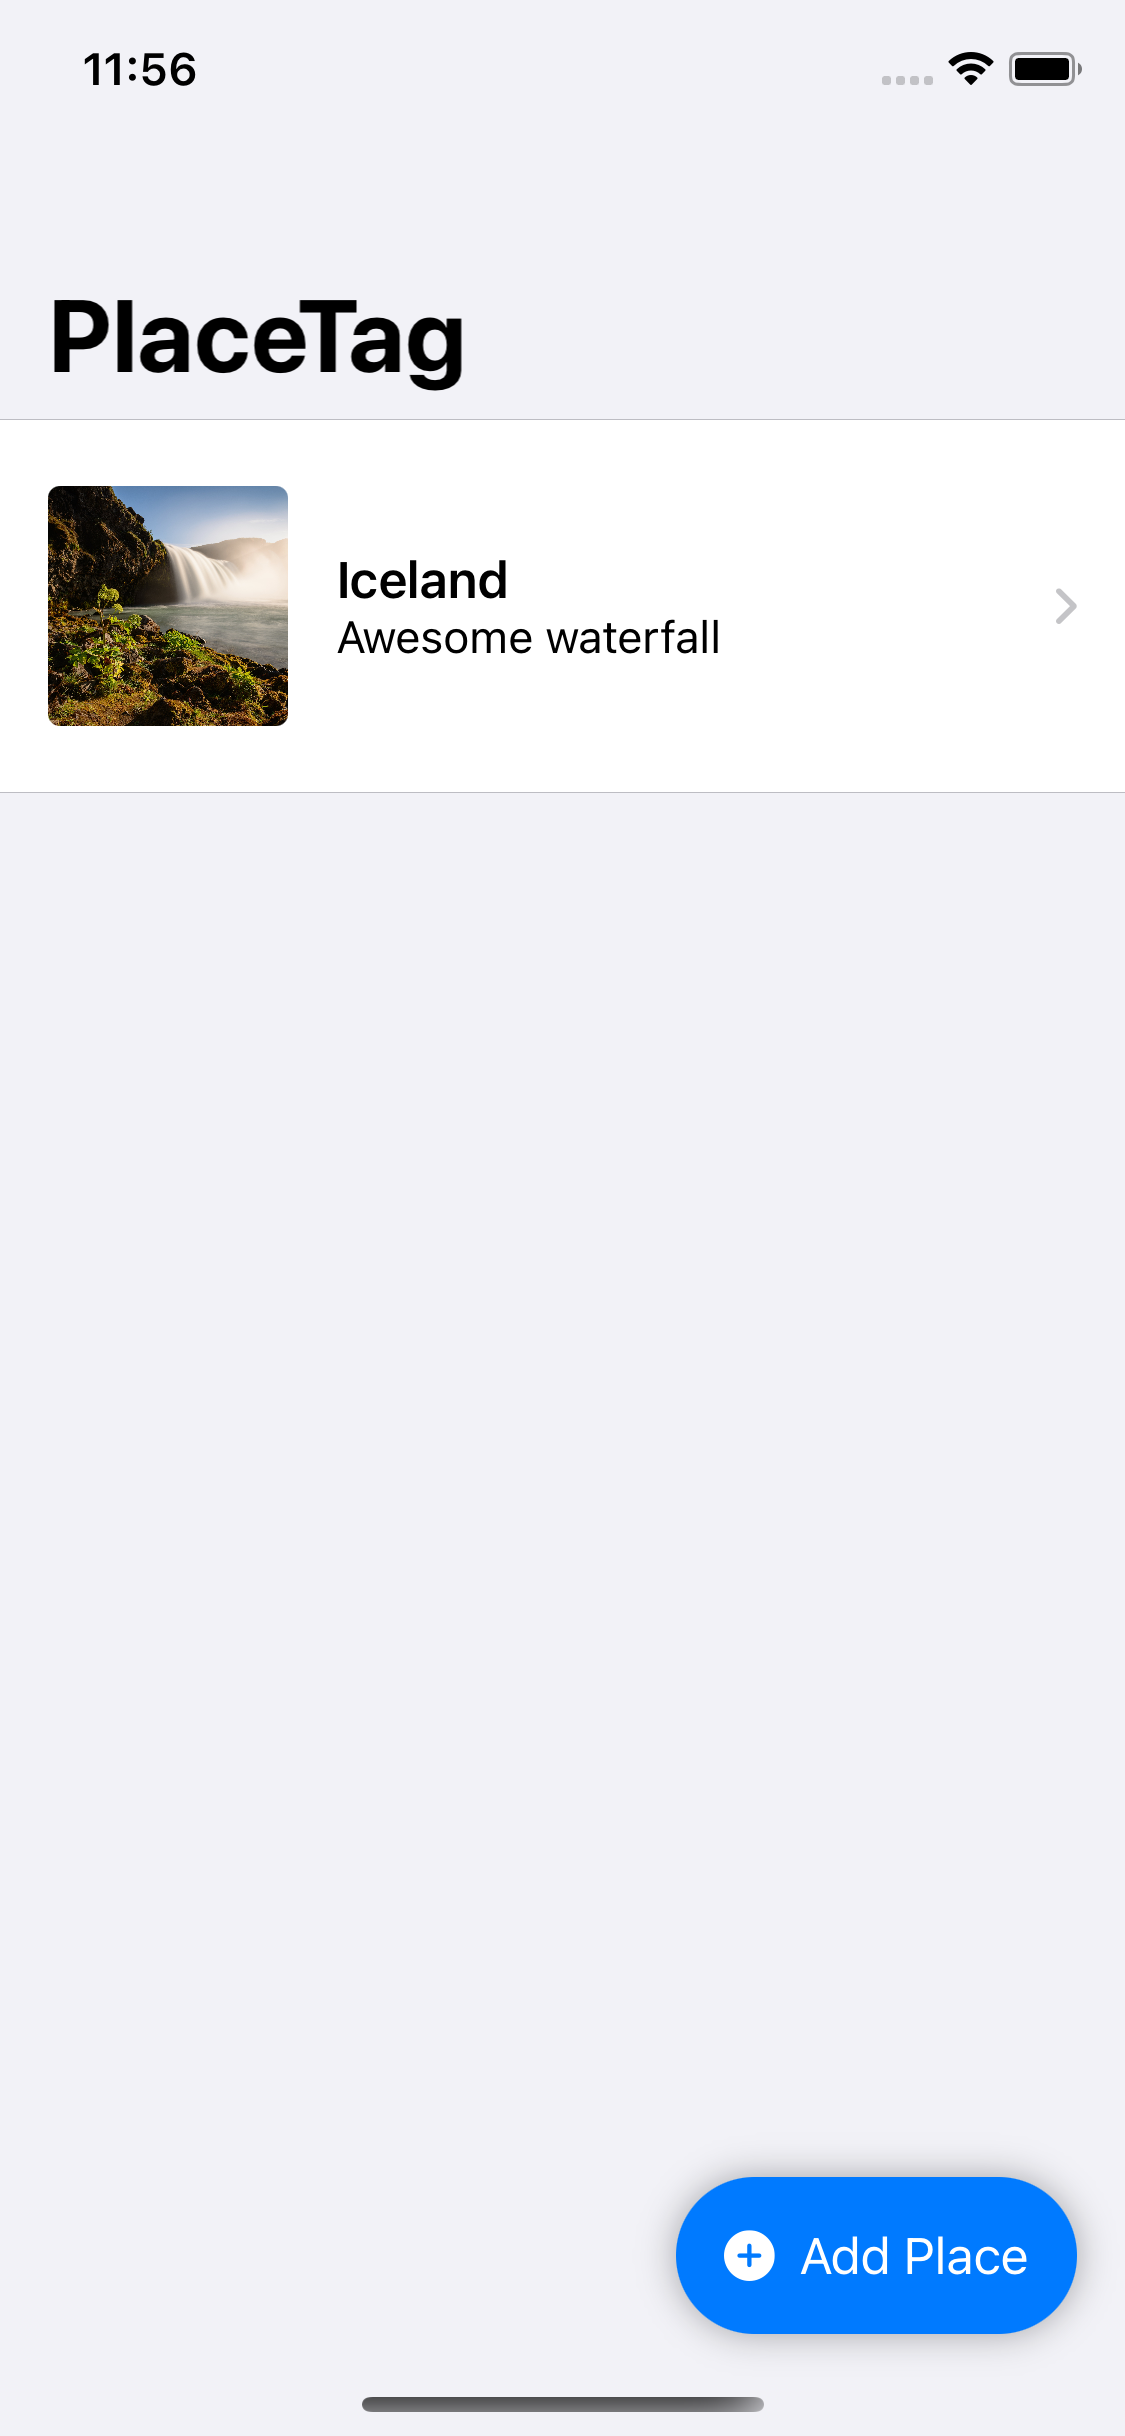
Build and run. Nothing seems to change. However, this time, if you’re logged in to iCloud on the device you’re testing on, iCloud syncs the places you add to PlaceTag. You can verify this by running the app on two devices. Hooray!
Viewing the Project in CloudKit Dashboard
The app should be syncing your places to CloudKit now, but your next step is to verify that it really is.
Open CloudKit Dashboard and log in with the same Apple ID you used on your test device. The CloudKit dashboard greets you.

You’ll see the containers you created for your apps on the left and the available options for each container on the right.
Select the container for PlaceTag and click Data. The Records page will appear.

On this page, select com.apple.coredata.cloudkit.zone as the zone. Now, you can query the available data using filters.
Select the Query button and choose CD_Place for Type.
What is that CD_? CD stands for Core Data. Apple is doing the heavy lifting of converting Core Data to CloudKit objects. This prefix is part of their work to prevent namespace conflicts.
Under Filter, choose Custom and query the records that have a CD_Title of Iceland. If you created a place with another title, type it here.

Click Save then Query Records.
The object you created in the app appears here. You can edit or remove the object and the changes will reflect in the app using the remote push notification you set up.

Congratulations! You’ve successfully used CloudKit to convert PlaceTag so its data persists across multiple devices.
Where to Go From Here?
You can download the final project using the Download Materials button at the top or bottom of this tutorial.
You have successfully added CloudKit support to your Core Data app. Even though CloudKit is a sophisticated framework, Apple made it easy to use — at least, with Core Data.
As mentioned earlier, Core Data is a very old Apple framework. It has many features that are out of the scope of this tutorial. CloudKit, though relatively new, also has many interesting features.
With PlaceTag, you barely scratched the surface of Core Data and CloudKit. The entity in the model doesn’t have relationships with other entities. You didn’t go into custom notification handling and many other features.
There are lots of great resources for Core Data and CloudKit which you can use to explore this topic in more depth, including:
- Core Data by Tutorials A detailed book on Core Data by raywenderlich.com’s tutorial team.
- CloudKit Tutorial: Getting Started A tutorial that takes a deeper look at CloudKit.
- Beginning CloudKit: A video tutorial series to help you dive into the subject.
- raywenderlich.com Forums: Ask for help from our awesome community.
I hope you benefited from this tutorial. If you have any questions or comments, please join the discussion below!