Getting Started With Flutter
Dive into the Flutter framework, which lets you build iOS, Android, web and desktop apps with a single codebase, by writing a cross-platform app using VS Code. By Jonathan Sande.
Running the App
Now, it’s time to run your simple app. Click the currently selected platform in the bottom right to get a list of all the available platforms that can run your app. The image here shows that the Chrome web browser, iOS simulator and a Pixel Android emulator are available.

Select a platform — for example, the Pixel mobile emulator — and wait while the emulator launches.
Once the emulator is ready, build and run by pressing F5, by selecting Debug ▸ Start Debugging from the menu or by clicking the triangular Play icon in the top right. The Debug Console will open and, if you’re running on Android, you’ll see Gradle doíng the build. If running on iOS, you’ll see Xcode building the project.
Here’s the app running in the Android emulator:
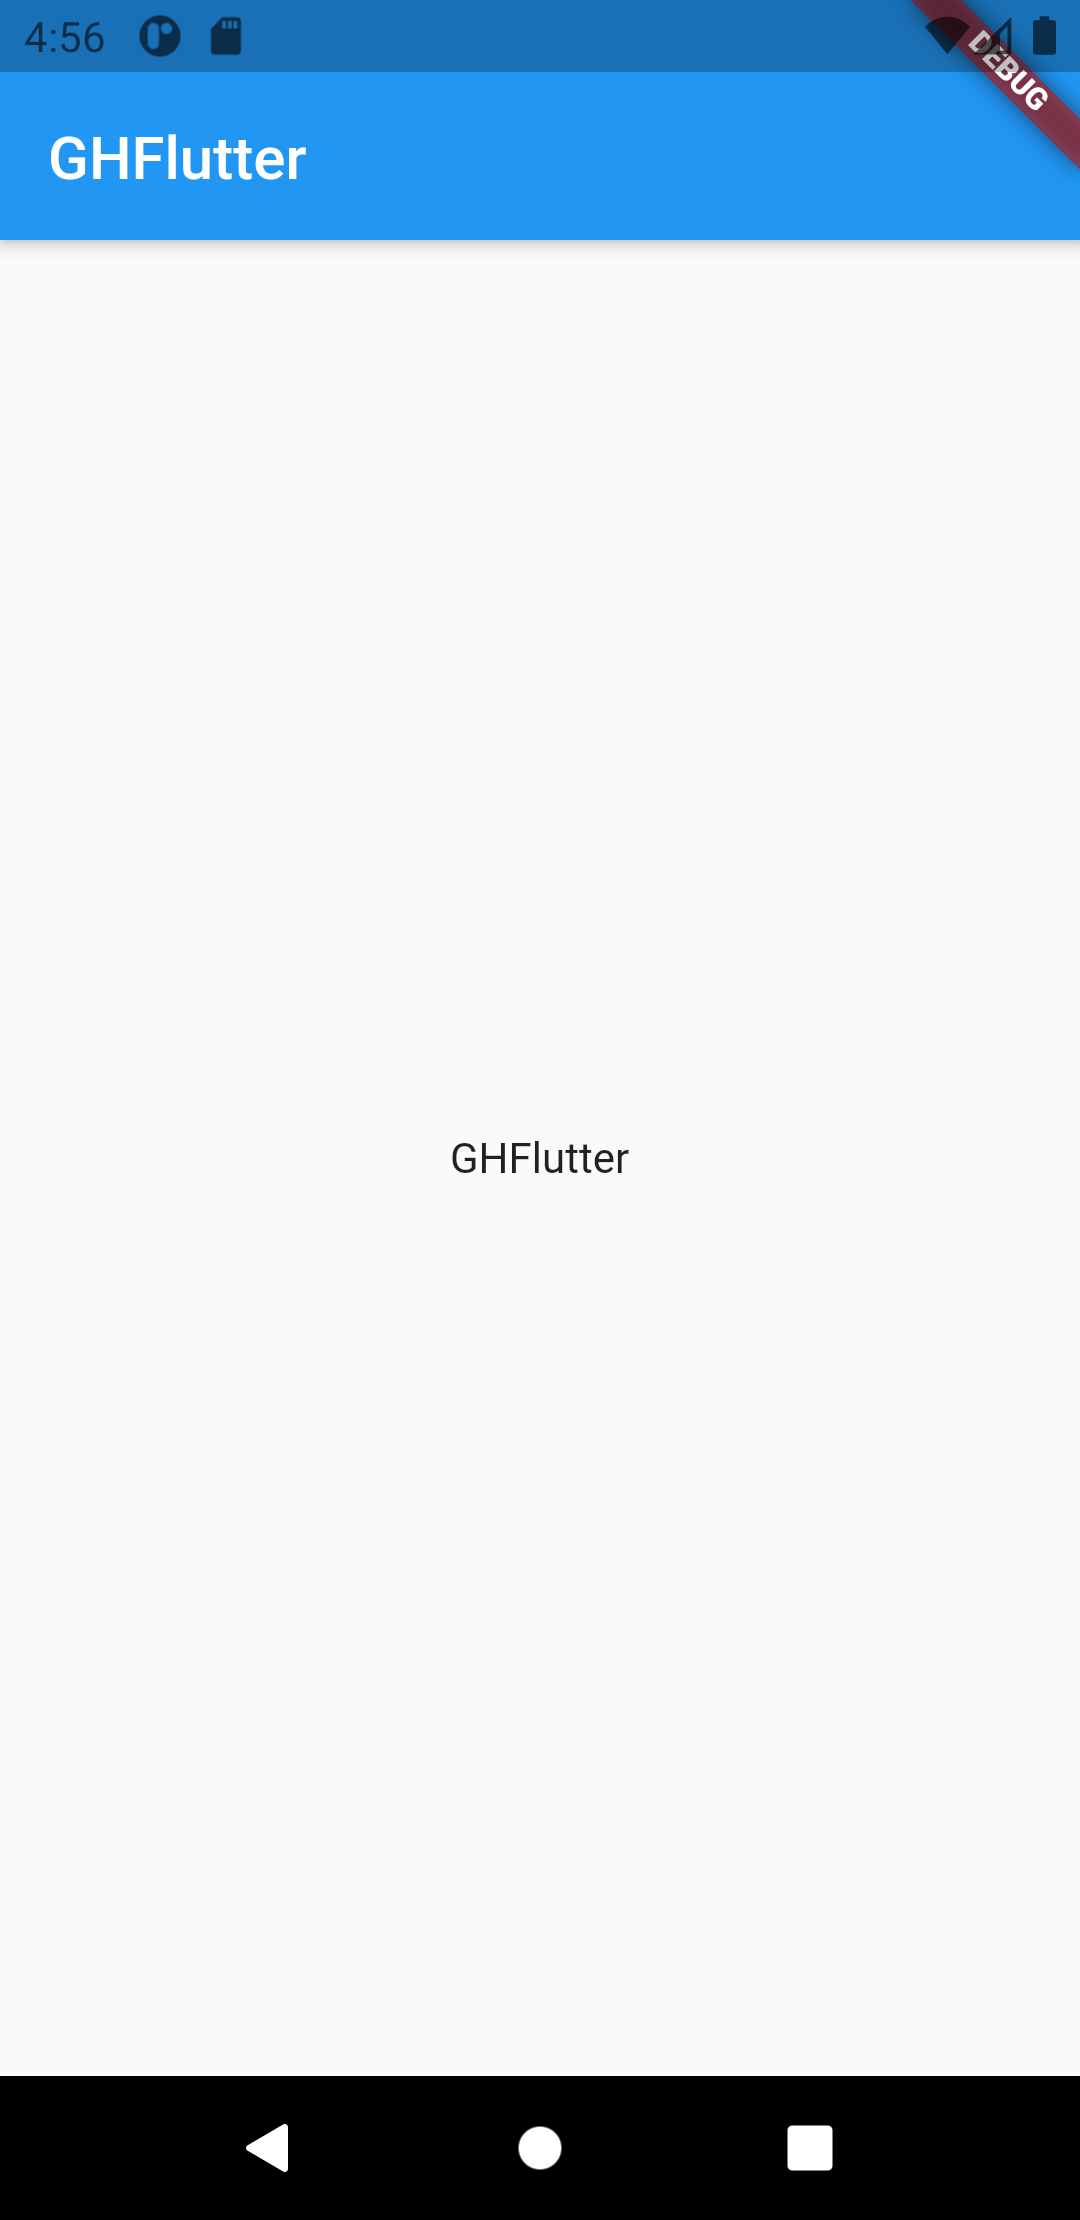
Take a moment to appreciate the fact that you just ran your first Flutter app. Nice job!
The DEBUG banner you see across the top-right corner indicates that the app is running in debug mode.
Stop the running app by clicking the square red Stop button at the right of the toolbar that’s at the top of the VS Code window:

Return to the Project Explorer view by clicking the Explorer icon at the upper left of VS Code or by choosing View ▸ Explorer.

Using Hot Reload
One of the best aspects of Flutter development is that you can hot reload your app as you make changes. This feature allows you to get instant feedback as you update different parts of the UI.
Build and run again:
Now, without stopping the running app, change the app bar string in main.dart to something else:
appBar: AppBar(
  title: const Text('GHFlutter App'),
),
Previously, the banner read GHFlutter; now, it says GHFlutter App.
Now, save main.dart. This will automatically trigger a hot reload, but you can also click the Hot Reload button:

You’ll see the change reflected in the running app almost immediately:

The hot reload feature might not always work — the Hot Reload official docs do a really nice job of explaining the cases where it does not work — but overall, it’s a great time saver when you’re building out your UI.
Importing a File
Rather than keeping all your Dart code in the single main.dart file, you want to be able to import code from other files you create. You’ll see an example now for importing strings, which will help when you need to localize your user-facing strings.
Create a file named strings.dart in the lib folder by clicking lib and then clicking the New File button:

Add the following line to the new file:
const appTitle = 'GHFlutter';
Add the following import to the top of main.dart:
import 'strings.dart' as strings;
Change your widget to use the new strings.dart. GHFlutterApp will look like this:
class GHFlutterApp extends StatelessWidget {
  const GHFlutterApp({Key? key}) : super(key: key);

  @override
  Widget build(BuildContext context) {
    return MaterialApp(
      title: strings.appTitle,
      home: Scaffold(
        appBar: AppBar(
          title: const Text(strings.appTitle),
        ),
        body: const Center(
          child: Text(strings.appTitle),
        ),
      ),
    );
  }
}
Save your changes and hot reload. The app is back in its original state now, but you’re using a string from strings.dart.
Understanding Widgets
Almost every element of your Flutter app is a widget. Widgets are designed to be immutable, or unchangeable, since using immutable widgets helps keep the app UI lightweight. You can think of widgets like blueprints that tell how the UI should look. A different look needs a different blueprint.
You’ll use two fundamental types of widgets:
- Stateless: Widgets that depend only upon their own configuration info, such as a static image in an image view.
- Stateful: Widgets that need to maintain dynamic information. They do so by interacting with a State object.
Both stateless and stateful widgets redraw whenever the Flutter framework tells them to. The difference is that the stateful widgets delegate their configuration to a State object.
Creating Widgets
To make your own widgets, go to the bottom of main.dart and start typing stful, an abbreviation for “stateful”. This will give you a pop-up similar to the following:

Press Return to select the first option.
VS Code will help you fill in the name using multiple cursors. Write GHFlutter:
This is the new code that you just added:
class GHFlutter extends StatefulWidget {
  const GHFlutter({ Key? key }) : super(key: key);

  @override
  _GHFlutterState createState() => _GHFlutterState();
}

class _GHFlutterState extends State<GHFlutter> {
  @override
  Widget build(BuildContext context) {
    return Container(

    );
  }
}
Here are some things to note:
- You’ve made a
StatefulWidgetsubclass namedGHFlutter. - The line that begins with
constis the class constructor. - You’re overriding
createStateto create the stateful widget’s state object. -
_GHFlutterStateis the name of the state class. The underscore in front of_GHFlutterStatemeans that this class is file-private. It can’t be imported into other files. -
buildis the primary place where you construct your widgets. This one currently returns an emptyContainerby default. You’ll swap that out with something else next.
Replace the entire build method in _GHFlutterState with the following:
@override
Widget build(BuildContext context) {
  return Scaffold(
    appBar: AppBar(
      title: const Text(strings.appTitle),
    ),
    body: const Text(strings.appTitle),
  );
}
A Scaffold is a container for Material Design widgets. It acts as the root of a widget hierarchy. Here, you’ve added an AppBar and a body to the Scaffold, and each contains a Text widget.
Replace GHFlutterApp with the following code:
class GHFlutterApp extends StatelessWidget {
  const GHFlutterApp({Key? key}) : super(key: key);

  @override
  Widget build(BuildContext context) {
    return MaterialApp(
      title: strings.appTitle,
      home: const GHFlutter(),
    );
  }
}
Now, GHFlutterApp uses your new GHFlutter as its home attribute, instead of building a Scaffold of its own.
const, which you sometimes see in front of widgets and variables, indicates a compile-time constant. It’s not always possible or necessary to add const, but doing so allows Flutter to make some optimizations.Hot reload and you’ll see the new widget in action:

You haven’t changed much yet, but now you’re set up to build out the new widget.