Kotlin and Spring Boot: Getting Started
Learn how to use Spring Boot to create a web application with the help of Spring Initializr, build a REST API and test it. By arjuna sky kok.
Adding Configuration
Your CEO got another idea. Now she wants to build a white-label NFT marketplace application. You know: In a gold rush, sell shovels.
The idea is simple: You sell your web application to anyone who wants to build an NFT marketplace.
To do that, you need to display a company name flexibly. You can't embed the company code in your code because you want to sell your web application to many companies. That's where the configuration comes in.
You wrote code inside the main folder, specifically inside kotlin. But main has another child folder as well, resources:

resources has static, which contains static files like images, templatethat contains HTML files and application.properties. This file is where you put configuration.
Open application.properties and add:
company_name=OpenSky
The variable is on the left, and the value is on the right. They're separated by =.
To use this configuration in the controller, you use the @Value annotation and bind it to a state variable inside the class. Add the state variable inside the controller class:
@Value("\${company_name}")
private lateinit var name: String
Don't forget to import Value:
import org.springframework.beans.factory.annotation.Value
@Value accepts company_name interpolated inside a string. Spring Boot will bind the resulted value to name.
Change getHomePage to use name:
@GetMapping("/homepage")
fun getHomePage() = "$name: NFTs Marketplace"
Rerun the project and execute this command:
curl http://localhost:8080/homepage
You'll get this output:
OpenSky: NFTs Marketplace
Here, you put configurations in one place. In addition to the company name, you can include information like the database configuration and the network configuration.
Requesting Mapping
Your CEO got another inspiration: Instead of going mobile-first, now she wants a traditional web application that displays HTML pages as well. So you must prepend the API path with /nfts so http://localhost:8080/2 becomes http://localhost:8080/nfts/2. You reserve the root URL for the traditional web application.
Easy peasy, right? You could do string substitution, but there’s a better way.
Annotate the controller with @RequestMapping. Then add the following code above the controller class declaration:
@RequestMapping("/nfts")
Then import:
import org.springframework.web.bind.annotation.RequestMapping
Now, Spring Boot prepends all API paths with /nfts. To test it out, rerun the project and execute:
curl http://localhost:8080/nfts/1
This is the response:
{"id":1,"name":"CryptoPunks","floor_price":100.0}
Testing
You have a working controller. Good!
Do you know what would be nice? Tests!
You'll put your test files in... the tests folder. You'll find it inside src, which is parallel to main.
You find a simple test file there, called NftmarketplaceApplicationTests. It looks like the following:
package com.raywenderlich.nftmarketplace

import org.junit.jupiter.api.Test
import org.springframework.boot.test.context.SpringBootTest

@SpringBootTest
class NftmarketplaceApplicationTests {

 @Test
 fun contextLoads() {
 }

}
In this test file, the test class is annotated with @SpringBootTest. The @Test annotation says that the method is a test. In the next few sections, you'll update this code with a few tests.
Writing Your First Test
Replace the placeholder test with the code below:
package com.raywenderlich.nftmarketplace

import com.fasterxml.jackson.databind.ObjectMapper
import org.springframework.beans.factory.annotation.Autowired
import org.springframework.boot.test.autoconfigure.web.servlet.AutoConfigureMockMvc
import org.springframework.boot.test.context.SpringBootTest
import org.springframework.test.web.servlet.MockMvc

@SpringBootTest
@AutoConfigureMockMvc
class NftMarketplaceApplicationTests(
  @Autowired val mockMvc: MockMvc,
  @Autowired val objectMapper: ObjectMapper
) {
}
To test the controller, you need MockMvc and ObjectMapper as the arguments of the test class's constructor. In addition, you annotate the class with @AutoConfigureMockMvc and annotate the arguments with @Autowired.
The MockMvc sends requests to the controller while ObjectMapper converts an object in Kotlin to a JSON string.
Create the first test case. Add the following method:
@Test
fun `Assert NFTs has CryptoPunks as the first item`() {
  mockMvc.get("/nfts") // 1
    .andExpect { // 2
      status { isOk() } // 3
      content { contentType(MediaType.APPLICATION_JSON) }
      jsonPath("$[0].id") { value(1) } // 4
      jsonPath("$[0].name") { value("CryptoPunks") }
      jsonPath("$[0].floor_price") { value(100) }
      jsonPath("$.length()") { GreaterThan(1) }
    }
}
Don't forget to add the relevant imports:
import org.junit.jupiter.api.Test
import org.mockito.internal.matchers.GreaterThan
import org.springframework.http.MediaType
import org.springframework.test.web.servlet.get
Here's a code breakdown:
-
First, you use the
getofmockMvcto send a GET request. -
Then you chain it with
andExpectwhich accepts a function block. -
Inside the block, you test the status of the response with
statusand the content type withcontent. -
Finally, you validate the JSON result with
jsonPathwhich accepts an argument. As you can see, the$represents the parsed object from the JSON string. To test the value of the argument ofjsonPath, you need to wrap it withvalueorGreaterThan.
Time to run the test! Click the green play button on the left side of the method or class:

A pop-up dialog will appear. Confirm it:

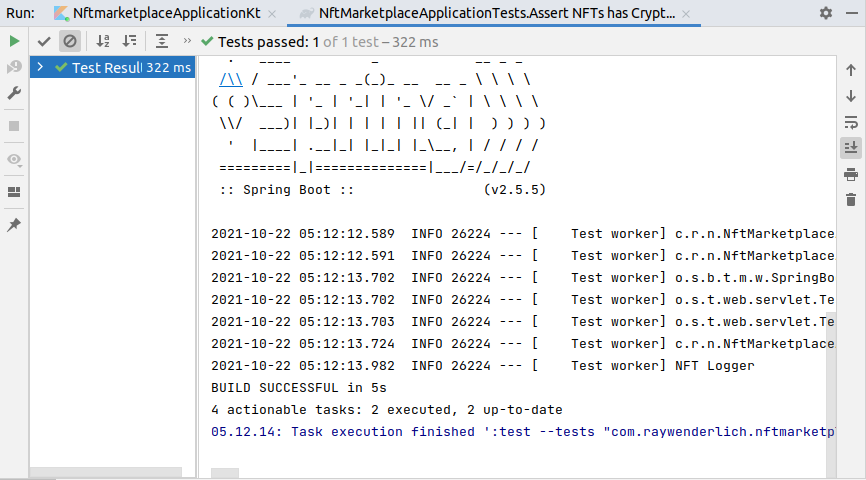
You can see the test result on the run tool window:
Now, you'll add another test.
Writing Your Second Test
This time you'll test the creating NFT method. Add this test method below your existing test method:
@Test
fun `Assert that we can create an NFT`() {
  mockMvc.get("/nfts/6")
         .andExpect {
    status { isNotFound() }
  }
  val newNFT = NFT(0, "Loot", 45.3)
  mockMvc.post("/nfts") {
    contentType = MediaType.APPLICATION_JSON
    content = objectMapper.writeValueAsString(newNFT)
  }
  .andExpect {
     status { isCreated() }
     content { contentType(MediaType.APPLICATION_JSON) }
     jsonPath("$.name") { value("Loot") }
     jsonPath("$.floor_price") { value(45.3) }
     jsonPath("$.id") { value(6) }
  }
  mockMvc.get("/nfts/6")
         .andExpect {
    status { isOk() }
    content { contentType(MediaType.APPLICATION_JSON) }
    jsonPath("$.name") { value("Loot") }
    jsonPath("$.floor_price") { value(45.3) }
    jsonPath("$.id") { value(6) }
  }
}
And import:
import com.raywenderlich.nftmarketplace.model.NFT
import org.springframework.test.web.servlet.post
Notice you use post on mockMvc with a function block on which you set the content type to JSON and the content to the JSON string. You use the writeValueAsString of objectMapper to convert a data class instance, newNFT, to the JSON string.
Run the test, and you'll get a successful result.
Where To Go From Here?
You can download the final version of this project by clicking Download Materials at the top or bottom of this tutorial.
This application isn't complete. As a challenge, write a PUT request to update an existing NFT and a DELETE request to remove an NFT.
Be sure to check out the official documentation.
Do you want to write the traditional web application with HTML pages with Spring Boot? Head to the tutorial on building a blog on the Spring website. On the tutorial page, you'll also learn how to use a database in your Spring Boot project instead of the in-memory list that you used in this tutorial.
There's also a tutorial from kotlinlang.org that you should check out.
If you want to learn how to write a REST API using Ktor or compare it against Spring Boot, check out this tutorial.
I hope you enjoyed this tutorial. If you have any questions or comments, please join the forum discussion below!