Introduction to GDScript in Godot 4 Part 2
In this second part of the GDScript introduction, you’ll learn about state machines, adding and removing nodes and how to make a camera follow a node. By Eric Van de Kerckhove.
Sign up/Sign in
With a free Kodeco account you can download source code, track your progress, bookmark, personalise your learner profile and more!
Create accountAlready a member of Kodeco? Sign in
Sign up/Sign in
With a free Kodeco account you can download source code, track your progress, bookmark, personalise your learner profile and more!
Create accountAlready a member of Kodeco? Sign in
Contents
Introduction to GDScript in Godot 4 Part 2
45 mins
Before starting with this part of the tutorial, make sure you finished the first part as this part will build upon the fundamentals laid down there.
In this second part of the tutorial, you’re going to learn about the following:
- The basics of state machines.
- Adding and removing nodes with code.
- Creating a camera that follows a node.
- Using UI elements to inform the player.
Without further ado, it’s time to get back to scripting!
Getting Started
Download the projects by clicking Download Materials at the top or bottom of the tutorial. Next, unzip the file and import the starter folder into Godot. Alternatively, you can continue with the project you used in the previous part.
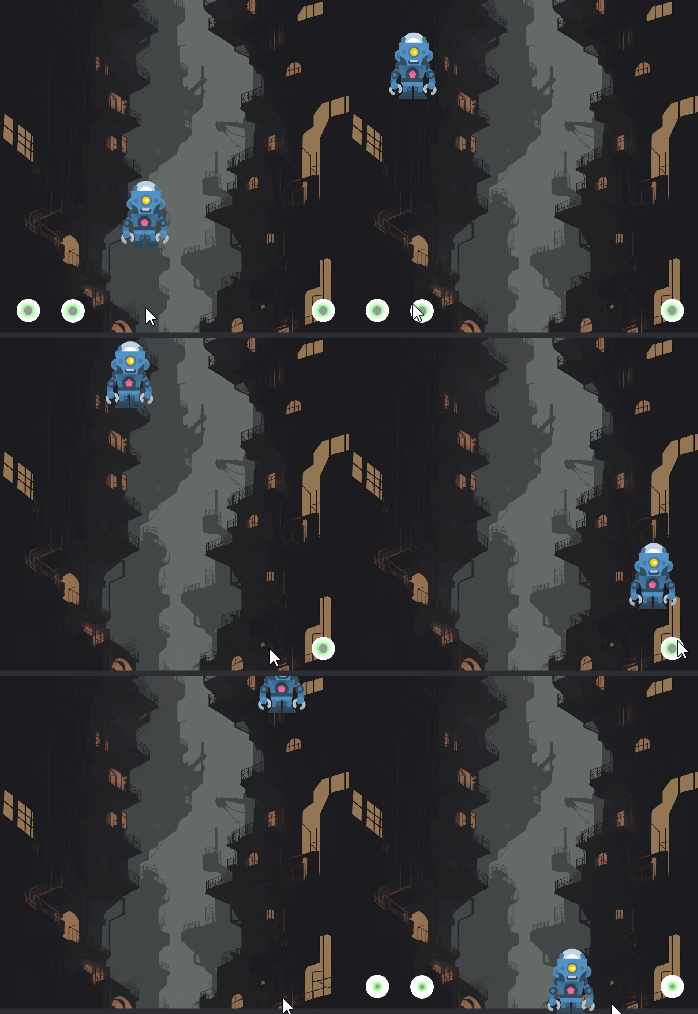
At the end of the previous part of this tutorial, gravity was constantly being applied on the player avatar, allowing it to jump and fall back down. This had the side effect of the avatar never being able to stand on the ground below, so you have to continuously jump now.
![]()
Ideally, the avatar should stay on the ground and should only fall down once he’s in the air. One way of keeping track of these states is using a finite state machine.
Finite State Machines
A finite state machine (FSM) is a way to break down a game or application into different states. Take a simple adventure game for instance: you might have a game state for walking around, a state for fighting and a state for when the game menu is open. While the player is exploring, you might hide the UI for full immersion, while in battle you want to show health bars, skills and so on. Meanwhile, you want to pause the game in the background when the menu is open so the player can manage his inventory and change settings.
Programming what should happen in each scenario without a FSM leads to messy code with a lot of if-statements strewn about. It’s also prone to mistakes and harder to debug. With a FSM, you create three states:
- Walking
- Fighting
- Menu
The current state is stored in a variable and depending on the active state, a different code path is followed. You can even add transitions between states where UI elements fade in or out for example.
For this game, there are two possible states: on the ground and in the air. The game starts with the avatar on the ground, where it can do a manual jump and isn’t effected by gravity. Once the avatar has jumped up, it’s in the air and gravity gets applied to it. To add this to the script, start by adding the following line at the top of the script, below var velocity : Vector2 = Vector2.ZERO:
enum AvatarState {ON_GROUND, IN_AIR}
AvatarState isn’t a variable, but an enum, which is a set of constants. Enums are useful as you can access their value by their key, which are ON_GROUND and IN_AIR in this case. Behind the scenes, the values of these keys are integers starting from 0. You can use an enum as a type as you’ll see below.
To keep track of the active state, add this variable declaration right above the enum you added:
var state : AvatarState = AvatarState.ON_GROUND
The state variable uses AvatarState as its type and sets its default value to AvatarState.ON_GROUND. This variable will come in use to keep track of the avatar’s state and react accordingly. To apply the finite state machine concept to the rest of the script, you’ll need to make several changes to its structure. To start with, add these two functions below the _process function:
func _process_on_ground() -> void:
    pass

func _process_in_air(delta) -> void:
    pass
Depending on the state, the corresponding function will be called every frame. This splits up the logic according to the state, which is the basis of every FSM.
Now add this block of code to _process, right below var cursor_right:
match state: # 1
    AvatarState.ON_GROUND: # 2
        _process_on_ground()
    AvatarState.IN_AIR: # 3
        _process_in_air(delta)
Here’s what this code does:
- This
matchstatement reads the value ofstateand branches the further execution flow depending on its value. This can replace if-statements where the only difference is a single value and results in a cleaner, more readable result. If you’re familiar with other programming languages, thematchstatement is similar to aswitchstatement, albeit with some extra features. - In case the value of
stateisAvatarState.ON_GROUND, call_process_on_ground. - In case the value of
stateisAvatarState.IN_AIR, call_process_in_air.
Note that the match statement, its branches and the logic for each branch needs its own indentation.
With the finite state machine in place, it’s time to move the process code to their appropriate functions. To start off, move the call to _process_input from _process to _process_on_ground, replacing the pass keyword. This ensures the avatar can’t manually jump if it’s not on the ground. The _process_on_ground function should look like this now:
func _process_on_ground() -> void:
    _process_input()
Next, the gravity should only be applied when the avatar is in the air, so move the line velocity.y += delta * gravity from _process to _process_in_air, replacing the pass keyword. The _process_in_air function now looks like this:
func _process_in_air(delta) -> void:
    velocity.y += delta * gravity
If you run the project now and make the avatar jump, you’ll notice the avatar is back to his space rocket ways as gravity isn’t being applied. This makes sense, as gravity is now only applied in the IN_AIR state, while the avatar never switches to that state. To fix that, add the following line to _jump function:
state = AvatarState.IN_AIR
This changes the state to IN_AIR after a jump, so gravity will start getting applied. Run the project again and try jumping, the avatar will now jump and fall down and… keeps falling down. Hey, it’s progress!
![]()
As with all the other issues you’ve faced throughout the tutorial, this too can be fixed with some code. The current problem is the avatar has no idea where the ground is, and as a result, has no way to react to falling on the ground. Luckily, it’s easy to figure out where the ground is, as that’s the avatar’s starting position. You just need to save that position somewhere, if only there was some sort of container to store values into. :]
Yes, you need another variable! Add this line to the top of the script, right below var state:
var start_height : float
This will store the Y position of the avatar at the start of its lifetime, its starting height. You don’t have to give it a default value in this case, as its value will be set in the _ready function. Speaking of which, add this line to _ready, replacing the print statement that’s in there:
start_height = global_position.y
This sets start_height to the initial Y position of the avatar. To use this starting height to detect the ground when falling, add the following to the _process_in_air function:
if velocity.y > 0: # 1 (falling)
    if global_position.y >= start_height: # 2
        var _result = get_tree().reload_current_scene() # 3
else:  # 4 (going up)
    pass
For simplicity’s sake, the scene gets reloaded if the avatar hits the ground after falling. This resets the game state without having to reset any variables. Here’s a breakdown of the different parts:
- If the avatar’s vertical velocity is positive, that means it’s falling down.
- If the Y position of the avatar is equal to the start height or moves past it while falling…
- Restart the current scene using
get_tree().reload_current_scene(). Theget_tree()call returns an instance ofSceneTree, which is a node manager class that contains useful methods for working with scenes and nodes. One of those methods isreload_current_scene(), which reloads the active scene and returns a result code. The result code is ignored for this example. - If the avatar is moving up, do nothing for now.
Run the project again, this time the scene will reset once the avatar hits the ground, allowing you to keep “playing” indefinitely. There’s now a game loop, even if it’s not the most exciting one.

Now is a good time to make the avatar jump up when hitting jumpers, after all, that’s what they’re for!
To do so, you just need to connect the Area2D‘s area_entered signal to the player_avatar script like you did with the jumpers. To recap, select Area2D in the Scene dock, open the Node tab on the right side of the editor and double click the area_entered signal. Finally, click the Connect button to create the new _on_area_2d_area_entered function.
Add this line to the newly created _on_area_2d_area_entered function, replacing its pass keyword:
_jump()
This makes the avatar automatically jump when hitting jumpers. Guess what? It’s time for another test run! Run the project and see if you can hit all three jumpers before hitting the ground again.

I hope you agree that this starts to feel like a game now. It might even already fit in with WarioWare‘s microgames. :]