Fastlane Tutorial for Android: Getting Started
Learn how to use fastlane to automate tasks like generating screenshots, updating metadata for your Android apps and uploading apps to the Play Store. By James Nocentini.
Android app development has many aspects, including making releases, taking screenshots and updating metadata in Google Play Store. The good news is you can automate these tasks, letting developers spend their time doing more important things, such as adding features and fixing bugs.
fastlane lets you automate every aspect of your development and release workflows.
In this tutorial, you’ll learn how to automate common tasks using fastlane. By the end, you’ll know how to:
- Set up fastlane in an existing project.
- Automate app screenshots.
- Use Firebase App Distribution to distribute your app to beta testers.
- Upload marketing material from the command line.
- Easily publish release notes or a changelog.
Getting Started
To begin, download the starter project by clicking the Download Materials button at the top or the bottom of this tutorial.
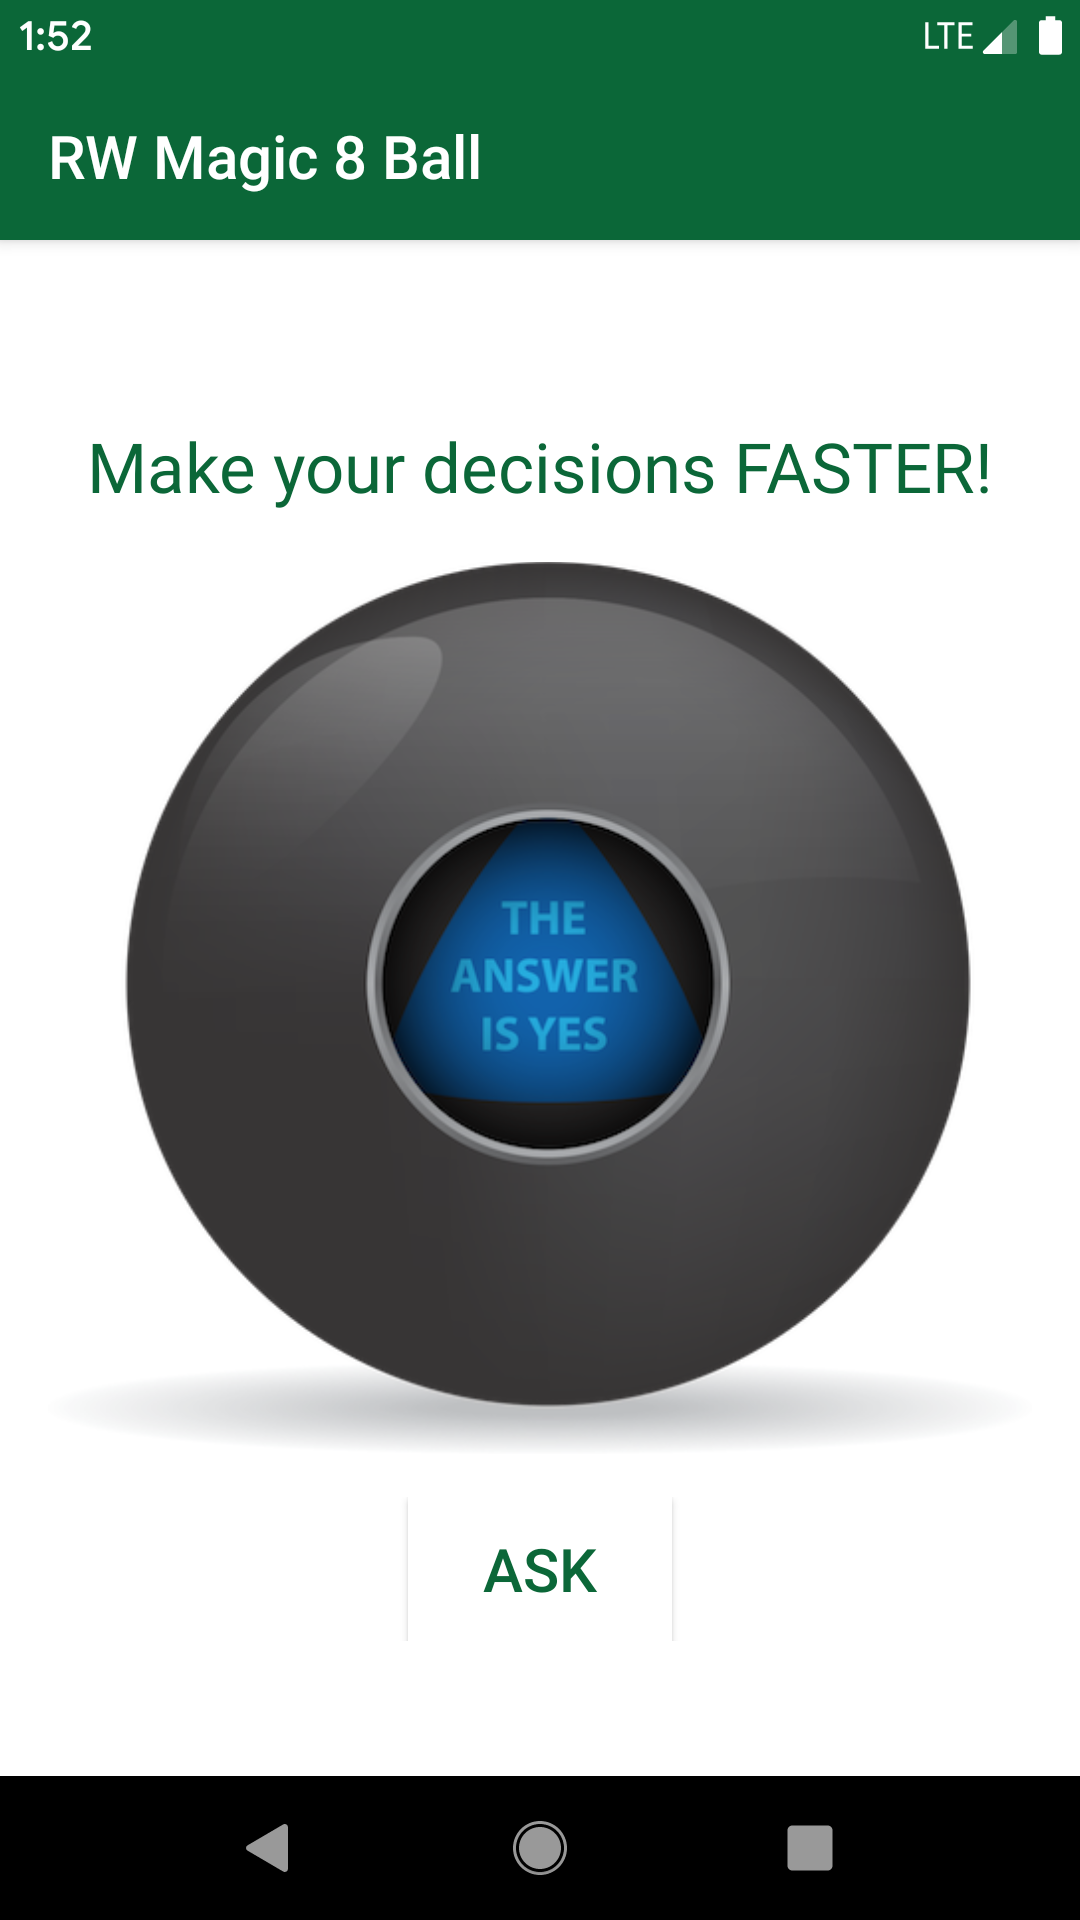
Open the project in Android Studio, then build and run the app. You’ll see something like this:

This app allows users to click the ASK button and receive a random answer.
The app is ready for you to package and share with beta testers. It’s time to get started with those tasks!
Installing fastlane
Before installing fastlane, you must have Ruby version 2.5 or higher installed. Check your Ruby version by entering this command into Terminal:
ruby -v
To install or update Ruby with Homebrew, see the iOS tutorial Fastlane Tutorial: Getting Started, for instructions.
Next, install fastlane by executing the following command in Terminal:
sudo gem install fastlane
To verify fastlane has been successfully installed and to check its version, run the following command:
fastlane -v
Great, you’re ready to get started now!
Naming Your Package
Your package name must be unique in Google Play. Give the starter project a new package name before you start using fastlane.
To do this, follow the steps described in the Getting Started section of Android App Distribution Tutorial: From Zero to Google Play Store.
Build and run to verify your app works correctly with its new package name.
Now, you’re ready to work with fastlane.
Setting up fastlane
In this section, you’ll follow the steps in the setting up fastlane documentation to initialize fastlane in a new project.
First, change into the starter project directory in Terminal and enter the following command:
sudo.
fastlane init
When prompted with Package Name (com.krausefx.app), enter your app’s new, unique package name. For the sample app, it’s com.raywenderlich.android.rwmagic8ball.
When you see the prompt for the Path to the JSON secret file, press Enter to skip. You’ll handle this later.
Next, you’ll see the prompt: Do you plan on uploading metadata, screenshots and builds to Google Play using fastlane?. Press n. You’ll set up this option later.
You’ll receive several more prompts. Press Enter to continue.
When you’re done, run this command to try your new fastlane setup:
fastlane test
You’ve created a new fastlane directory containing two files: Appfile and Fastfile. You’ll use them in the next sections to configure fastlane.
Configuring fastlane
fastlane uses a Fastfile to store its automation configuration. Open Fastfile and see the following:
default_platform(:android)

platform :android do
  desc "Runs all the tests"
  lane :test do
    gradle(task: "test")
  end

  desc "Submit a new Beta Build to Crashlytics Beta"
  lane :beta do
    gradle(task: "clean assembleRelease")
    crashlytics

    # sh "your_script.sh"
    # You can also use other beta testing services here
  end

  desc "Deploy a new version to the Google Play"
  lane :deploy do
    gradle(task: "clean assembleRelease")
    upload_to_play_store
  end
end
fastlane groups different actions into lanes. A lane starts with lane :name, where name is the name given to a lane. In this file, you’ll see three different lanes: test, beta and deploy.
Here’s an explanation of the actions each lane performs:
- test: Runs all the tests for the project, using the gradle action. You won’t use this lane in this tutorial.
-
beta: Submits a beta build to Firebase App Distribution, using the
gradleaction followed by the crashlytics action. -
deploy: Deploys a new version to Google Play, using the
gradleaction followed by the upload_to_play_store action.
To run a lane, you must run fastlane <lane> where lane is the lane to execute.
In the following sections, you’ll edit the available lanes with fastlane actions to customize RWMagic8Ball’s setup.
Editing the Building Lane
In the Fastfile, modify platform :android do to add a new build lane after the test lane:
desc "Build"
lane :build do
  gradle(task: "clean assembleRelease")
end
Run the build lane from Terminal:
bundle exec fastlane build
When the command runs successfully, you’ll see the following at the end of the command output:
[13:37:40]: fastlane.tools finished successfully 🎉
Using Screengrab
fastlane’s screengrab is an action that generates localized screenshots of your Android app for different device types and languages. In this section, you’ll learn how to use it to create screenshots.
To use the screengrab tool, you need to install the command-line tool first:
gem install screengrab
Next, you need to add the permissions below to AndroidManifest.xml, in the manifest XML tag:
<!-- Allows unlocking your device and activating its screen so UI tests can succeed -->
<uses-permission android:name="android.permission.DISABLE_KEYGUARD" />
<uses-permission android:name="android.permission.WAKE_LOCK" />

<!-- Allows for storing and retrieving screenshots -->
<uses-permission android:name="android.permission.WRITE_EXTERNAL_STORAGE" />
<uses-permission android:name="android.permission.READ_EXTERNAL_STORAGE" />

<!-- Allows changing locales -->
<uses-permission xmlns:tools="http://schemas.android.com/tools"
  android:name="android.permission.CHANGE_CONFIGURATION"
  tools:ignore="ProtectedPermissions" />
The comments in the code above explain why fastlane needs different permissions. Now that fastlane has the permissions it needs, you can move on to automation.
Setting up Screenshot Animation
In Android, you set up screenshot automation over the Instrumentation Testing toolchain. Before starting, you need to install the necessary dependencies.
Open app/build.gradle and add the following in dependencies:
testImplementation 'junit:junit:4.13.2'

androidTestImplementation 'androidx.test.ext:junit:1.1.3'
androidTestImplementation 'androidx.test:rules:1.4.0'
androidTestImplementation 'androidx.test.espresso:espresso-core:3.4.0'

androidTestImplementation('tools.fastlane:screengrab:2.1.0') {
  exclude group: 'com.jraska:falcon'
}
androidTestImplementation 'com.jraska:falcon:2.2.0'
In the defaultConfig block, add testInstrumentationRunner:
testInstrumentationRunner 'androidx.test.runner.AndroidJUnitRunner'
These dependencies are needed for fastlane to run the tests and capture the screenshots. Sync Gradle before moving on.