Fastlane Tutorial for Android: Getting Started
Learn how to use fastlane to automate tasks like generating screenshots, updating metadata for your Android apps and uploading apps to the Play Store. By James Nocentini.
Creating a Play Store Listing
To create a new app listing, open the Google Play Console and click CREATE APPLICATION.

On the pop-up, leave the Default language input to its automatic value. For the app name, write RWMagic8Ball and provide the additional requested information. Once that’s done, click Create app.

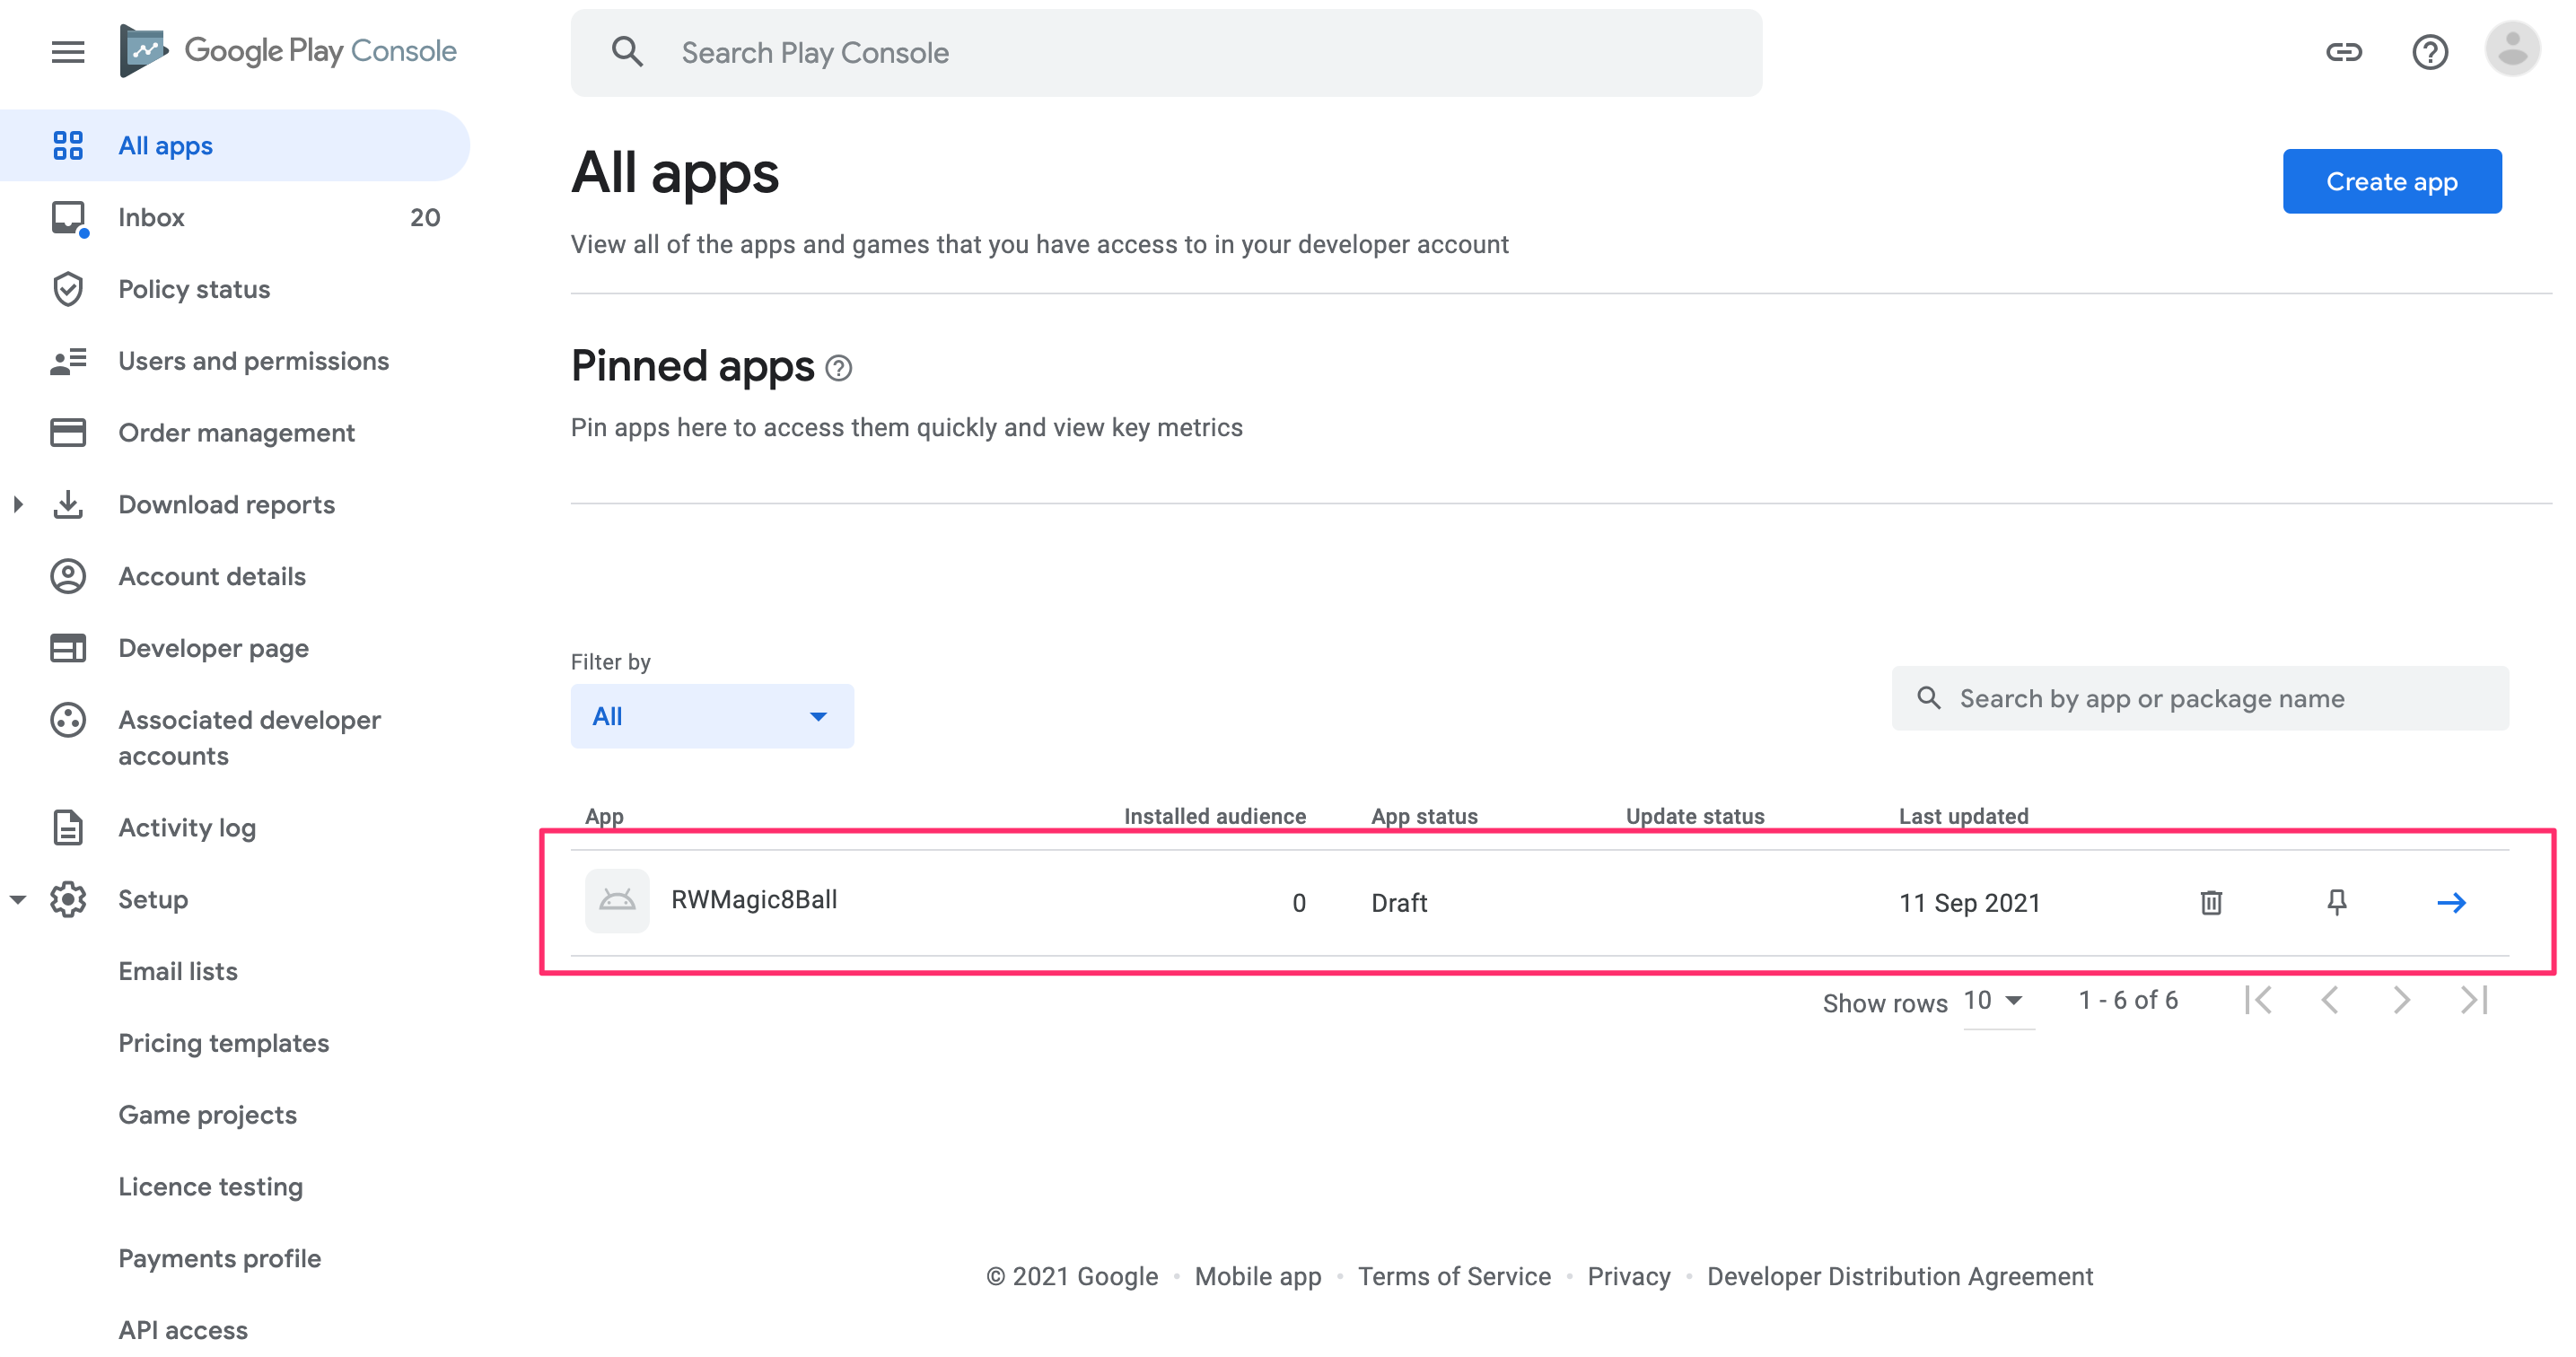
Return to the Applications tab. You should now see the RWMagic8Ball app in the list.
Next, you’ll manually upload the first build on the Play Console so the Play Store can identify the app ID.
Manually Updating a Build on the Play Console
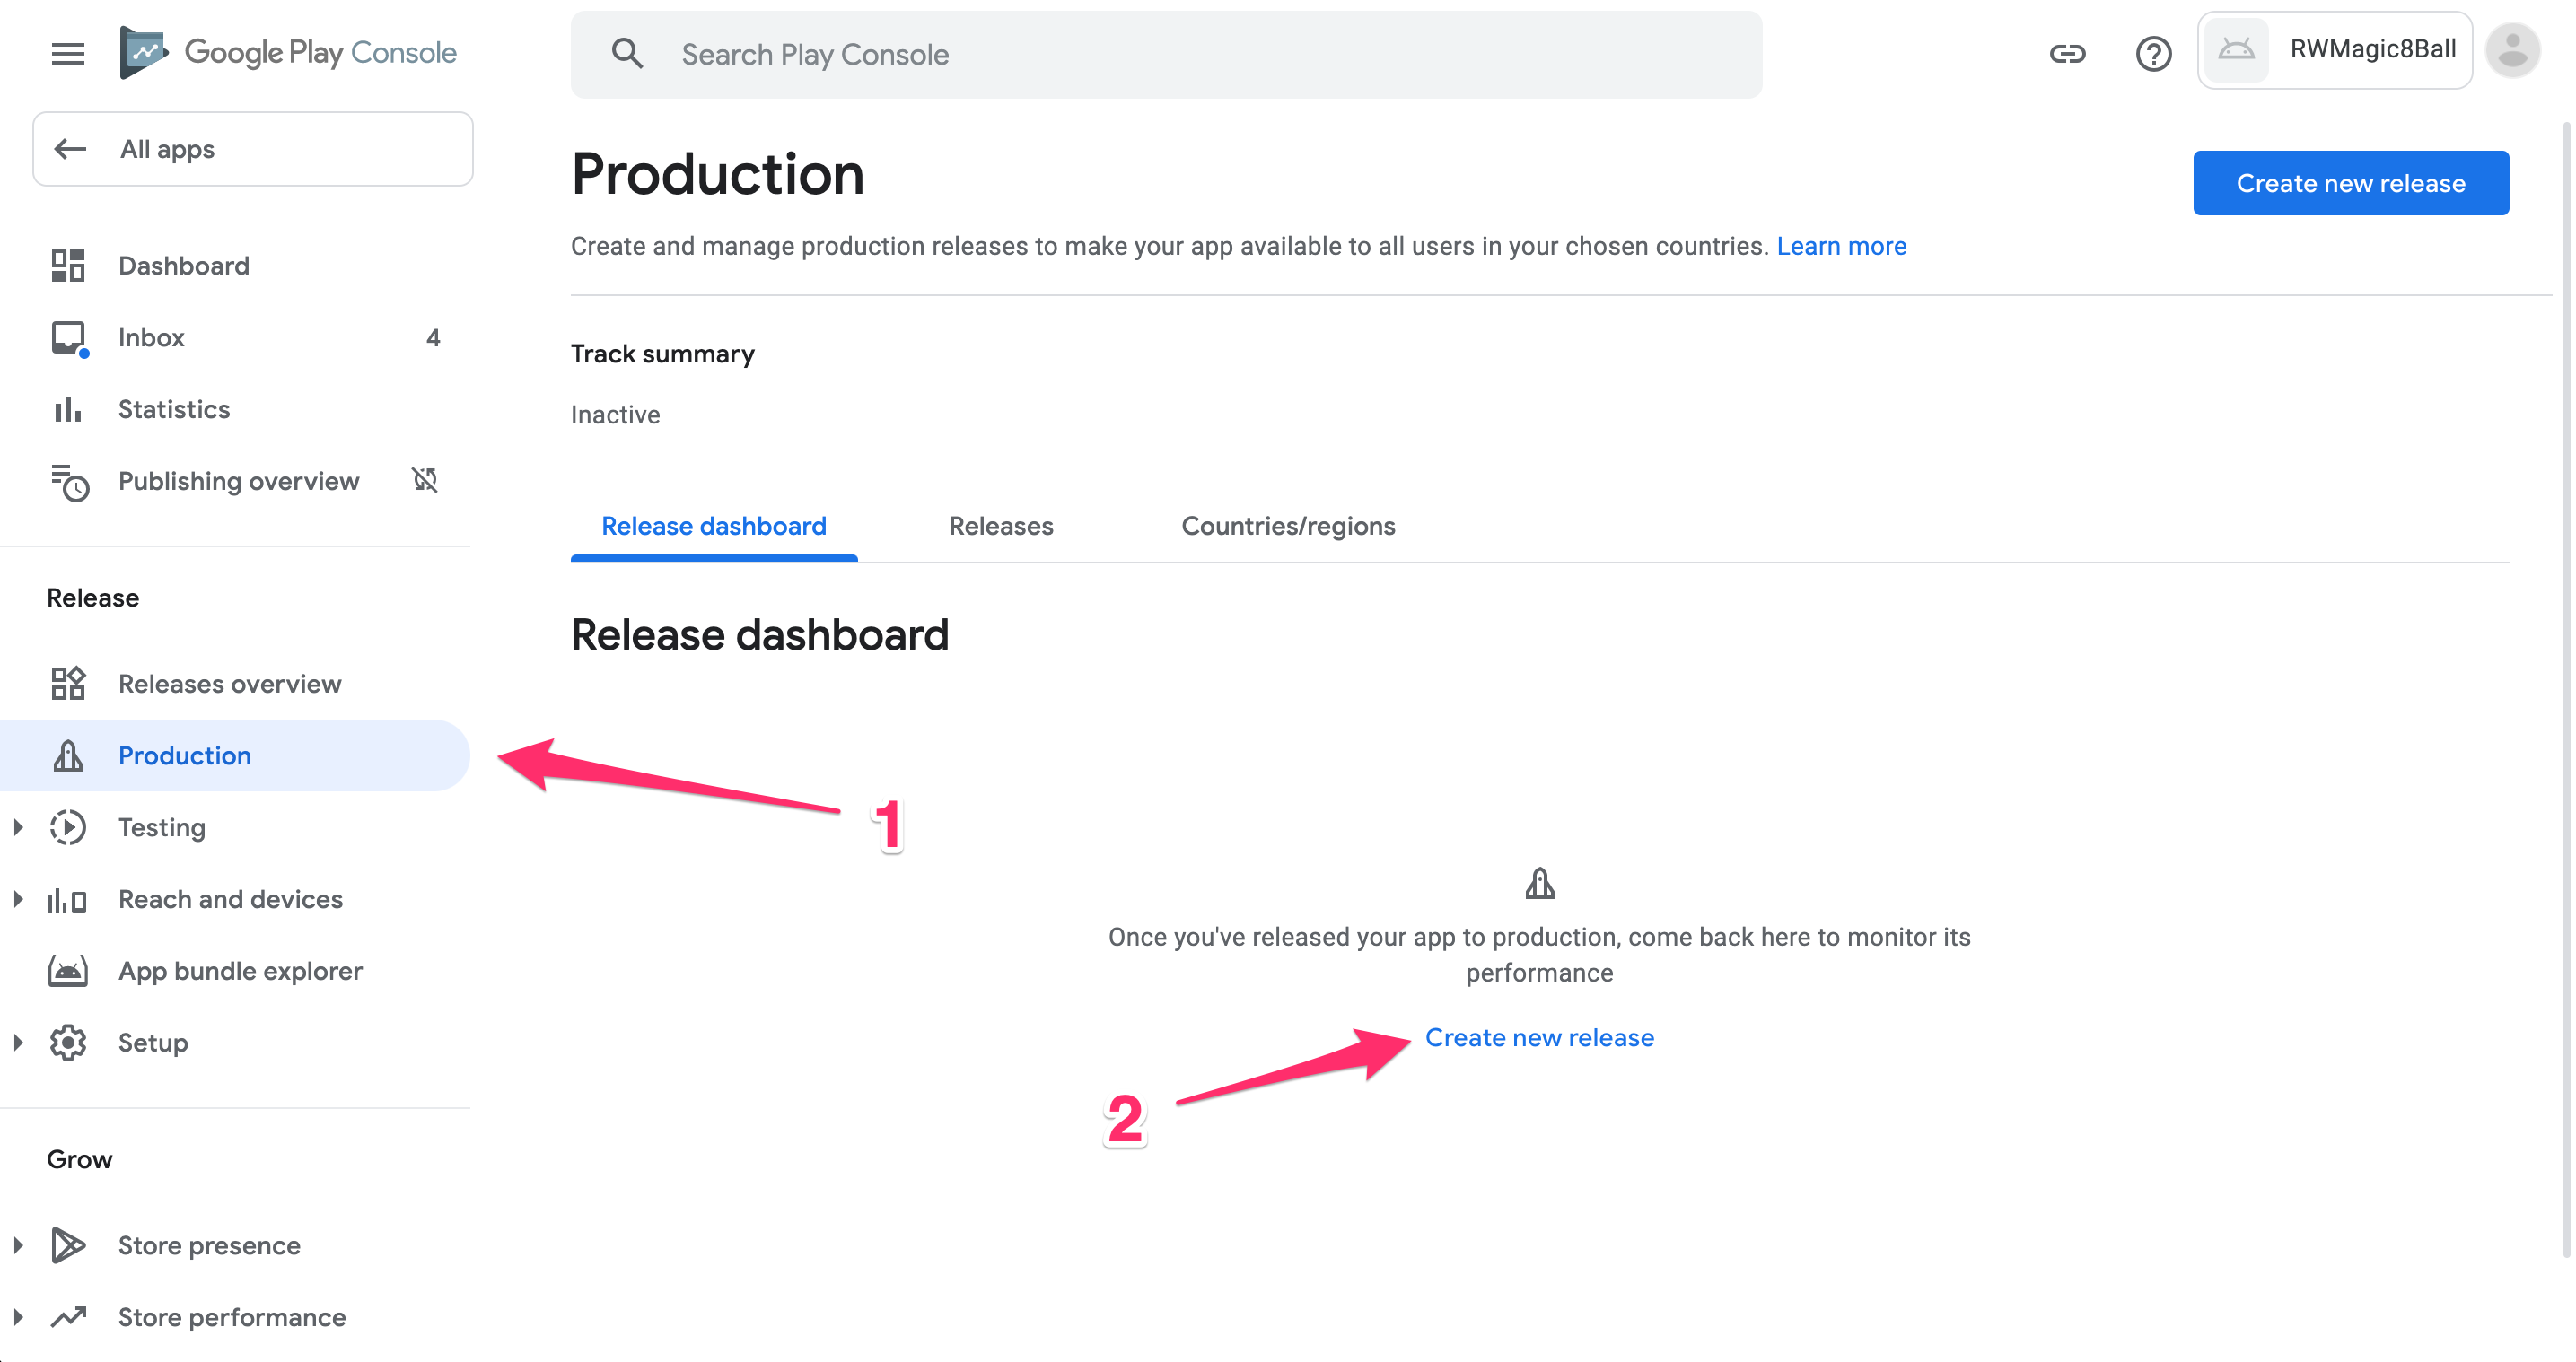
Select the application to open listing specific details. Then click the Production button to open the Production track page and click Create new release:
Scroll down to App Bundles. So far, you’ve been using APKs, but the Play Store now requires the packaged app to be in the AAB format and no longer accepts APKs. Run the following command to package the app as an App Bundle.
./gradlew bundleRelease
The app bundle will be saved under app/build/outputs/bundle/release/app-release.aab. Back in the Play Store console, click the Upload button and select the newly created .aab file:

The starter project comes pre-configured with app signing. If you’d like to configure app signing for a different app, follow the steps from the Android Studio user guide.
The starter project comes pre-configured with app signing. If you’d like to configure app signing for a different app, follow the steps from the Android Studio user guide.
You must provide some additional details before submitting the build. Because this is the first upload, the Release name can be anything; in this case, use 1.0 – 3. Provide a short description of the changes in this release. For now, use Lots of amazing new features to test out!

Click Save.
Next, return to the list of apps. This time, you’ll see your package name below the app name:

From now on, when fastlane connects to the Play Store with your Google credentials, it’ll automatically find the app on the Play Store Console with your package name.
Downloading Metadata
In addition to uploading a build of your app, fastlane can upload app metadata, including screenshots, descriptions and release notes. This approach lets you keep a local copy of the metadata, check it in version control and upload it when you’re ready.
When you connect fastlane supply to the Play Store for the first time, you must run the init command, as the fastlane documentation describes.
The init command downloads the existing metadata to fastlane/metadata. If you followed the previous sections of this tutorial, that directory already exists and contains app screenshots. Remove that folder for now; otherwise, the following command will fail.
Now, run:
bundle exec fastlane supply init
This command downloads any existing content from the Play Store Console. Once the command runs successfully, you’ll see the following output:
[✔] 🚀
[13:48:36]: 🕗  Downloading metadata, images, screenshots...
[13:48:37]: 📝  Downloading metadata (en-GB)
[13:48:37]: Writing to fastlane/metadata/android/en-GB/title.txt...
...
[13:48:37]: 🖼️  Downloading images (en-GB)
[13:48:37]: Downloading `featureGraphic` for en-GB...
...
[13:48:43]: ✅  Successfully stored metadata in 'fastlane/metadata/android'
The downloaded content saves in fastlane/metadata. Open android/en-GB/changelogs/1.0 – 3.txt and notice it contains the text you entered on the Play Store Console:

Congratulations! You’ve set up a new app on the Play Store Console, configured fastlane and retrieved the app metadata.
Uploading Metadata
Your next step is to update some metadata locally and upload it with fastlane — to provide app screenshots, for example. Run the lanes to create app screenshots:
bundle exec fastlane build_for_screengrab && bundle exec fastlane screengrab
Now, you’ll see two screenshots in metadata/android/phoneScreenshots:

Run fastlane supply again, this time without the init command to upload the new screenshots:
bundle exec fastlane supply --skip_upload_changelogs
In the Play Store Console, select Store listing on the left pane and English (United States) in the Languages drop-down, then scroll down to the Screenshots section. You’ll see the screenshots that screengrab created:

You can see fastlane also enabled the French (France) – fr-FR and Italian – it-IT languages on the Play Store Console. That’s because screengrab created the fr-FR and it-IT folders in fastlane/metadata/android and supply detected those folders.
Where to Go From Here?
Congratulations! You’ve learned how to configure fastlane in an Android app. You can download the final project by clicking the Download Materials button at the top or the bottom of this tutorial.
Provide a valid google-services.json file for it to work.
If you run the final app right away, you see the following error message:
File google-services.json is missing. The Google Services Plugin cannot function without it
Provide a valid google-services.json file for it to work.
File google-services.json is missing. The Google Services Plugin cannot function without it
fastlane is a big help in managing the mobile app release tasks. In addition to what you learned here, fastlane with Android also offers:
- Uploading app metadata to Google Play with fastlane supply.
- Creating screenshots in different languages. See Advanced Screengrabfile Configuration for more information.
- Many other options. See fastlane’s available actions page for a complete list.
You can also learn more about the different app distribution providers:
Feel free to let us know what you enjoyed and how we can improve the tutorial in the future by leaving comments in the forum below!